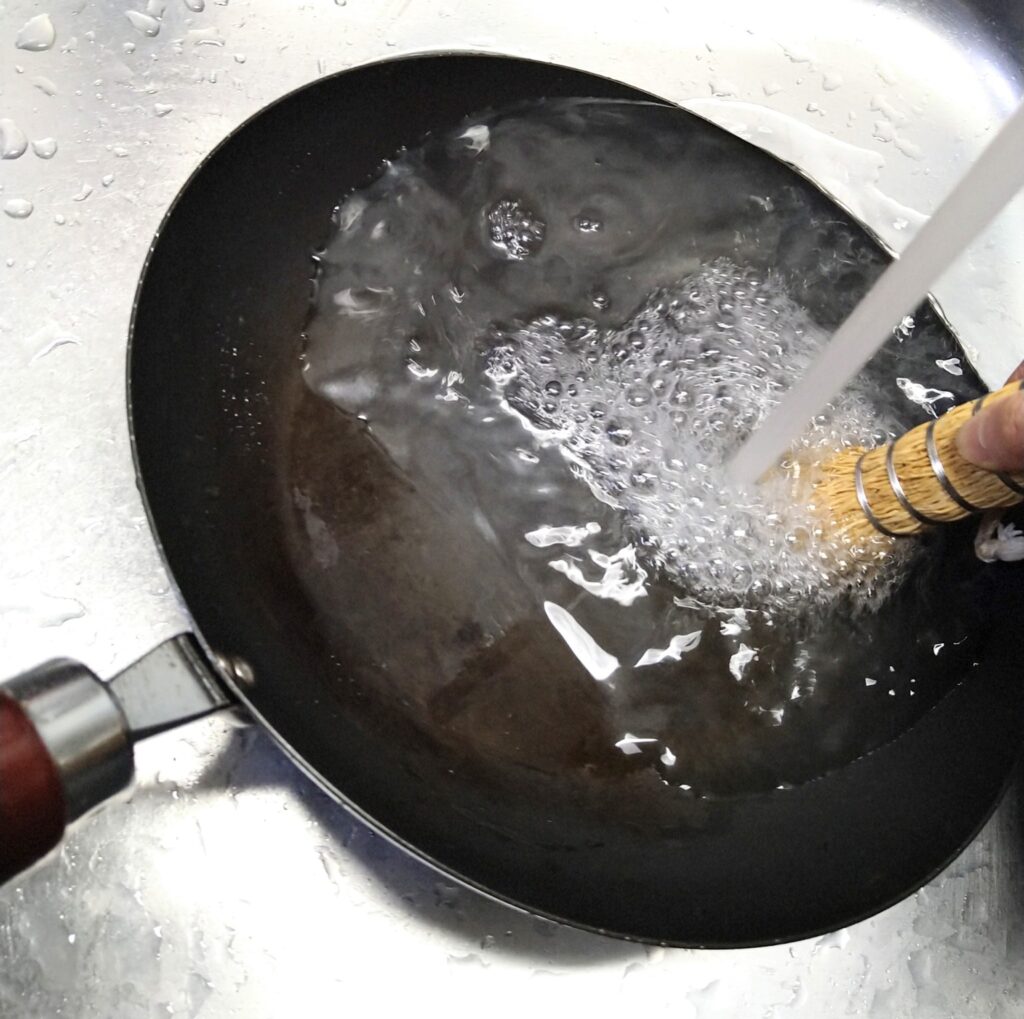
Category: Japanese Kitchen Tools

Simple and well-made kitchen tools from everyday life in Japan.

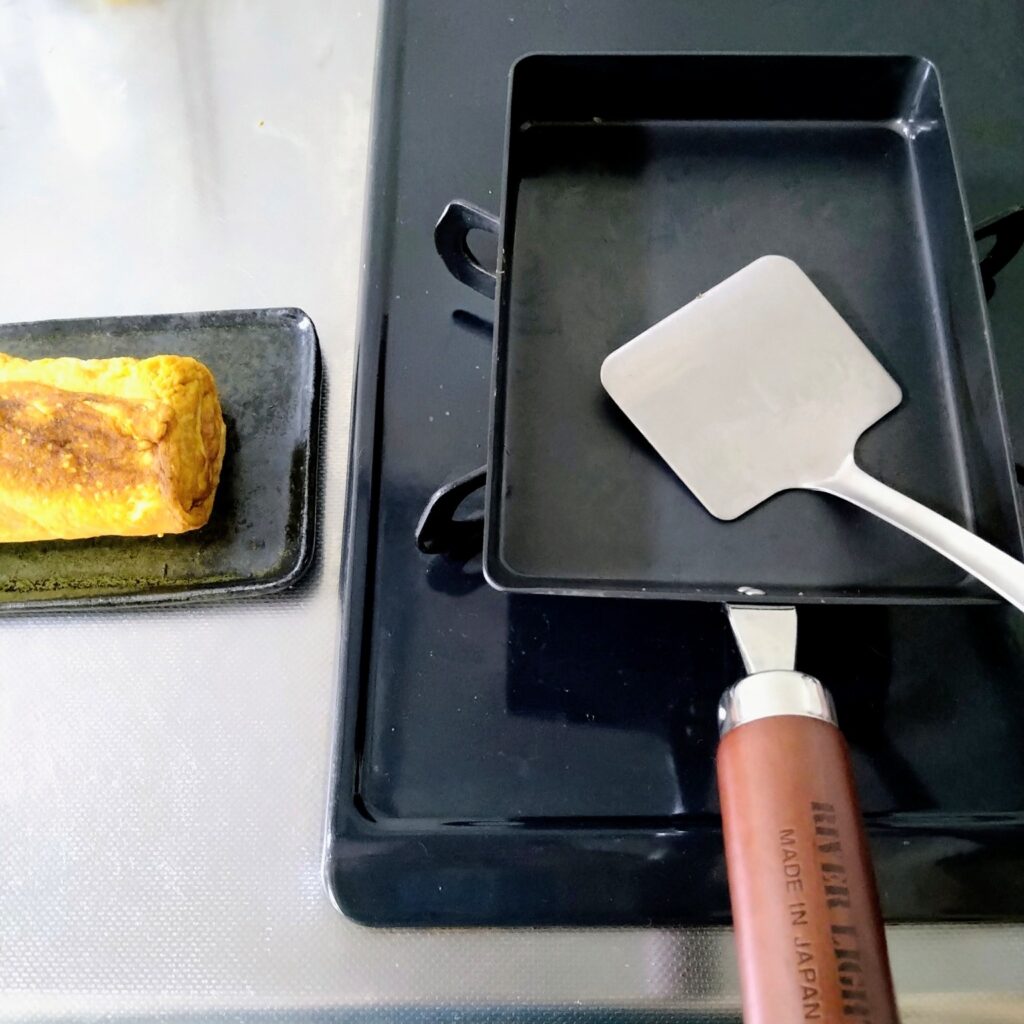
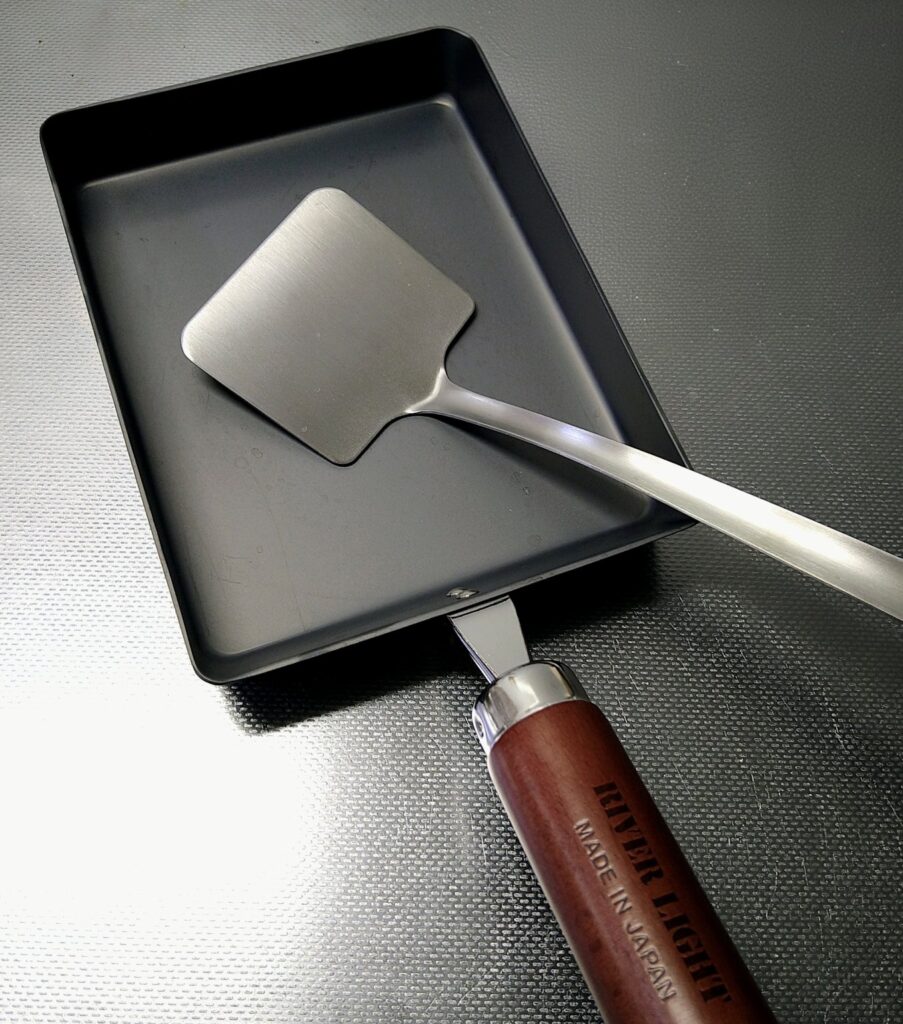
  • River Light Tamagoyaki Pan — A Rectangular Iron Pan for Japanese Rolled Omelette

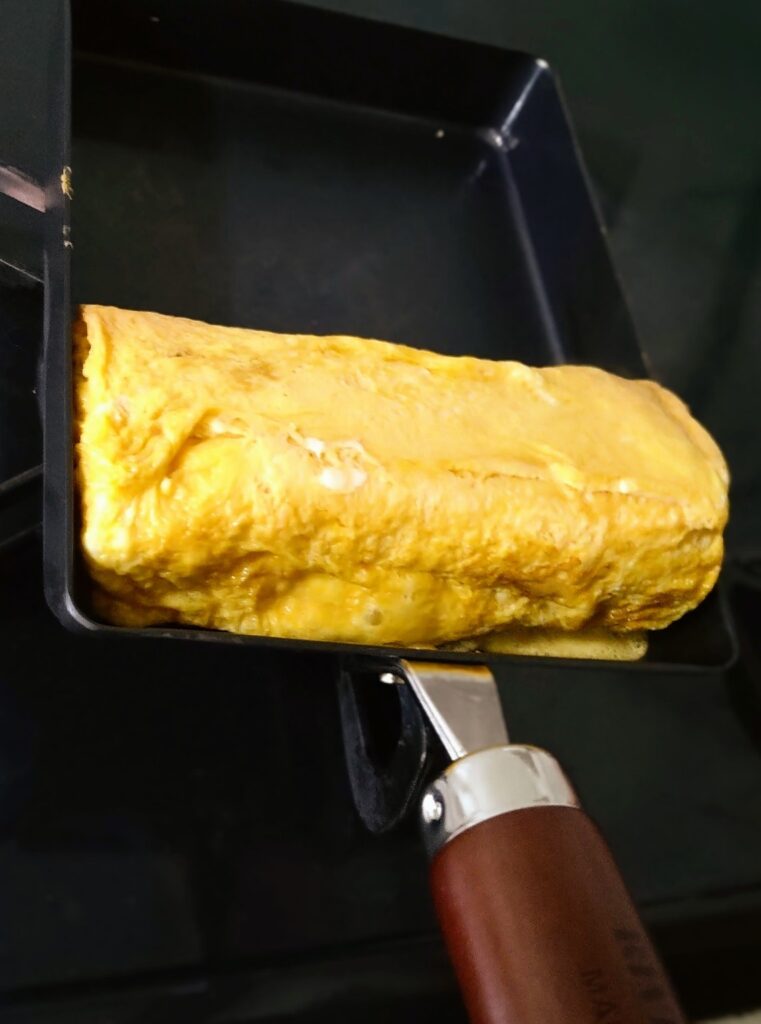
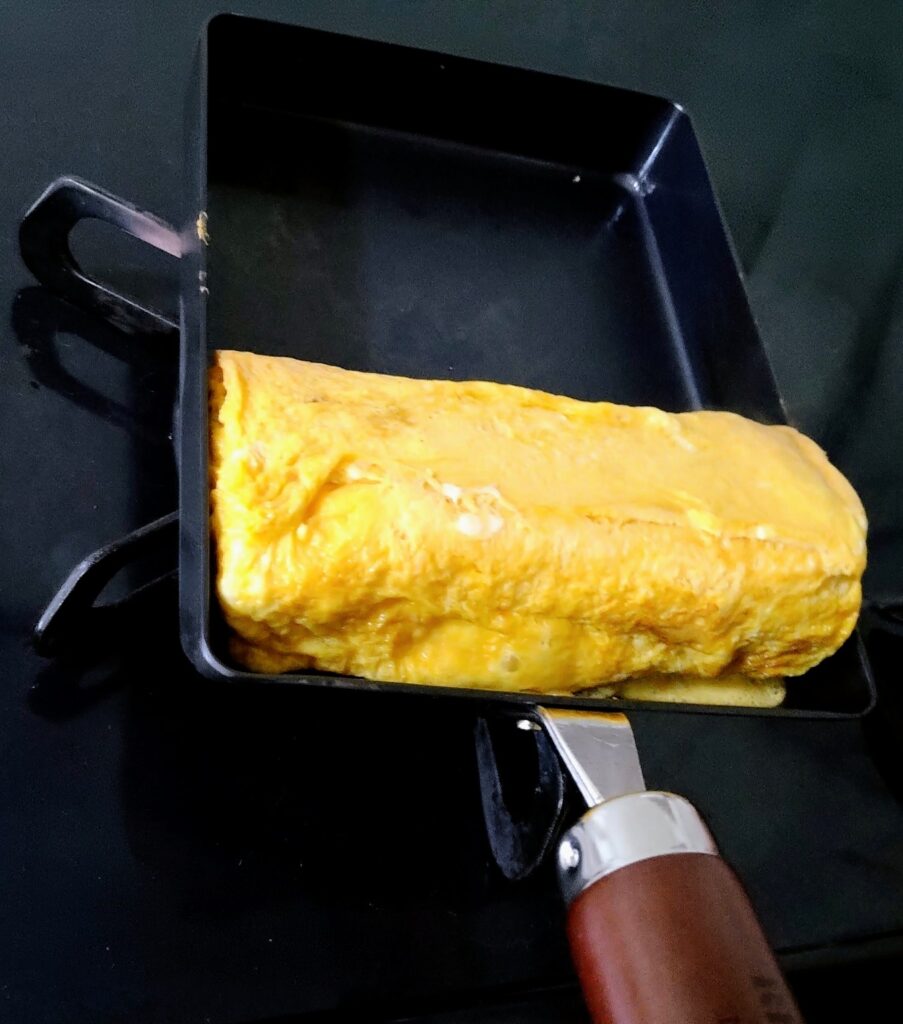
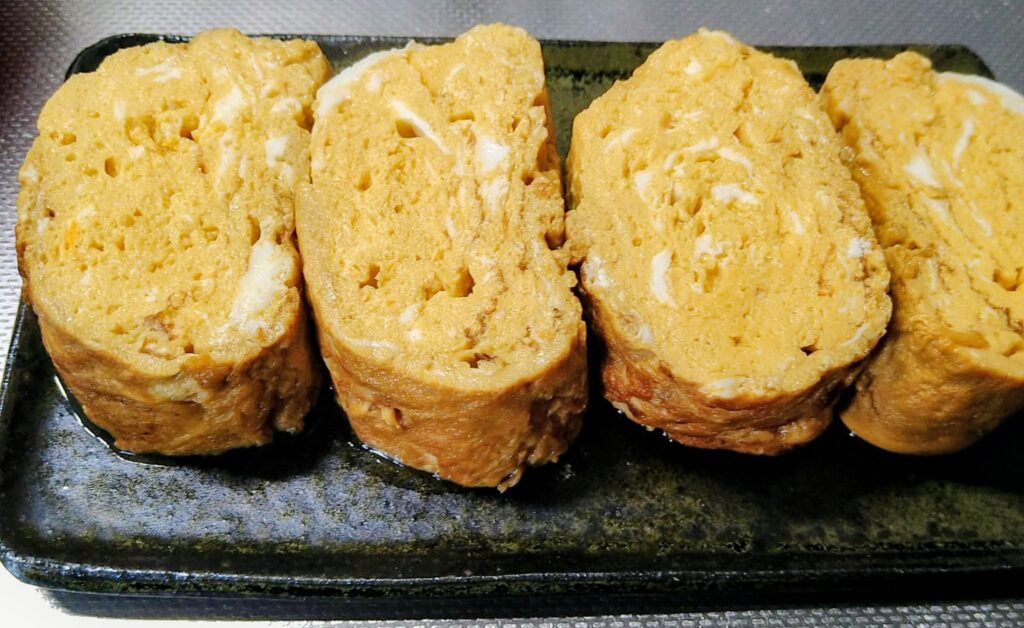
    A thicker, fluffier tamagoyaki cooked in an iron pan.

    I love tamagoyaki.

    When I was a student, my mother packed it in my bento almost every day. It was sweet and savory, and the filling was different each time. Seaweed? Edamame? Corn?
    Opening my lunchbox at noon was always something I looked forward to.

    Maybe that’s why I still love tamagoyaki. And maybe that’s why I’ve always had a soft spot for tamagoyaki pans too.


    Why I Chose River Light
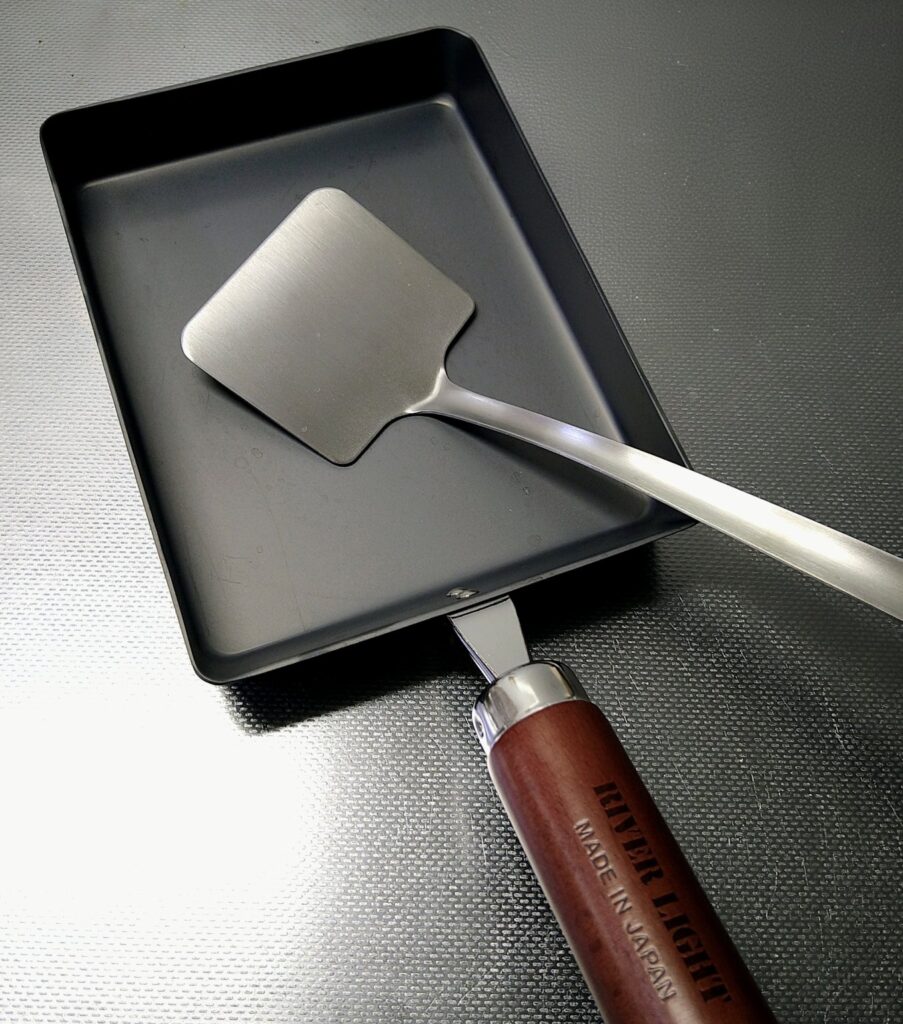
    I already use their 26cm frying pan and have been happy with it.
    Then I came across reviews saying tamagoyaki made in this pan turns out thicker and fluffier than usual.

    I wanted to see if that was really true, so I decided to give it a try.


    What It’s Like to Use
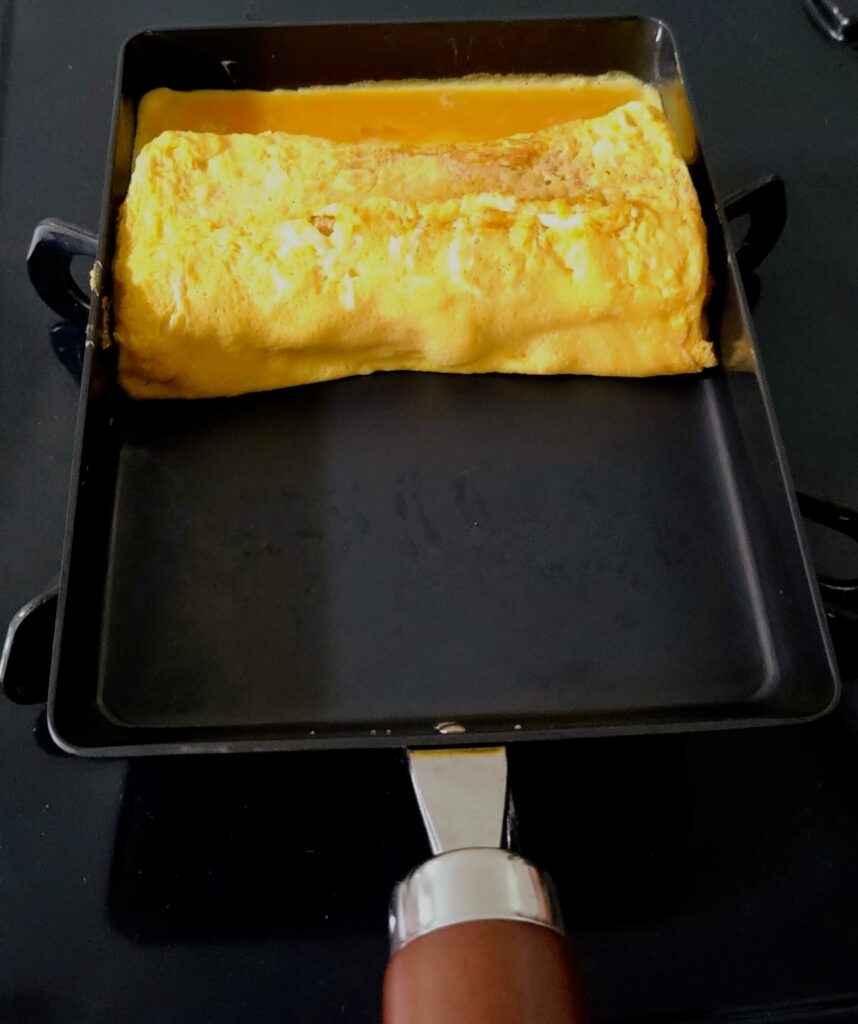
    Using it felt almost the same as the River Light 26cm pan — no adjustment needed. It heats up a little faster, which makes sense given the smaller size. The one difference: since the sides of the pan come into play when rolling, it helps to oil them too for a cleaner finish.

    With my old tamagoyaki pan, I always had to add more oil partway through to keep things from sticking. With this one, the initial oil was enough — I could roll all the way to the end without any issues.

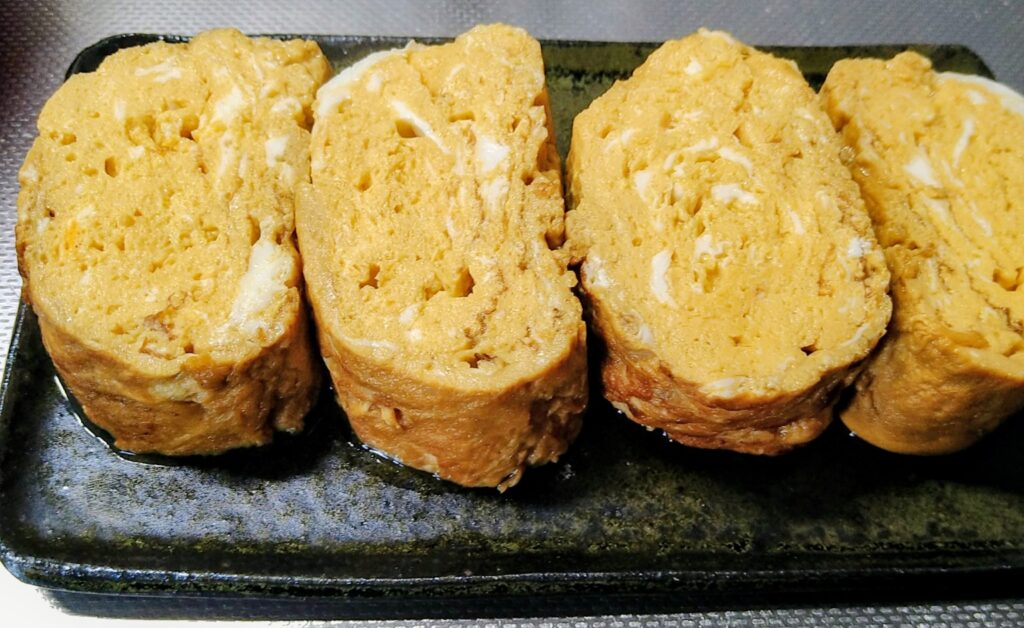
    The finished tamagoyaki was thicker, fluffier, and juicier than I expected. Just like the reviews said.

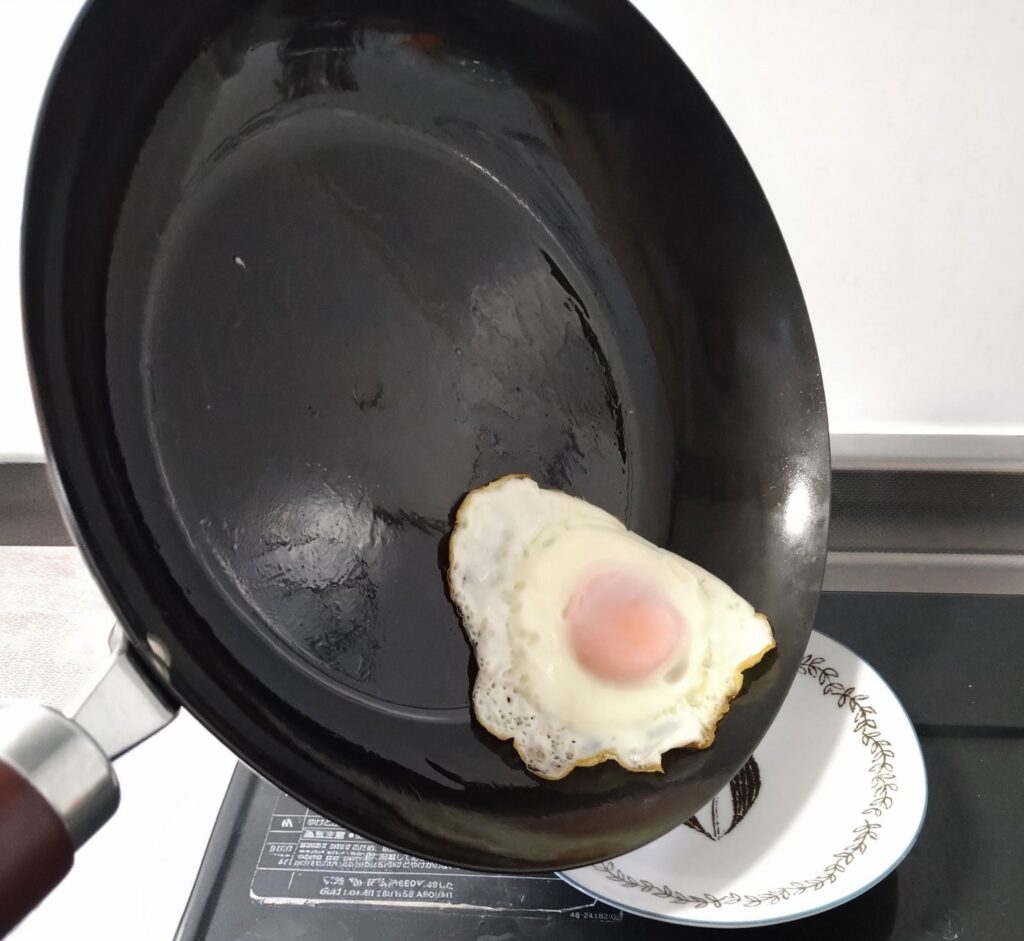
    The other surprise was how often I reached for it beyond tamagoyaki. Fried eggs, sausages, dumplings, simple breakfasts for one or two — it gets used for all of it. Despite the name, I probably use it as a small frying pan more often than as a tamagoyaki pan.
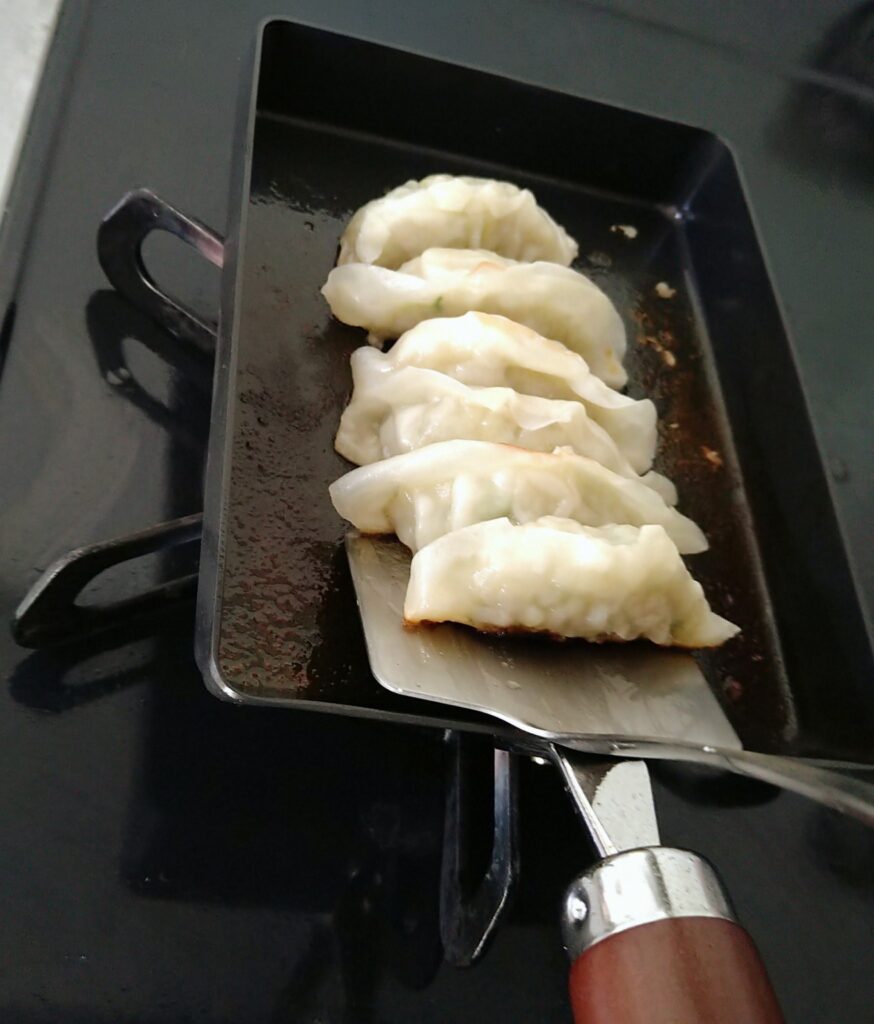

    Key Details

    Made in Japan
    Each pan is made in River Light’s own factory in Japan, with care from skilled craftsmen.

    Materials
    Uses steel manufactured by Japanese steelmakers only, with strict control over the raw materials used.

    Rust-resistant
    Thanks to a special heat treatment, it is far more resistant to rust than ordinary iron pans, even without coating.

    Easy to start using
    No initial high-heat burning process needed. After simple oil seasoning, it can be used right away.

    Made to last
    The pan itself is solidly made, and the handle and fixing parts can be replaced if they wear out.

    Handle
    The wooden handle fits comfortably in the hand and stays cool during cooking.

    Size
    Three sizes available — extra small, small, and large.

    Heat sources
    Compatible with all heat sources, including IH (200V).


    Where to Buy

    Available on Amazon US → River Light Tamagoyaki Pan


    Related Articles

    River Light Iron Frying Pan Review — A Japanese Pan I Keep Using
    Why Food Sticks to Cast Iron — And How to Prevent It
    How to Care for a Cast Iron Pan
    Is Tamagoyaki (Japanese Rolled Omelette) Difficult with a Cast Iron Pan?
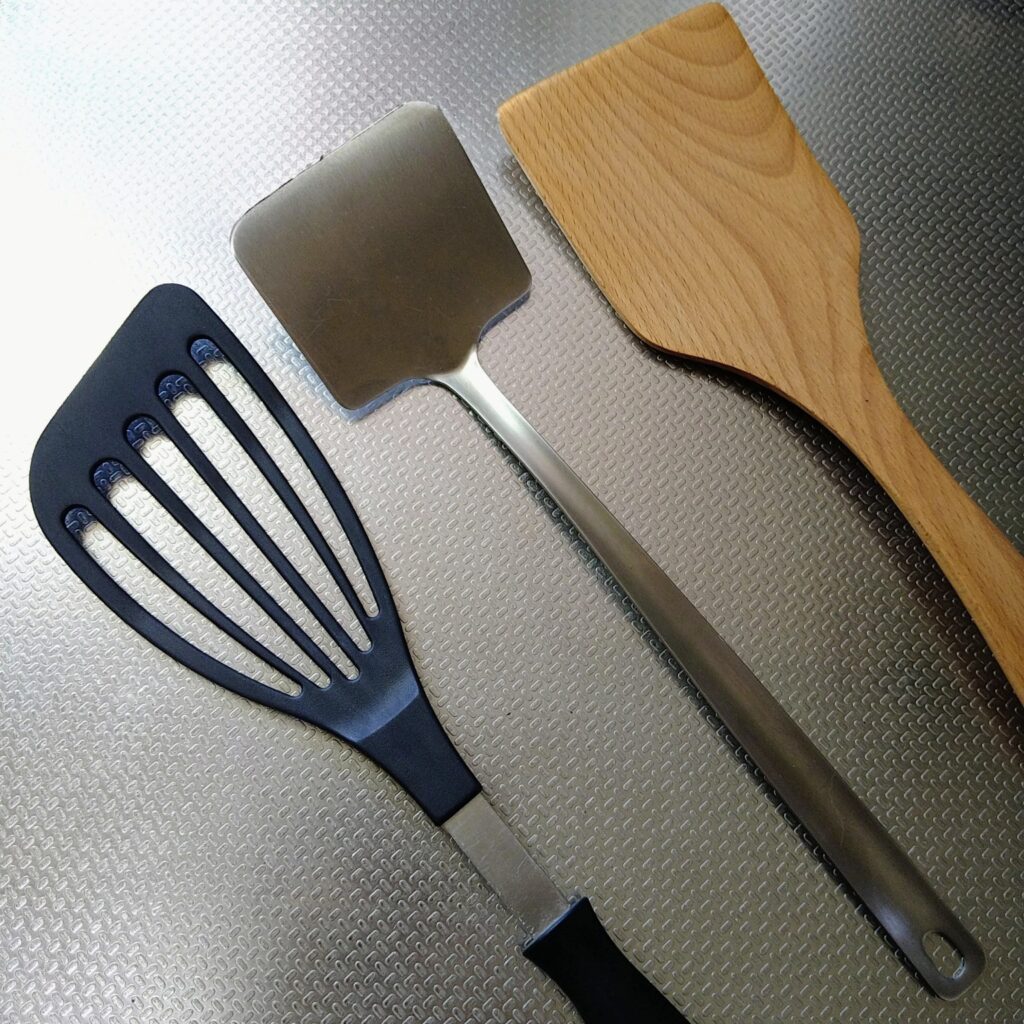
  • Wood, Silicone, or Stainless? Choosing a Turner for Cast Iron Cooking

    When I started cooking with a cast iron pan, I wasn’t sure which turner to use.

    Wood felt too thick. Silicone would bend. Stainless steel might scratch the pan. Each seemed to have its drawbacks.

    After some hesitation, I went with stainless steel.
    It turned out to be the right call.


    Wood Turner

    Wooden turners feel gentle on the pan surface and are unlikely to cause scratches.

    Over time, though, they tend to absorb oil and moisture, which can lead to lingering smells or stains. With continued use, the edge rounds off, making it harder to slide under food.


    Silicone Turner

    Silicone tools don’t scratch the surface and are easy to clean.

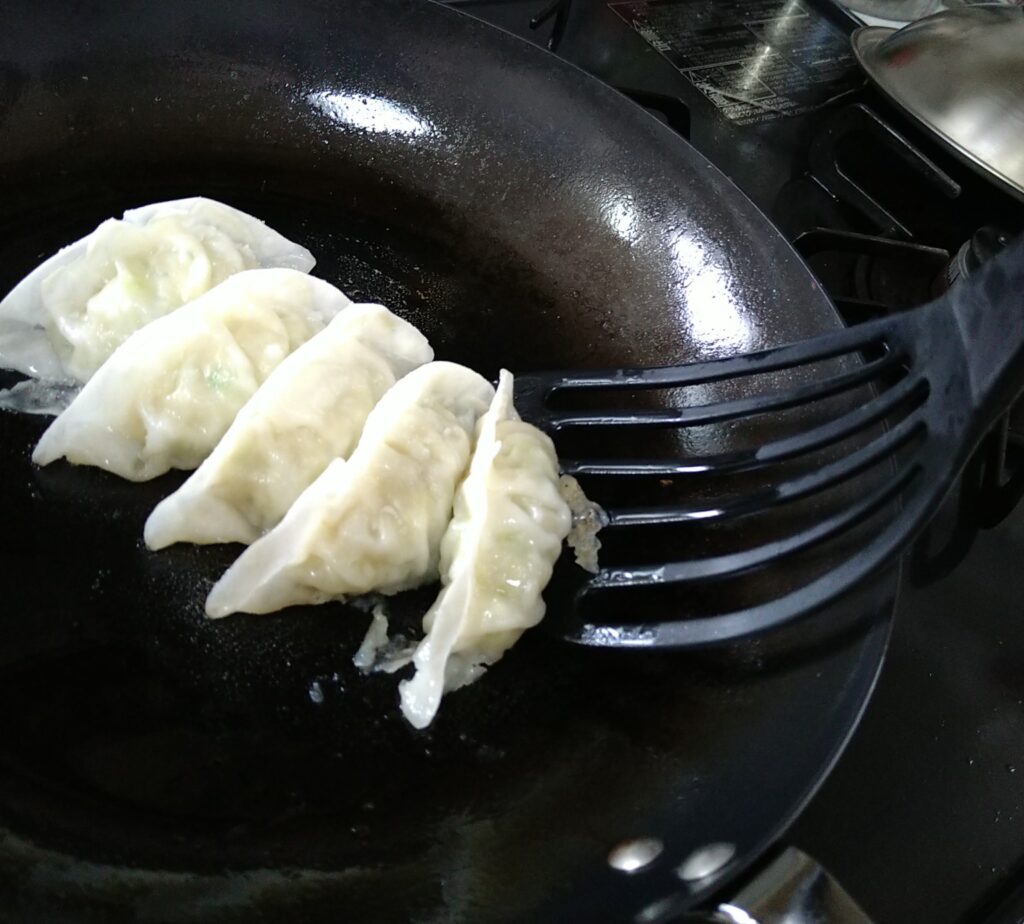
    They’re heat-resistant, so melting isn’t a concern — but with continued use, the edge loses its sharpness, making it harder to slide under food cleanly. When trying to lift heavier food or scrape something stuck to the pan, the flexibility works against you — it bends when you need it to hold firm.

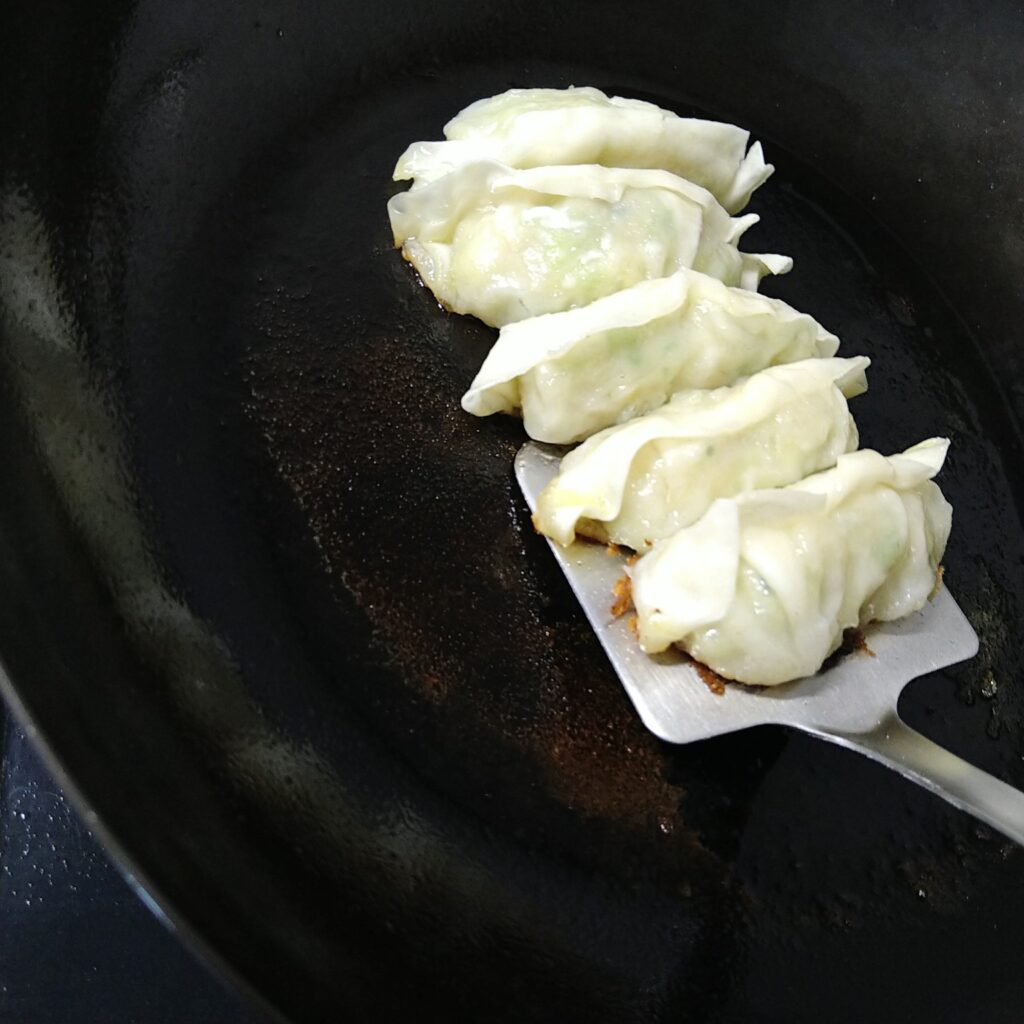
    Silicone turner bending while trying to slide under gyoza in a pan

    The silicone turner bends — and won’t slide under the gyoza.


    Stainless Steel

    It doesn’t absorb oil or moisture and dries quickly after washing.
    Firm and thin, so the edge slides in cleanly under food.

    When gyoza skin was stuck flat against the pan, I was able to slide the edge between the skin and the pan. At one point I scraped a little harder than intended — but no visible marks on the surface.
    This was my biggest concern going in, and it turned out to be a non-issue.


    Related Articles

    River Light Iron Frying Pan Review — A Japanese Pan I Keep Using
    How to Cook Gyoza in a Cast Iron Pan — Why It Sticks and What to Do About It
    Why Food Sticks to Cast Iron — And How to Prevent It


    Closing

    None of these are wrong — but stainless steel is the one I settled on.

    Thin, firm, and unbothered by heat.

    I reach for it every time without thinking.

  • The HARIO Glass Water Jug I Use Every Day

    When I think of HARIO, I think of Japanese heatproof glass.
    Durable, easy to use, and reasonably priced — I’ve somehow ended up with several at home.

    This water jug is one of them. The thing I love most about it is how cleanly it pours.

    The lid isn’t a tight seal, so I always take it off before pouring. Even when I accidentally pour too fast or too much, not a single drip falls.

    Under normal use, it doesn’t drip at all.

    It just feels good to use.


    Product Features

    Materials
    Made from 100% natural materials. No heavy metals used.

    Heat-resistant
    You can pour boiling water directly into it.

    Large capacity
    Holds 1400ml — roughly one full kettle.

    Easy to Store
    It fits neatly in the refrigerator door pocket, and the handle makes it easy to take out.

    Easy to Clean
    The lid can be removed easily. The simple design makes it easy to wash and quick to dry. It’s also dishwasher-safe.


    Where to Buy

    The HARIO Glass Water Jug I Use (Amazon US)


    Related Articles

    The HARIO Glass Teapot and Mug I Use Every Day
    The HARIO Glass Storage Containers I Use Every Day


  • Is Tamagoyaki (Japanese Rolled Omelette) Difficult with a Cast Iron Pan?
    Tamagoyaki made in a cast iron pan.

    I expected the worst — egg sticking everywhere, burning badly.
    It wasn’t like that at all.
    Even with a brand new pan, almost nothing stuck, and the tamagoyaki came out soft and juicy.


    Tips

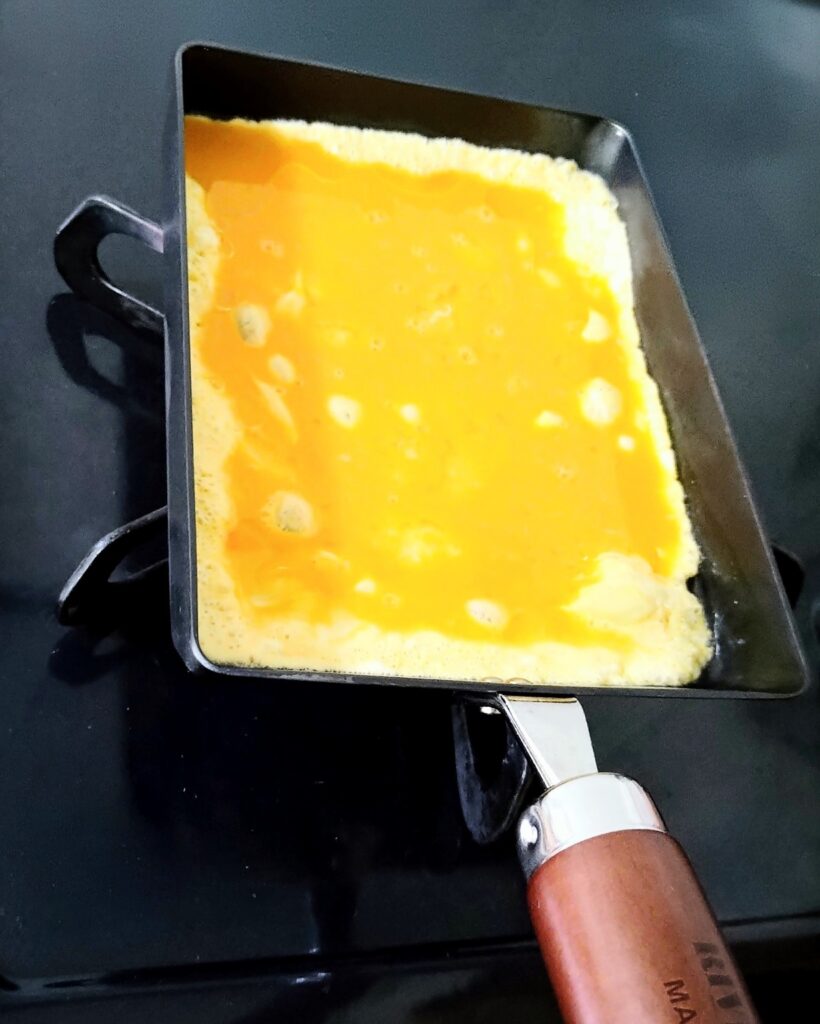
    Pouring a small amount of egg and spreading it thinly.

    Heat the pan thoroughly, just before it starts to smoke. Lower the heat, then add about 1/3 to 1/2 tablespoon of oil and tilt the pan to spread it to every corner and up the sides.
    A well-heated pan lets the oil flow easily across the surface.

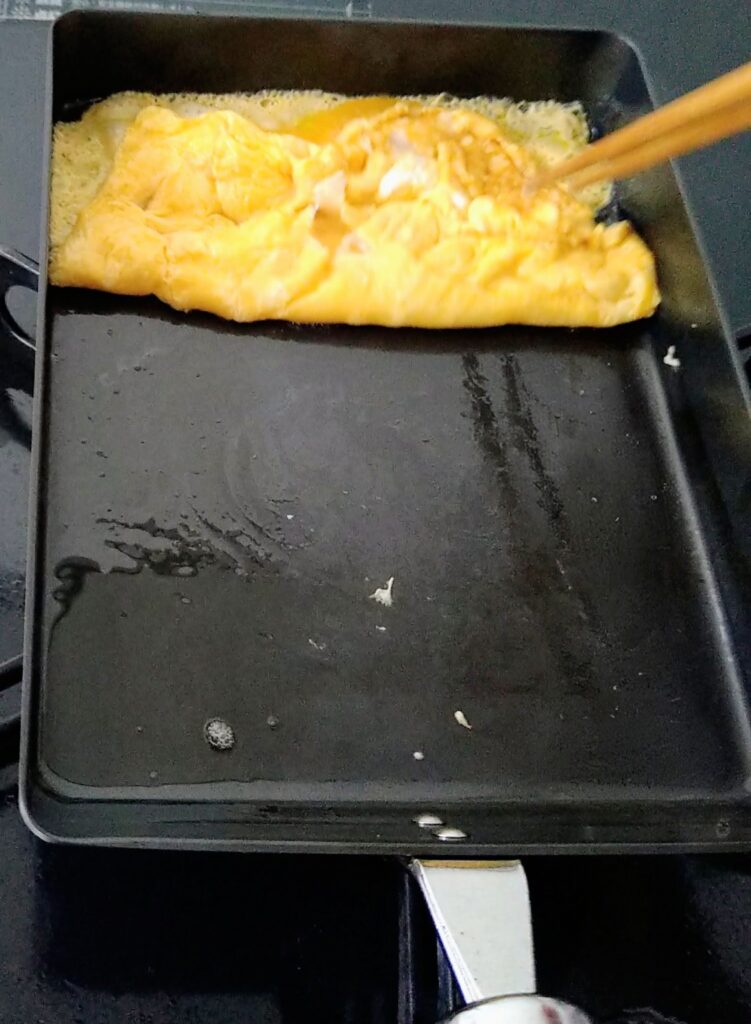
    Pour in the egg mixture in 5 to 6 small batches, rolling each layer while the surface is still half-set. Smaller amounts are easier to roll and harder to mess up.

    Keep the heat low throughout.


    Cooking It

    With just a light push from the chopsticks, the egg released cleanly.
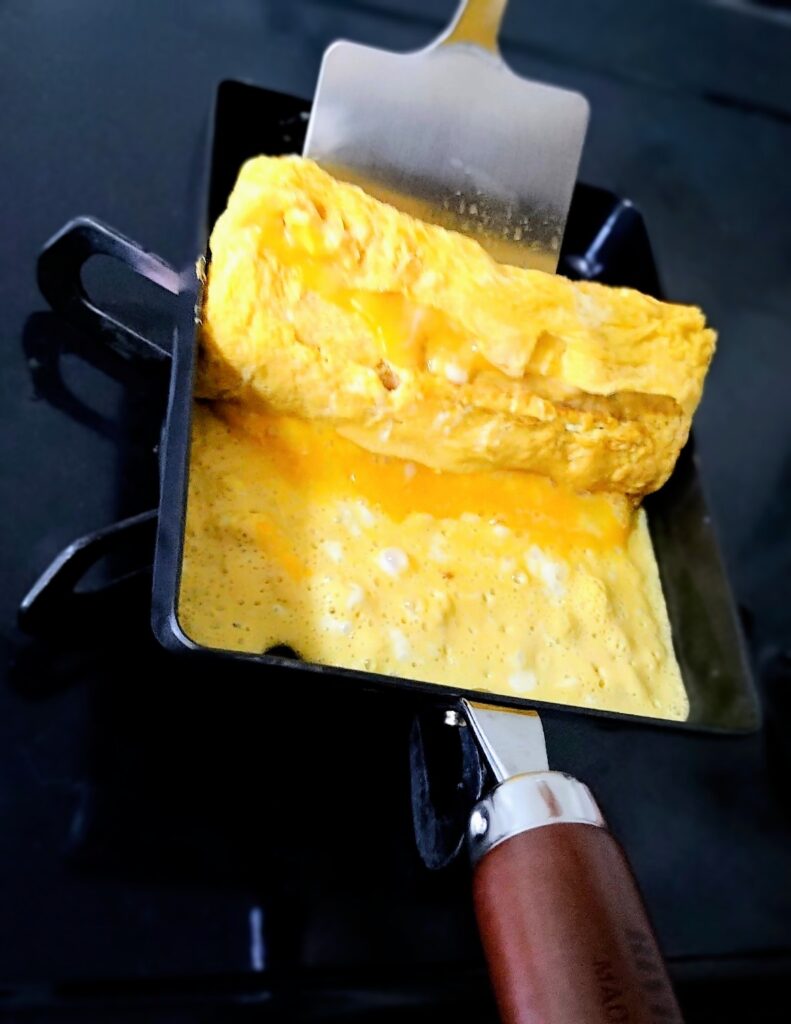
    I switched to a spatula partway through to finish rolling.

    When I used to make tamagoyaki with a non-stick pan, I would add more oil along the way. With the iron pan, the oil I added at the start was enough — nothing stuck until the end.

    The mixture had sugar in it, and the pan was well heated, so I expected burning. But it barely burned at all.

    Cooking in thin layers,
    keeping the inside soft and slightly runny.

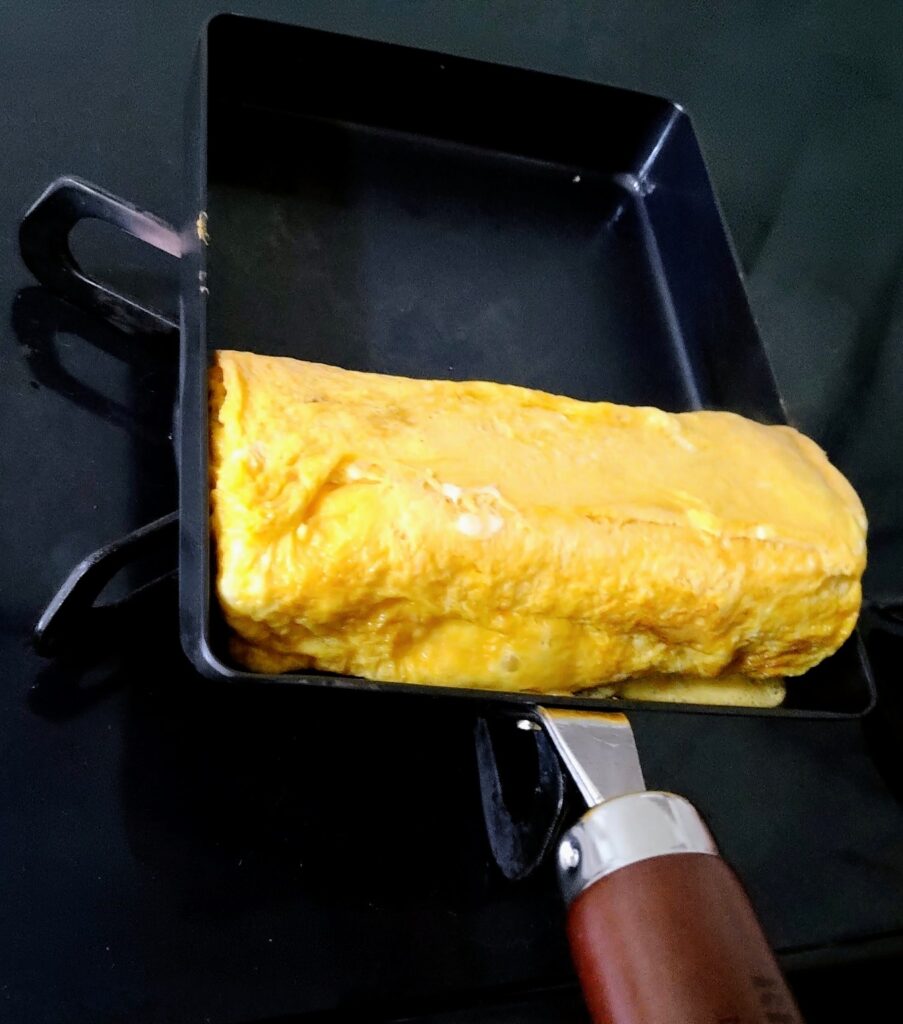
    Finished tamagoyaki,
    with the pan still clean after cooking.


    Side Note

    The last 2 or 3 layers are what matter most for the final shape.
    The middle layers can look like scrambled eggs — that’s fine.
    If you can pull it together at the end, it’s a success. By my standards, at least.


    Why It Works with Iron

    I think it comes down to the properties of the pan itself.

    Iron retains heat well, so even after adding the egg mixture, the surface temperature doesn’t drop much. Its good heat conductivity may also help the outside set quickly, even over low heat.
    As a result, the surface firms up before too much moisture can escape, which may be why the tamagoyaki stays soft and juicy without burning.

    The microscopic texture of the iron surface may also help hold a thin layer of oil. That could explain why the oil added at the start was enough to last until the end.


    Closing

    The key to soft, juicy tamagoyaki is preheating, oil, and heat control. With those in mind, making tamagoyaki in an iron pan isn’t difficult. And the result is better than you’d expect.


    Where to Buy

    This is the egg pan I use. → River Light egg pan on Amazon


    Related Articles

    River Light Iron Frying Pan Review — A Japanese Pan I Keep Using
    River Light Tamagoyaki Pan — A Rectangular Iron Pan for Japanese Rolled Omelette
    Why Food Sticks to Cast Iron Pan — And How to Prevent It
    How to Care for a Cast Iron Pan

  • The HARIO Glass Teapot and Mug I Use Every Day

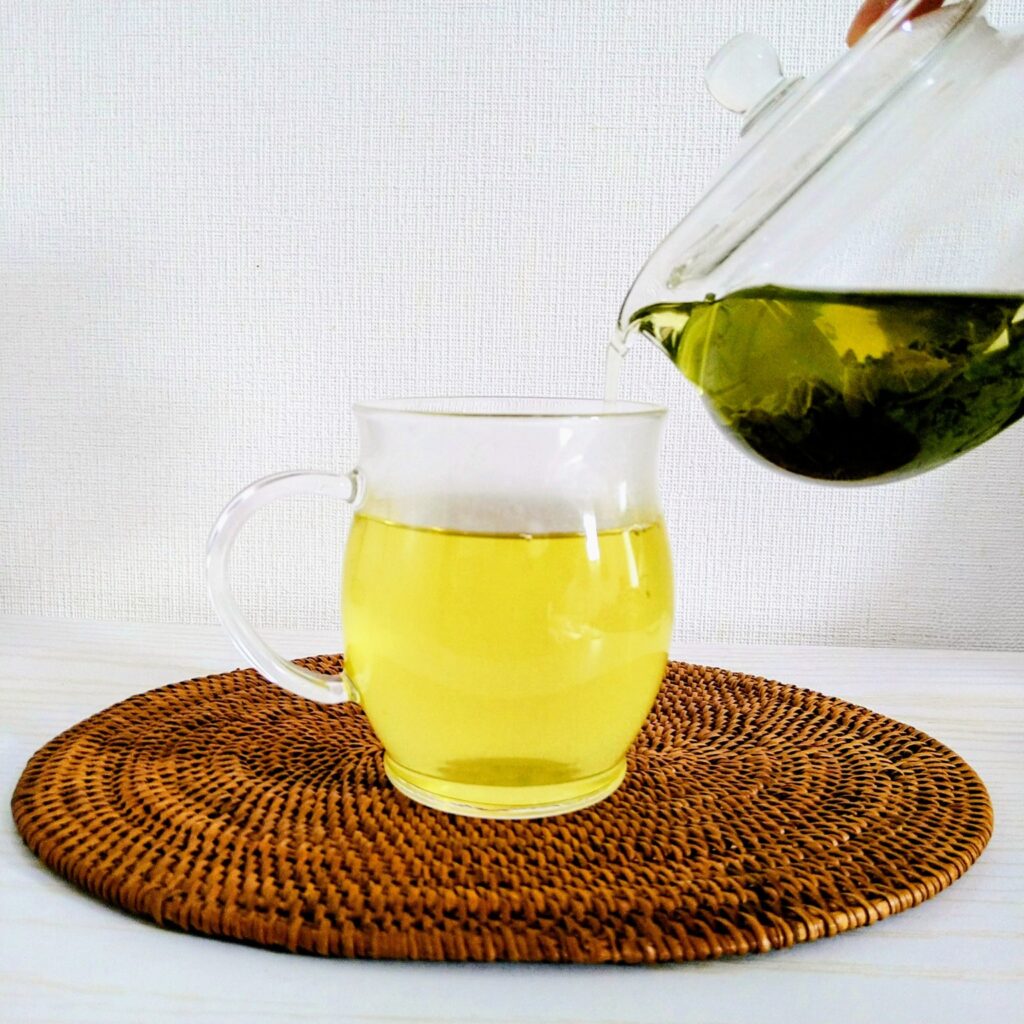
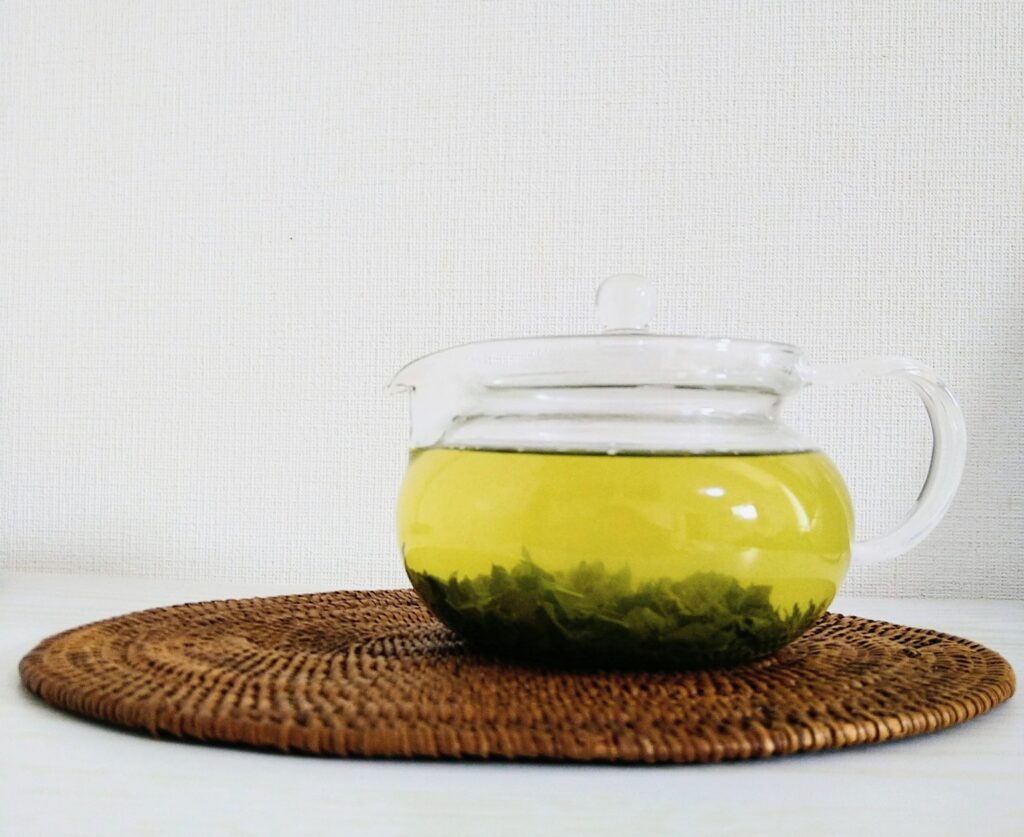
    A glass teapot and mug let you see exactly what you’re brewing and drinking — nothing is hidden. This is the set I use every day.

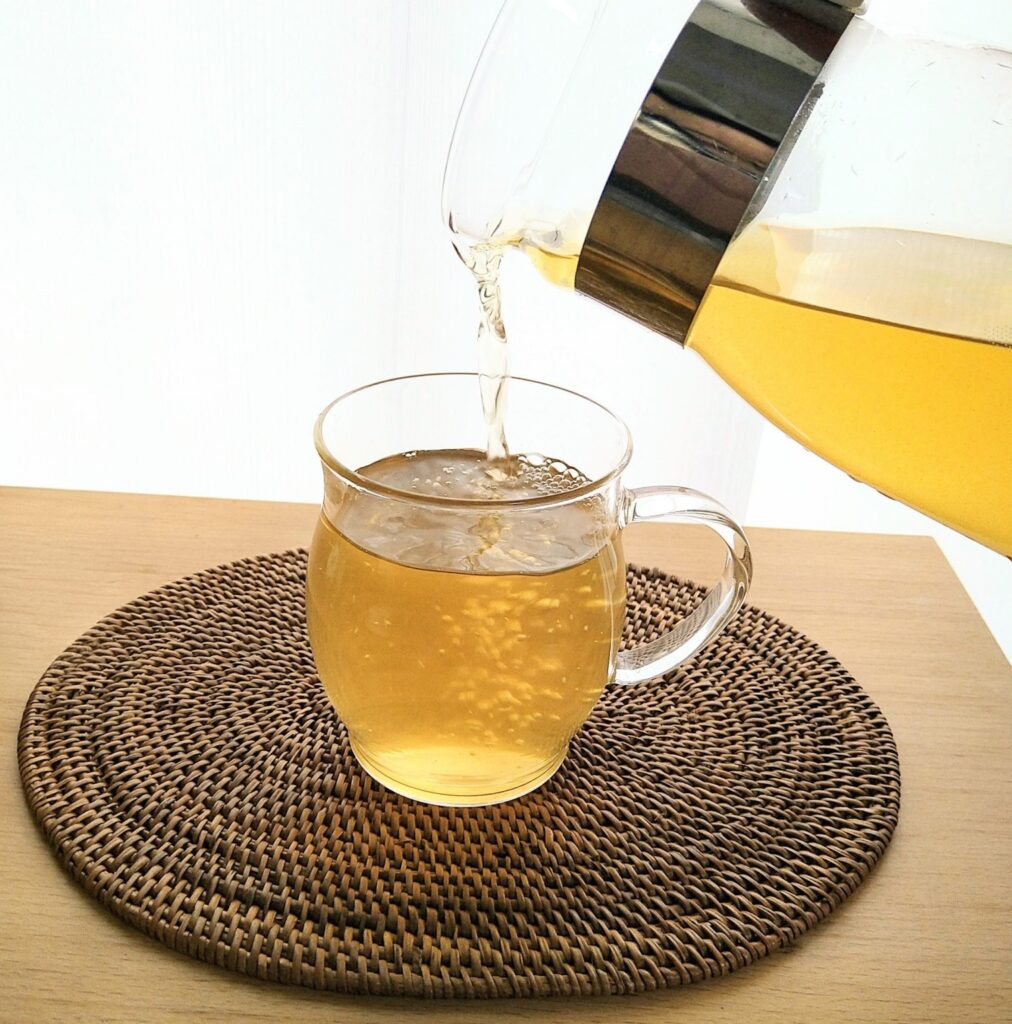
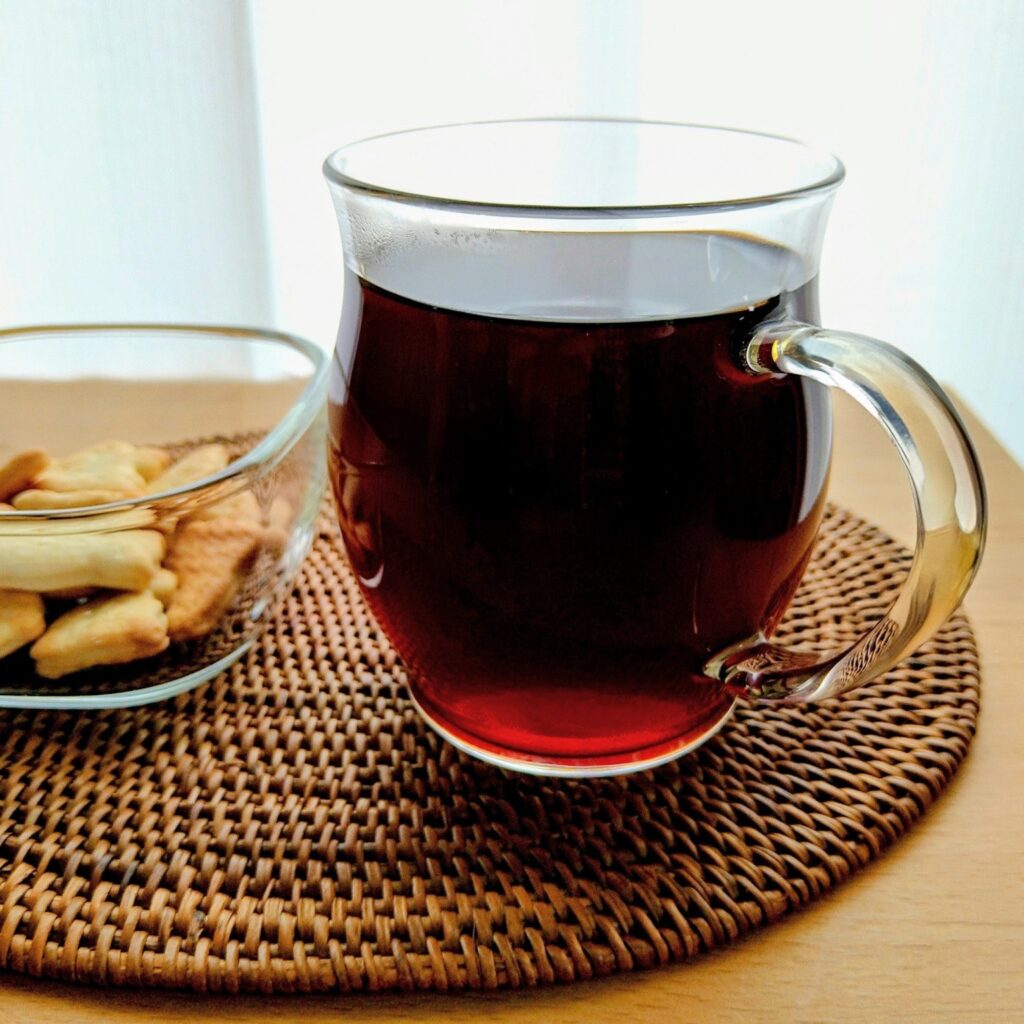
    Pouring tea into a glass mug.
    You can see the color clearly.


    Why HARIO

    HARIO has been making heatproof glass in Japan since 1921 — starting with laboratory glassware, where precision and quality were everything. That same standard carries through to their everyday products today.

    And it shows: all glass is made from 100% natural minerals. For something that touches your food and drink every day, that kind of care matters.


    Teapot

    Watching the leaves open is part of the process.

    I use this teapot mostly for green tea and hojicha.
    Through the glass, you can watch the leaves open and adjust the strength as it brews.

    I don’t use the included strainer, but I’ve never had issues with leaves getting stuck. It pours cleanly without dripping and is easy to wash.

    A ceramic teapot can make the taste feel a bit rounder, but glass feels more direct — like you’re tasting the tea as it is.


    Mug

    The clear glass makes the color and aroma feel a little closer.

    I use the mug for tea and coffee.
    I own many ceramic cups, but I often reach for this one.
    It doesn’t stain easily, can go in the dishwasher, and can be reheated in the microwave. It’s lightweight and easy to handle.

    I also like the rounded shape. It allows air to move gently inside the cup, which helps the aroma rise and gather near the rim. Because of that, the fragrance feels a little easier to enjoy.

    It’s simple, but something I find myself using every day.


    Where to Buy

    HARIO Glass Teapot I Use (Amazon US)
    HARIO Glass Mug I Use (Amazon US)


    Related Articles

    The HARIO Glass Water Jug I Use Every Day
    The HARIO Glass Storage Containers I Use Every Day


    Closing

    Simple glassware that quietly fits into the rhythm of everyday life.

  • The HARIO Glass Storage Containers I Use Every Day

    I’ve been gradually replacing my plastic containers with glass ones.
    For something I use every day, I wanted something comfortable to use. These are the ones I chose.


    Why HARIO

    HARIO has been making heatproof glass in Japan since 1921 — starting with laboratory glassware, where precision and quality were everything. That same standard carries through to their everyday products today.

    The name itself means “King of Glass,” and they live up to it: all glass is made from 100% natural minerals, and since 1972, their factory has operated without smokestacks — a commitment to the environment that was well ahead of its time.


    What It’s Like to Us

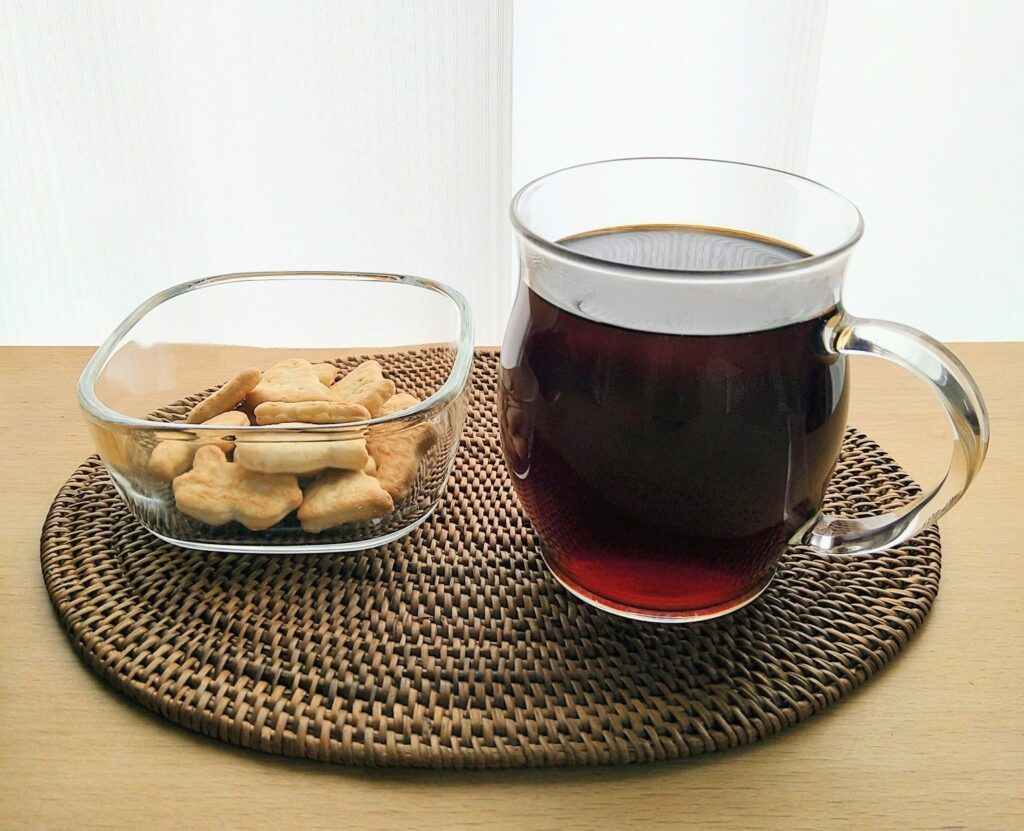
    HARIO glass storage container with biscuits and glass mug for everyday use

    Biscuits in a small glass container, with a HARIO mug.

    I use different sizes throughout the day.

    The small ones work well as lunch containers — I often pack rice in one and bring it to work. They’re also the right size for dipping sauces or a small snack on the side.

    The medium size works for salads, rice bowls, dishes with a lot of liquid, and even as a prep bowl.

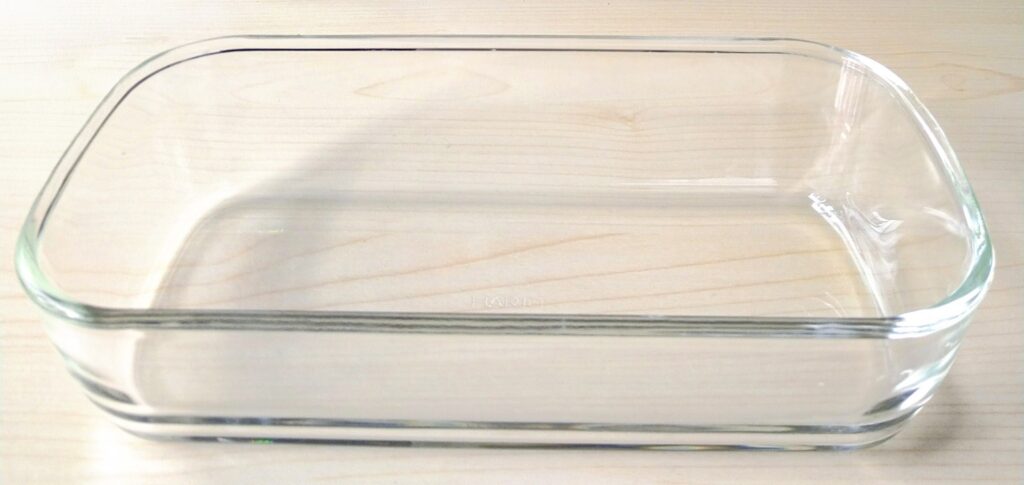
    The larger rectangular ones hold just about anything — fish, vegetables, rice, or leftovers.

    Unlike plastic, I can heat them straight in the microwave without transferring the food to another dish, and they don’t absorb odors or stains.

    They look simple and clean, so when I’m short on time or don’t want extra dishes to wash, I often just put them on the table as they are.

    They also feel solid and durable. I sometimes bump them while washing or drying them, but I haven’t had a single one break.

    On busy days, it helps that I can just use them without thinking too much.

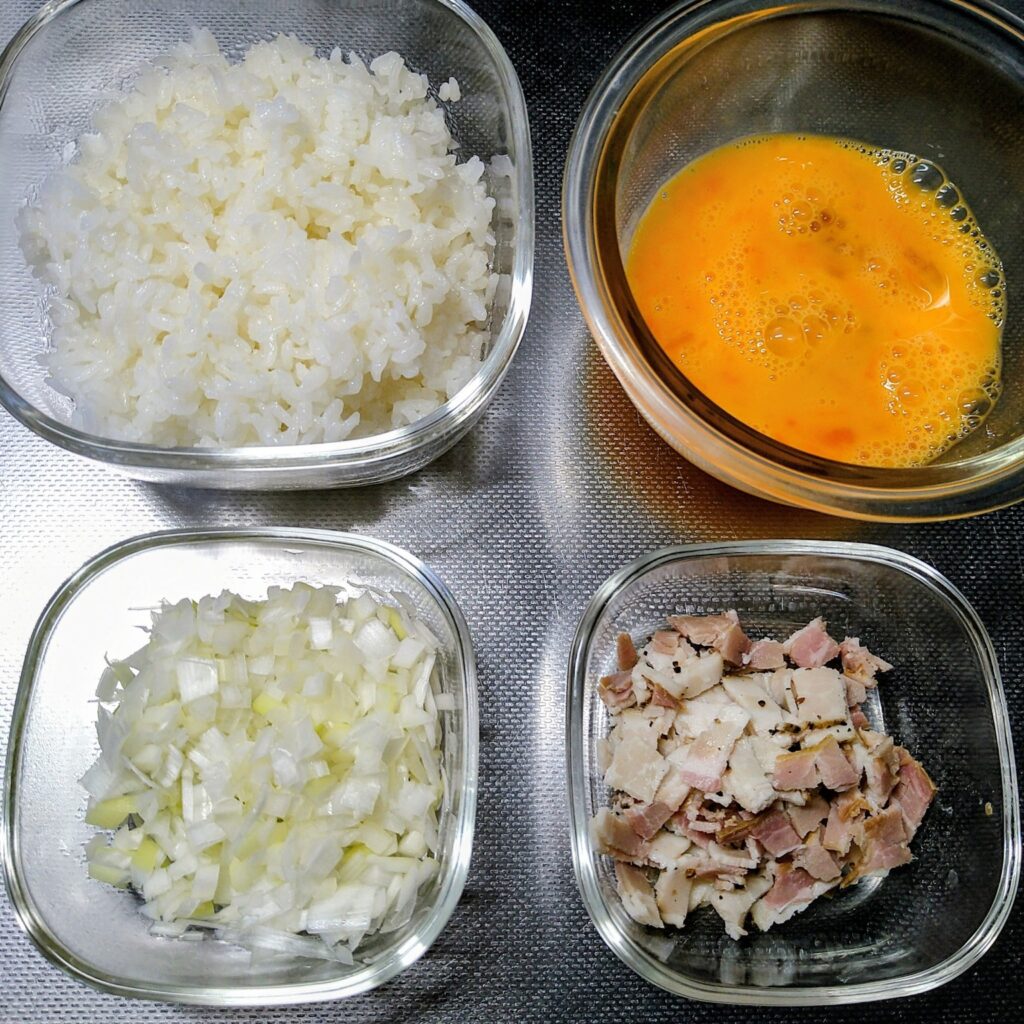
    Ingredients prepped in HARIO glass containers before making fried rice.


    Key Details

    • Made in Japan
    • Made from natural materials (no heavy metals)
    • Oven and microwave safe
    • Dishwasher safe

    Things to Keep in Mind

    • The lid isn’t fully airtight

    Closing

    It’s a simple glass container, but one I reach for every day.


    Where to Buy

    The HARIO Glass Storage Containers I Use (Amazon US)


    Related Articles

    The HARIO Glass Teapot and Mug
    The HARIO Glass Storage Containers I Use Every Day

  • What Is a Tawashi? A Traditional Japanese Scrubbing Brush

    A tawashi is a traditional Japanese scrubbing brush used for cleaning cookware, vegetables, and kitchen tools.

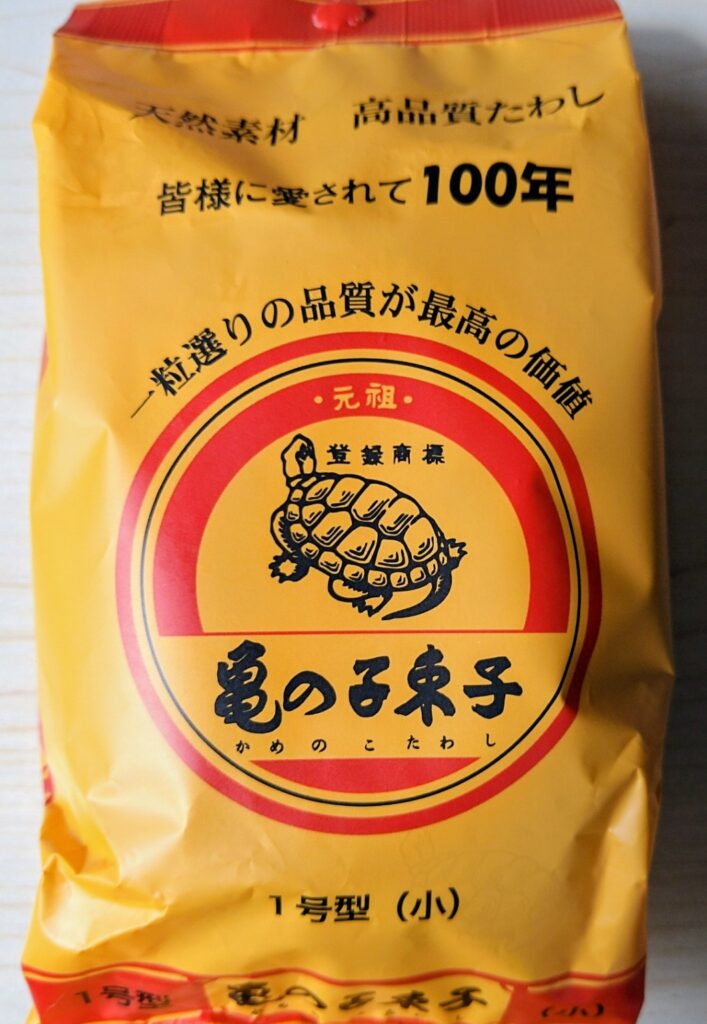
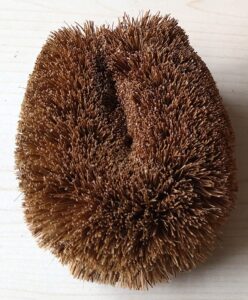
    The oval-shaped Kamenoko tawashi was invented in 1907 by Nishio Shoten in Tokyo, and is still widely used today.

    Kamenoko tawashi literally means “baby turtle tawashi.”
    The oval shape was said to resemble a small turtle.


    How it differs from Western scrubbers

    In many Western kitchens, natural fiber brushes are used too — but they tend to be purpose-specific. A vegetable brush for produce, a dish brush for cookware, a nail brush for hands.

    A tawashi is a little different.
    One brush can move from cast iron pan to root vegetables to sink drain — without skipping a beat.

    That versatility, combined with its durability, is what has kept it in Japanese kitchens for over a century.


    Types of tawashi

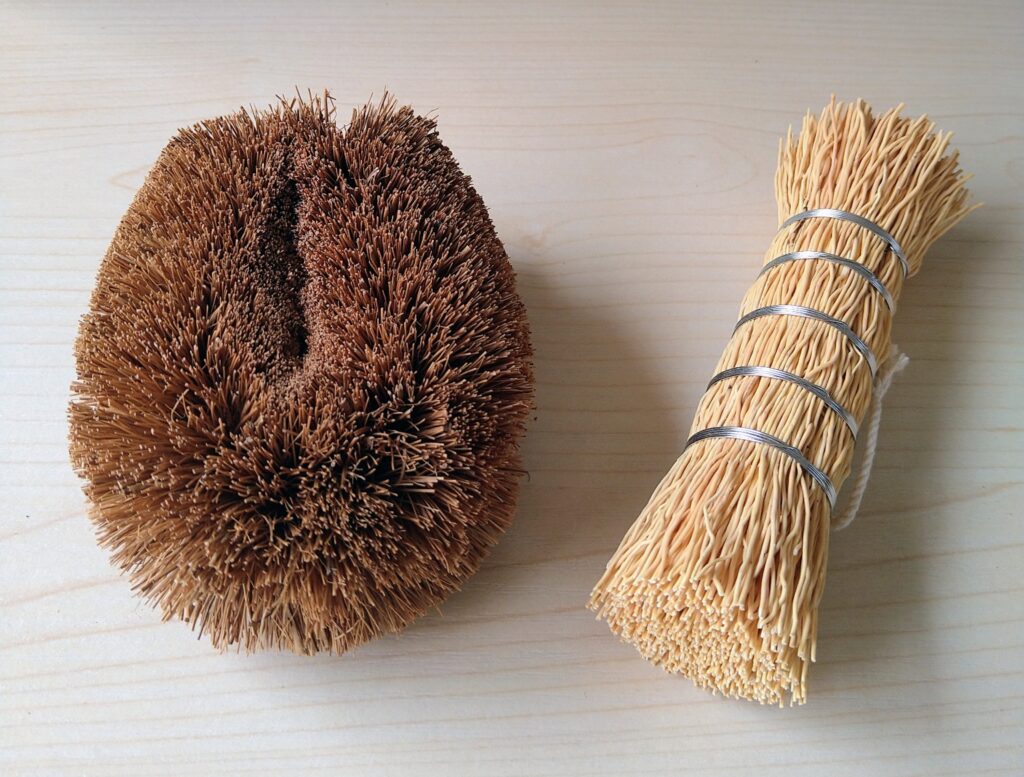
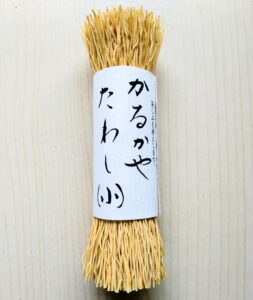
    Kamenoko Tawashi and Karukaya Tawashi

    Palm (coconut fiber)

    The firmest and most durable.
    Firm, springy fibers remove burnt-on residue and oily buildup from iron plates and grills.


    Shuro (palm bark fiber)
    Balanced in firmness, with resilient yet flexible fibers. Gentle on surfaces, it cleans without scratching.
    Suitable for glass, ceramics, and non-stick pans.


    Sisal
    The softest fibers among the four. Gently wipes away residue rather than scraping it off.
    Suitable for non-stick pans, plastic containers, sinks, and bathtubs.


    Karukaya

    Thick, firm, and durable fibers that don’t absorb oil easily. Removes burnt-on and stuck-on food from cast iron pans.
    Dries quickly after use.


    How to Use Tawashi

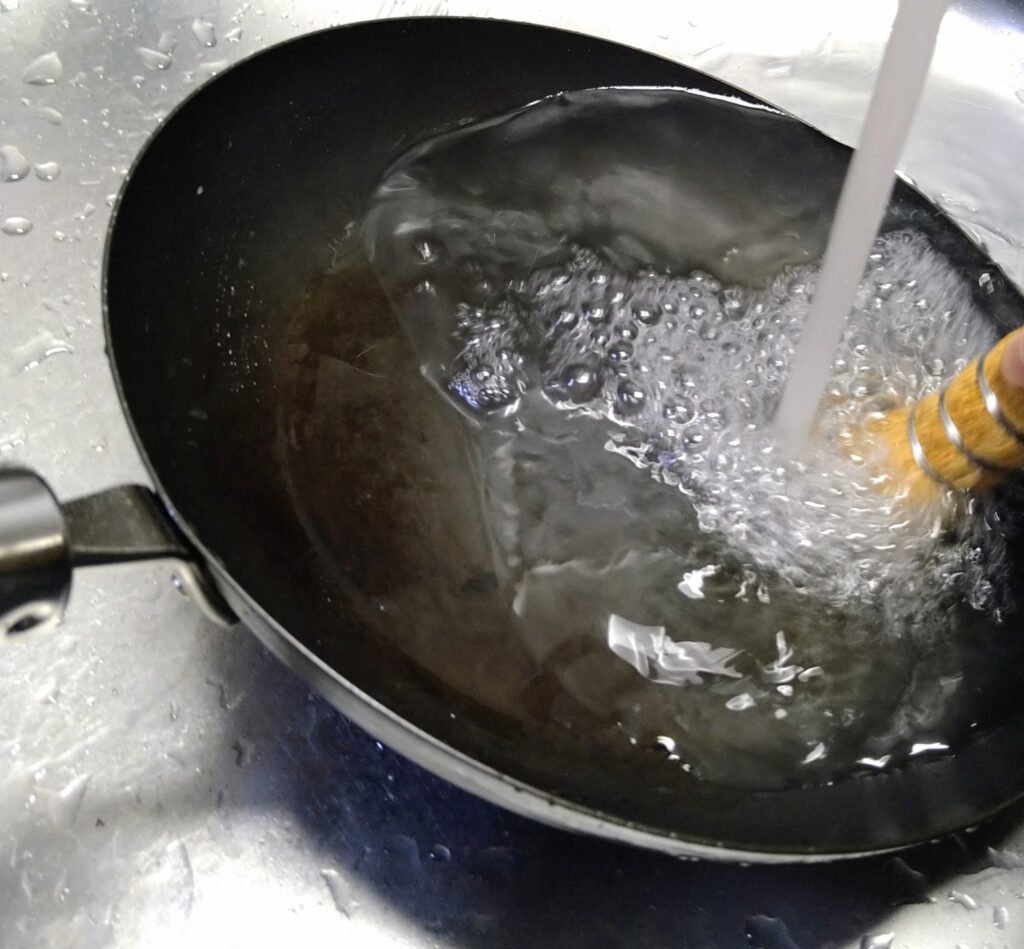
    I mainly use a karukaya brush for my cast iron pan.
    Because it’s made from natural fibers, it doesn’t strip away too much of the oil layer, and it’s less likely to scratch the surface.

    Its slim shape also makes it easy to hold.

    Pots and pans are often washed
    with just water and a tawashi.

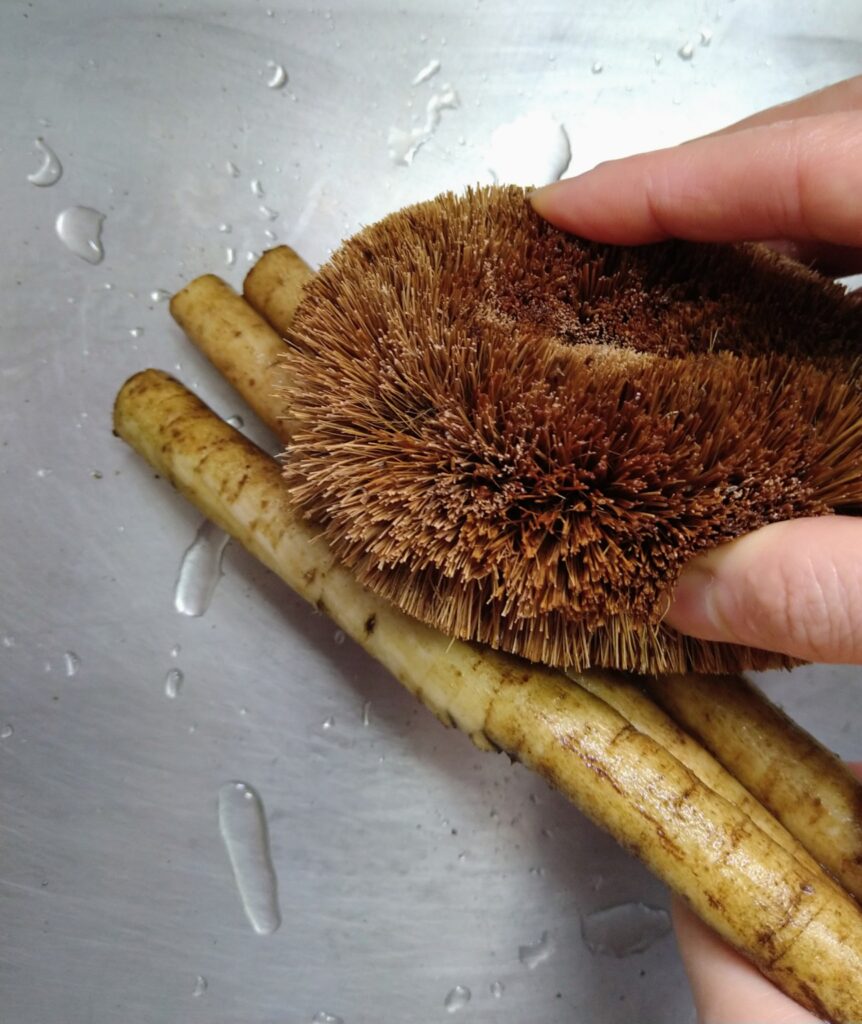
    For root vegetables such as burdock and potatoes, I use the oval-shaped tawashi.
    The firm fibers help remove dirt effectively, and using natural materials feels more suitable for something that comes into direct contact with food.

    A tawashi is perfect for cleaning
    soil-covered vegetables like burdock root.

    Tawashi are also useful beyond the kitchen.

    They work well for cleaning stove grates, drains, shoes, and even outdoor surfaces.
    Because they are durable and versatile, they rarely get thrown away after kitchen use — they simply move on to the next job.


    Where to Buy

    Available on Amazon US.
    the palm tawashi on Amazon
    the karukaya tawashi on Amazon


    Related Articles

    A Cast Iron Pan for Everyday Cooking
    River Light Iron Frying Pan Review — A Japanese Pan I Keep Using
    How to Care for a Cast Iron Pan
    Karukaya Brush for Cast Iron Pans — A Natural Scrubber from Japan


    Closing

    A simple tool, quietly used in everyday life.

  • How to Care for a Cast Iron Pan

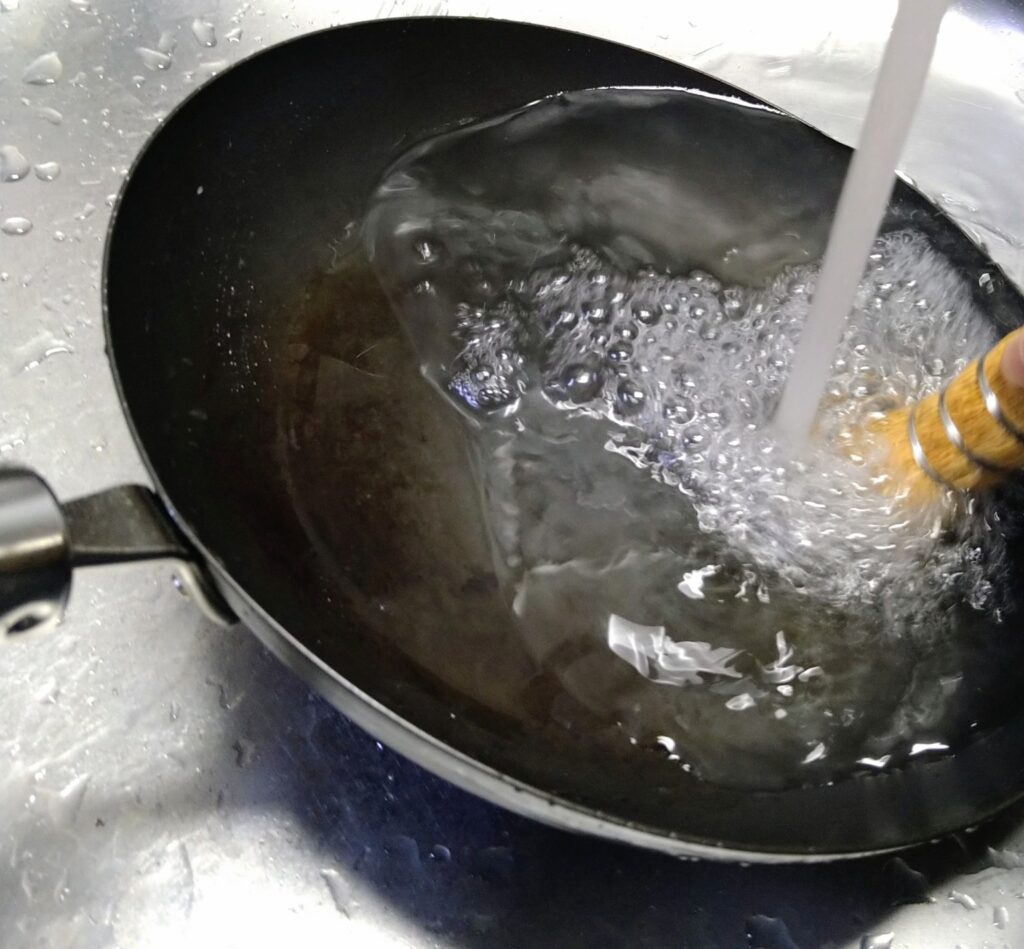
    Washing the pan with water and a natural fiber brush.

    Cast iron pans have been used for centuries — long before modern coatings and special treatments existed.

    They are often thought to be difficult to maintain — easily rusted, hard to clean, and requiring special treatment after every use.

    In reality, their care is quite simple once you understand a few basic routines. This is how I care for mine.


    Transfer the food shortly after cooking

    Leaving food in the pan for too long can make it more prone to rust, especially when the dish contains acid or salt.


    Wash the pan with water and a brush

    Cast iron pans are generally washed without detergent.
    This helps the surface gradually build its natural oil layer over time.

    Instead of a sponge, a scrubbing brush or a traditional tawashi works better for removing residue. Unlike coated pans, cast iron has no surface treatment to protect, so you can scrub it firmly without worry.

    If food is badly stuck or there is stubborn residue, add some water and bring it to a boil. Let it sit for a moment to loosen the residue, then scrub it away.

    I use a karukaya brush for everyday washing.
    You can read more about it here.
    Karukaya: A Simple Brush for Cast Iron

    That said, if you are concerned about oil buildup, washing occasionally with a small amount of dish soap is fine.
    The oil layer, once properly formed, is more resilient than it might seem.
    → Why My Iron Pan Is Turning Black


    Dry the pan thoroughly

    After washing, wipe away the moisture with a paper towel or place the pan over heat to evaporate any remaining water.

    If wiping leaves dark marks on the paper towel, it’s simply iron and oil from the surface — nothing harmful.


    Apply oil when necessary

    Because the pan is generally washed without detergent, oil gradually settles into the surface over time. Even if you occasionally wash it with detergent, the pan will still continue to develop seasoning through regular cooking and heating. For this reason, there is no need to apply oil after every use.

    However, if the pan will not be used for a long period, apply a thin layer of oil before storing to help prevent rust.


    Burn off stubborn residue

    If stubborn residue remains even after scrubbing with a natural brush, place the pan on the stove and heat it for about 10 minutes. Use moderate heat so the pan does not smoke excessively.
    This burns off the stuck residue.

    After letting the pan cool slightly, scrub it with a copper or stainless steel scrubber.


    If Rust Appears

    If reddish-brown rust appears on the surface, scrub it off with a copper or stainless steel scrubber.
    Wash the pan thoroughly, dry it completely, and apply a thin coat of oil and heat the pan to re-season.
    The pan can still be used — rust does not mean the pan is ruined.


    Closing

    Over time, these small routines simply become part of cooking.

    The pan slowly builds its surface, and before long, it becomes a tool you reach for without thinking.

    Quiet, simple cookware meant to stay in the kitchen for years.

  • Why Food Sticks to Cast Iron Pan— And How to Prevent It

    Why Food Sticks

    Food sticks when the pan isn’t preheated enough or when there isn’t enough oil. Without enough heat, food bonds to the surface before it has a chance to set. Too little oil exposes the metal, making sticking more likely.


    The Shield — Heat and Oil

    The foundation of cast iron cooking is the shield — keeping food from bonding directly to the metal surface. Heat and oil create it together.

    A properly preheated pan instantly sears and sets the surface of the food the moment it makes contact. Oil gets between the food and the pan, preventing direct contact. Neither works alone — only together do they form the shield.

    Heat the pan until just before it starts to smoke — if you see a faint wisp, lower the heat slightly — then add the oil. When the pan is properly preheated, the oil spreads quickly and smoothly. That’s a sign the temperature is right.


    Protein vs. Carbs — Different Behavior

    Food behaves very differently in a cast iron pan depending on what you’re cooking.

    Protein

    Protein contracts as heat gets through. Even if it sticks at first, it will usually release on its own as the surface sets — as long as the shield is working. Patience is key.

    If it still sticks, add a small splash of water, cover with a lid, and let the steam help release it. If needed, turn off the heat and wait. Don’t force it.

    Carbs

    Starch gelatinizes when exposed to heat and moisture, bonding to the surface of the pan. Unlike protein, the more heat and moisture it gets, the more it sticks.

    The shield alone isn’t enough. Two more things are needed.

    Moisture Management — Maintaining the Shield
    Too much moisture lowers the pan’s temperature and weakens the shield. Keep the surface of the food as dry as possible. Get this wrong, and even the right tool won’t be able to help.

    The Right Tool — The Spear
    To release carbs that have bonded to the pan, a thin, rigid stainless steel turner is the tool for the job. Silicone is too soft and lacks a sharp edge. Wood is hard but too thick. Neither can cut through the bond between the food and the pan.


    Breaking In and Oil Priming

    For a new pan, it helps to do an initial oil treatment. Heat a generous amount of oil in the pan, swirl it to coat the entire surface, then pour the excess back into an oil pot. Oil priming before cooking works the same way. It creates an even film of oil across the surface and helps prevent sticking. I only did this in the early days.

    It doesn’t have to be perfect. What matters is building up layers over time through regular use.


    Closing

    Cast iron isn’t difficult. The basics are heat, oil, and a little patience.
    For carbs, moisture management and the right tool matter just as much. Once you understand how different foods behave, cast iron becomes much easier to use.


    Related Articles

    River Light Cast Iron Pan from Japan — A Simple Pan I Keep Using
    How to Care for a Cast Iron Pan
    How to Cook Gyoza in a Cast Iron Pan — Why It Sticks and What to  Do About It
    How I Made Fried Rice in a Cast Iron Pan — What Gyoza Taught Me


  • Karukaya Brush for Cast Iron Pans — A Natural Scrubber from Japan

    A traditional brush used in everyday Japanese kitchens.

    Cast iron has no coating, so you can scrub it firmly — but choosing the right tool still matters.

    Metal scrubbers can scratch the surface.

    Sponges struggle with oil residue and burnt-on food, and using one on a hot pan can leave an unpleasant smell.

    That’s where a brush like this makes a real difference.


    What is a Karukaya brush?

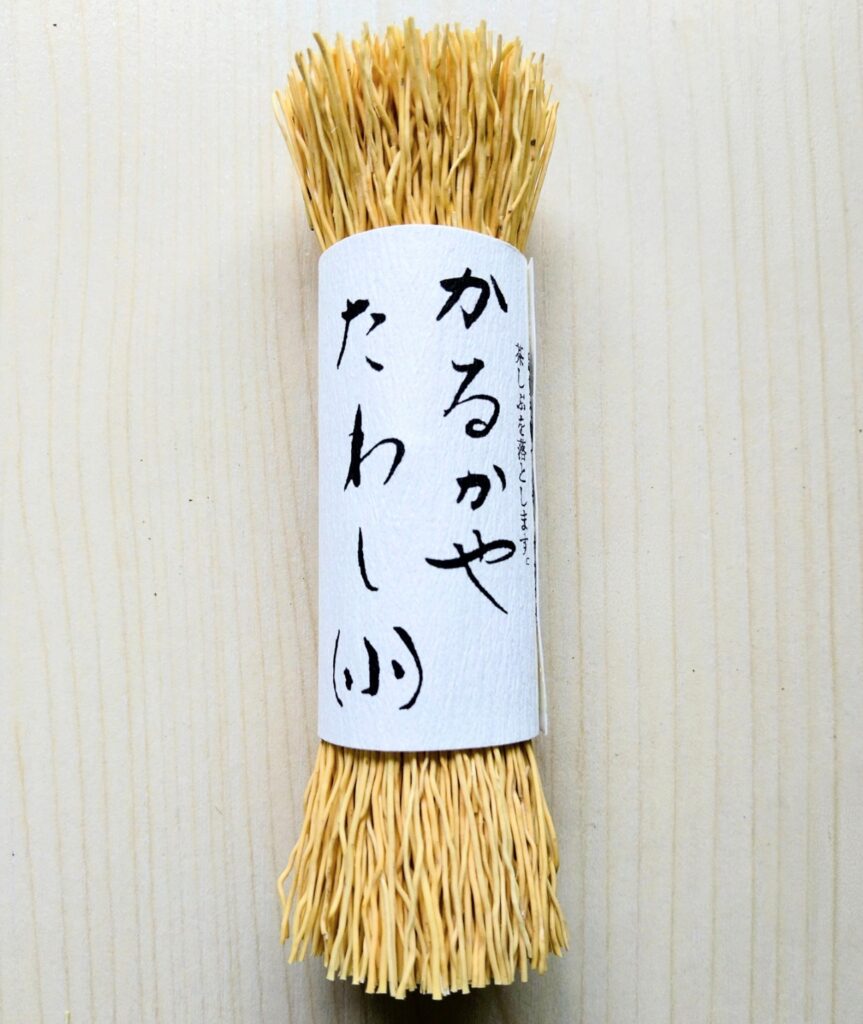
    A karukaya brush is made from the roots of karukaya, a grass plant native to Japan.

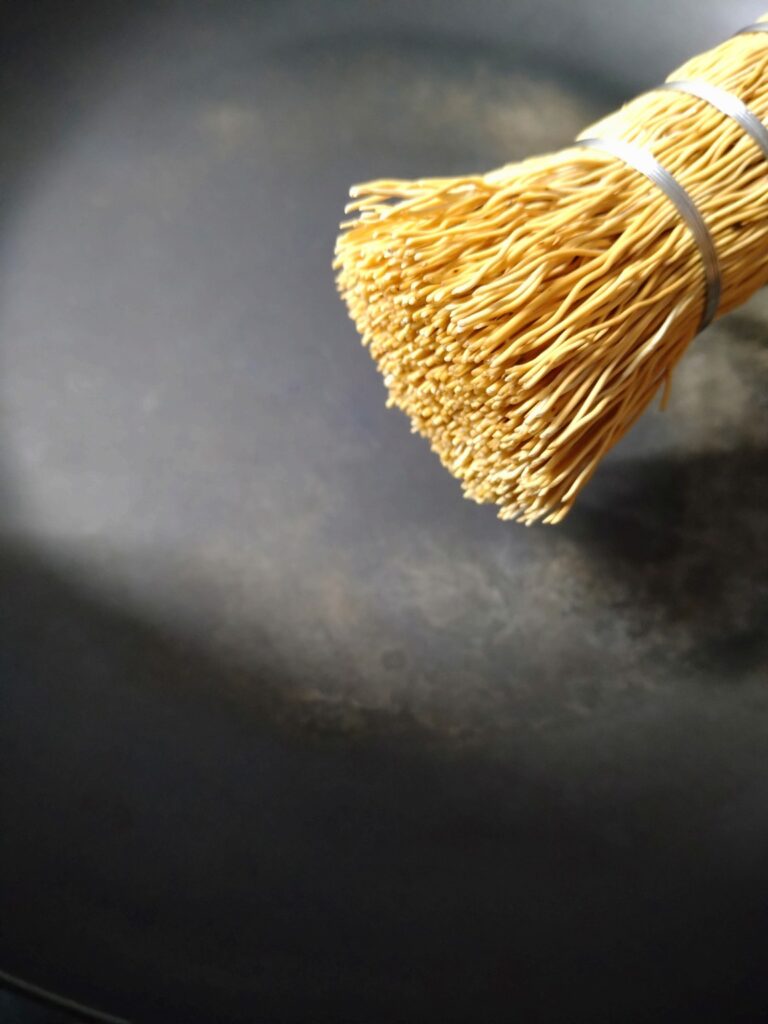
    The fibers are thick, stiff, and springy — firm enough to tackle stubborn residue that a sponge simply can’t handle, while still being gentle enough not to strip the seasoning from cast iron.

    Because the fibers don’t absorb oil, the brush is well-suited for washing greasy pans and cookware. It also drains and dries quickly after use, which helps prevent mold and keeps it hygienic over time.

    And perhaps its most practical feature is its shape.
    The slim, stick-like form means you can wash the pan while it’s still hot — something you’d never want to do with a sponge. It also keeps your hands at a safe distance from the heat, which makes the whole process feel much more comfortable.


    Size and Design

    Two sizes are available, so you can choose based on your pan size, shape, or hand size.

    I use mine on a 26cm frying pan and a tamagoyaki pan.
    For the tamagoyaki pan in particular, the smaller size works much better for reaching into the corners and along the sides.

    There’s a loop in the middle of the brush, so after use I hang it on a hook to dry.

    As the tips wear down over time, you can remove the wire binding and trim the fibers slightly to keep using it.


    A few notes on using it

    For cast iron, I mostly wash with just water and the brush.
    When there’s heavier oil residue, I’ll use a small amount of dish soap — it cleans both the pan and the brush at the same time, which is satisfying.

    When skipping soap, I’ll occasionally pour boiling water over it to sanitize, though I don’t do this every time.

    At first, some fibers may come loose, but this settles down with use.


    Where to Buy

    Available on Amazon US. → karukaya brush on Amazon


    Related Articles

    How to Care for a Cast Iron Pan
    River Light Iron Frying Pan Review — A Japanese Pan I Keep Using
    Why Food Sticks to Cast Iron Pan — And How to Prevent It


    Closing

    If you cook with cast iron, having a brush like this makes daily cleaning much easier.

    This is the one I use in my own kitchen.