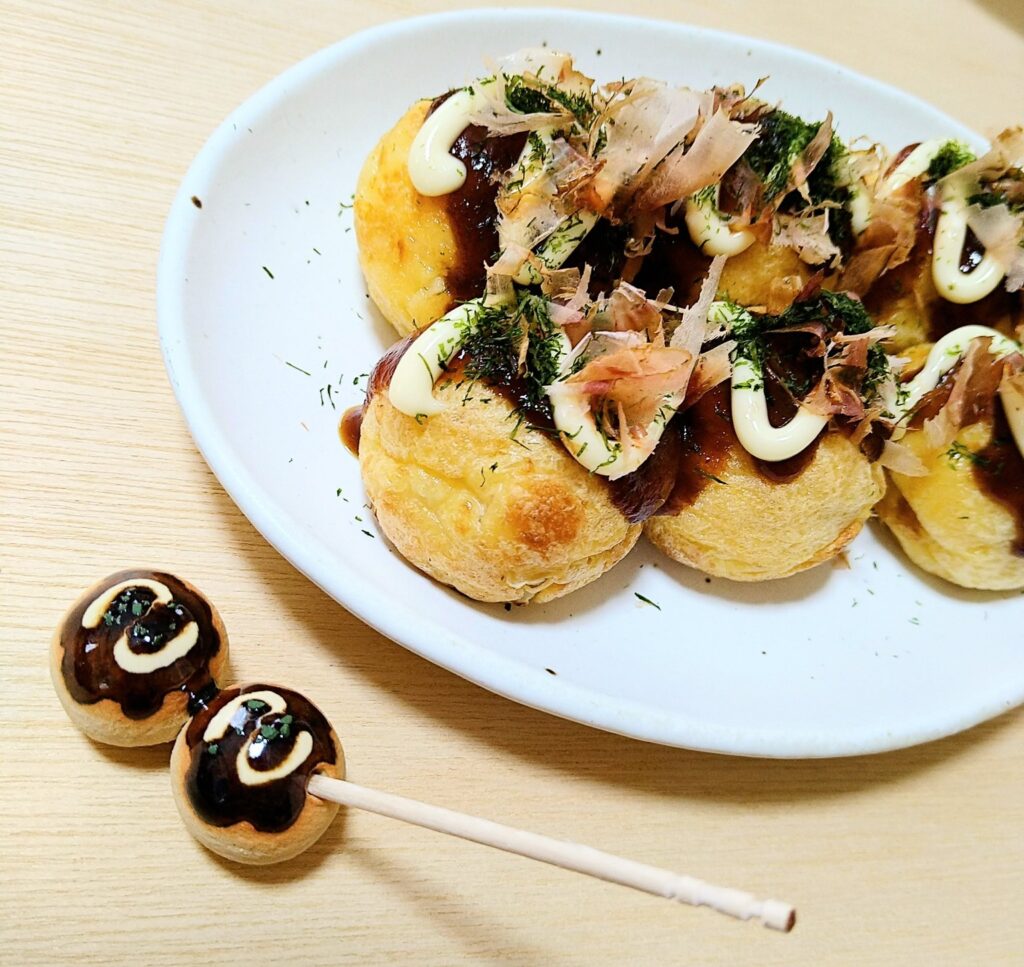
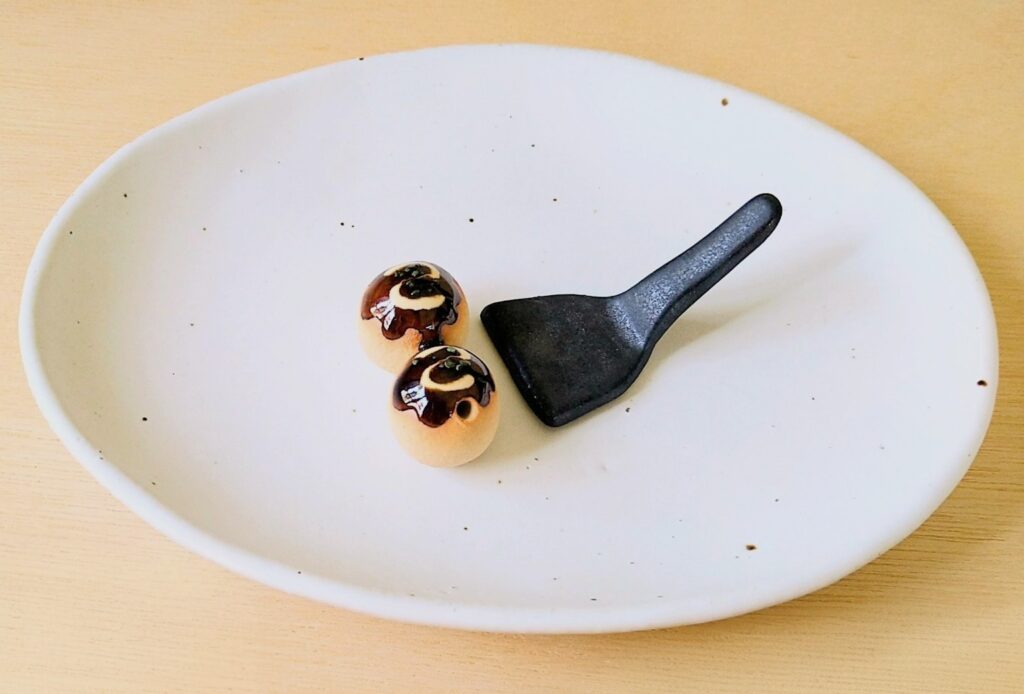
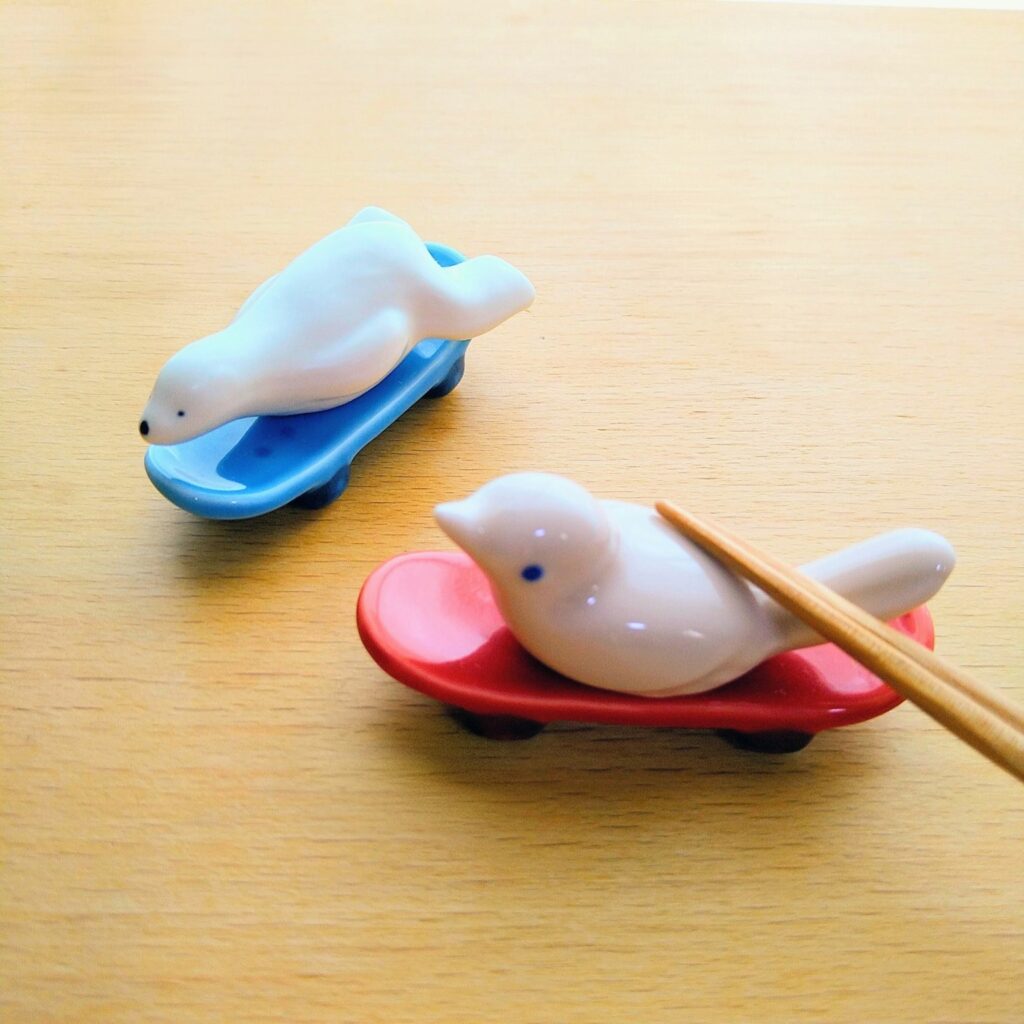
This takoyaki chopstick rest is a piece of Mino ware made by Ihoshiro Kiln.
The sauce, mayonnaise, and green seaweed are all carefully recreated. The golden-brown color is surprisingly realistic, and sometimes it looks more like takoyaki than the real thing.
The design features two connected takoyaki, with a space between them to rest your chopsticks. There’s also a small hole at one end where you can insert a toothpick. It’s a playful design, but a practical one too. I often use it to hold bamboo skewers or toothpicks when making takoyaki.
It looks charming on its own, but it’s even more fun paired with a spatula-shaped chopstick rest. Lining up two or three sets creates a miniature festival-stall atmosphere that’s hard not to smile at.
Takoyaki (たこ焼き) are round, savory balls made from a wheat-based batter filled with diced octopus, cooked in a special pan with round molds. They are typically topped with takoyaki sauce, mayonnaise, bonito flakes, and dried seaweed.
Originally from Osaka, takoyaki are one of Japan’s most iconic street foods.
A Brief History
The history of takoyaki cannot be told without two predecessor dishes. Rajioyaki was a popular Osaka street food since the Meiji era — a round, grilled dumpling filled with beef tendon and konjac. Akashiyaki, on the other hand, has existed since the Edo period. It uses octopus as a filling and is served dipped in dashi broth, with a soft, fluffy texture.
In 1935, Tomekichi Endo, the founder of Aizuya in Osaka, heard that octopus was used in Akashiyaki. He swapped the filling in his rajioyaki for octopus — and takoyaki was born.
After World War II, the introduction of Worcestershire sauce led to the now-familiar style of serving takoyaki with sauce and toppings, and its popularity exploded. Today, it is said that almost every household in Osaka owns a takoyaki maker.
Eating Out vs Making at Home
Eating Out
At a street stall or restaurant, takoyaki is a quick and satisfying snack you can enjoy on the go. The portions tend to be generous, and the texture is what makes it special — crispy on the outside, soft and gooey on the inside. Each shop has its own take on the batter, sauce, and toppings, which makes trying different places part of the fun.
Making at Home
At home, the fun is different. Everyone gathers around the table, takes turns filling the molds, and watches the takoyaki take shape together. You can also get creative with fillings — mochi, cheese, sausage, edamame, even chocolate. It turns into a bit of a guessing game — you never quite know what you’re going to get.
Making Takoyaki at Home
The Batter
You can use a ready-made takoyaki flour mix, which already has seasoning — simple and convenient.
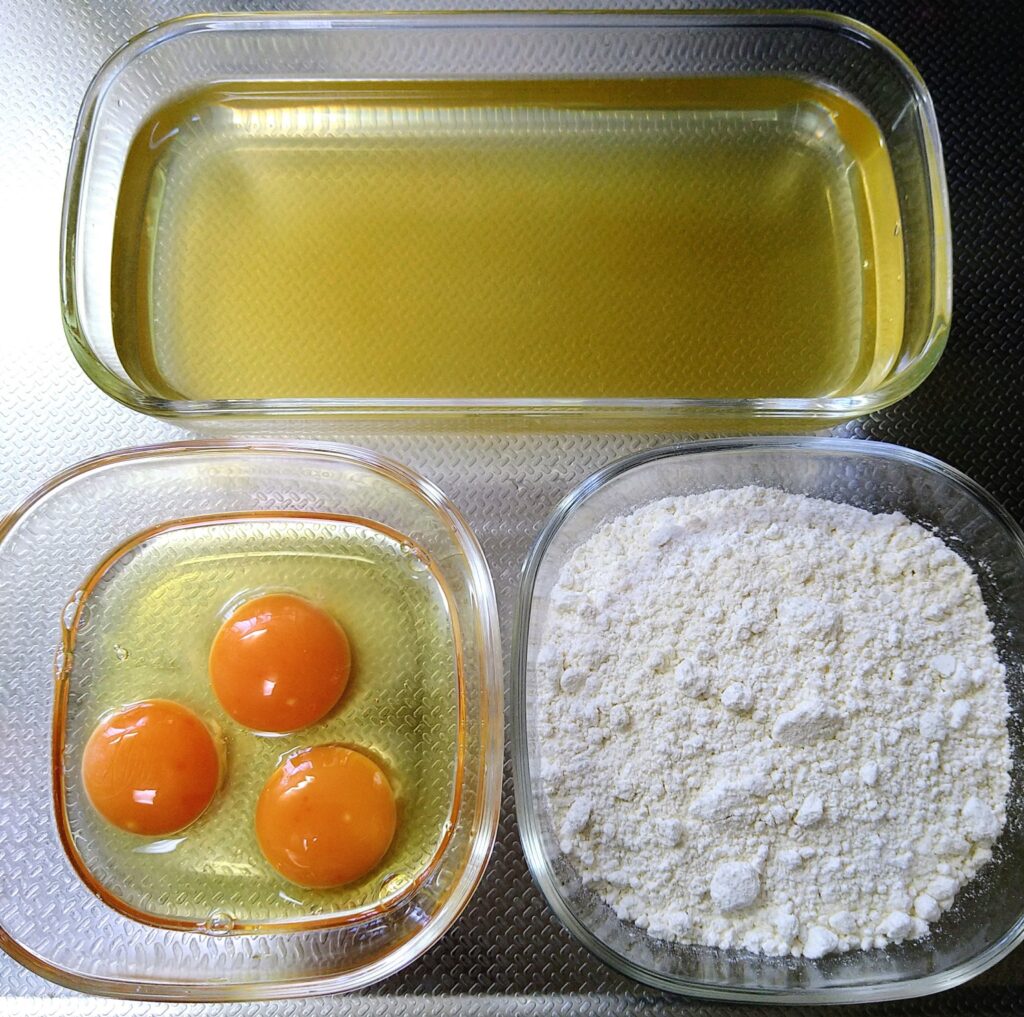
To make it from scratch, combine flour, eggs, dashi (or water), and a pinch of salt and soy sauce (or Japanese dashi stock powder). Adding grated or powdered nagaimo (Japanese mountain yam) gives the batter a soft, fluffy, mochi-like texture. Mix well to avoid lumps — a whisk helps. If you have time, resting the batter in the fridge makes it even smoother.
As a rough guide: 100g of flour to 300–400ml of liquid. More water makes the batter softer and more fluid, but harder to flip — starting with 300ml is easier for beginners.
Basic Recipe
Flour: 200g
Eggs: 3
dashi (or water): 600–800ml
Salt: a pinch and soy sauce: 1/2 tbsp (or dashi powder: 1 tbsp)
Note: Some dashi powders contain salt. Adjust the seasoning to taste. Since sauce is added later, keep it light.
Fillings
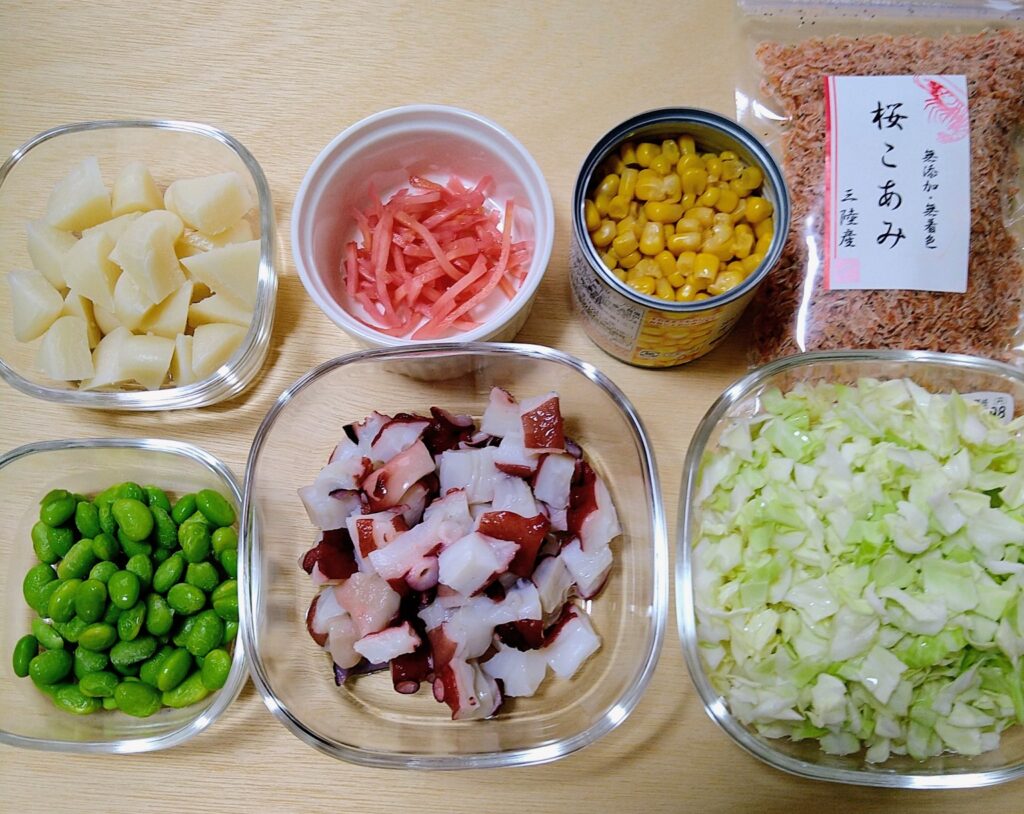
Mochi, pickled ginger, corn, dried shrimp, edamame, octopus, and cabbage.
Octopus is the classic filling, but you can use almost anything — mochi, cheese, sausage, edamame, corn, shrimp, and more. Tenkasu (tempura scraps), pickled ginger, and green onion are optional but traditional.
Cooking
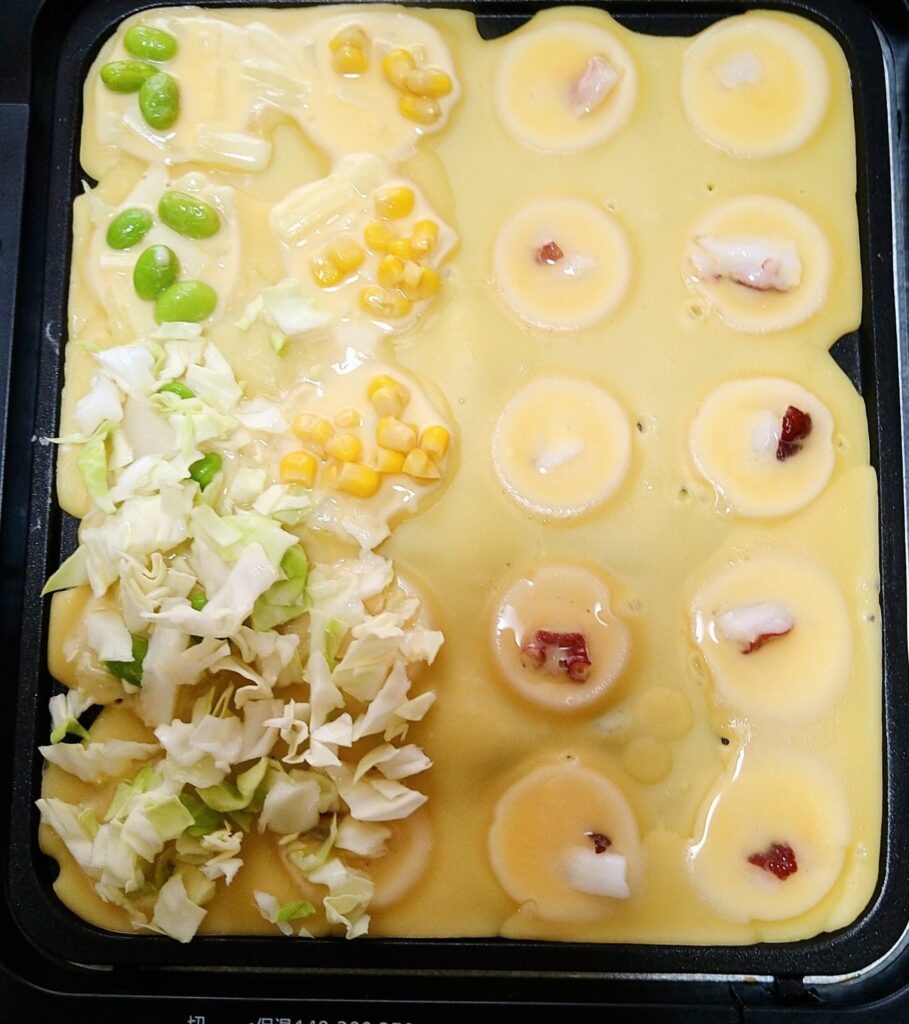
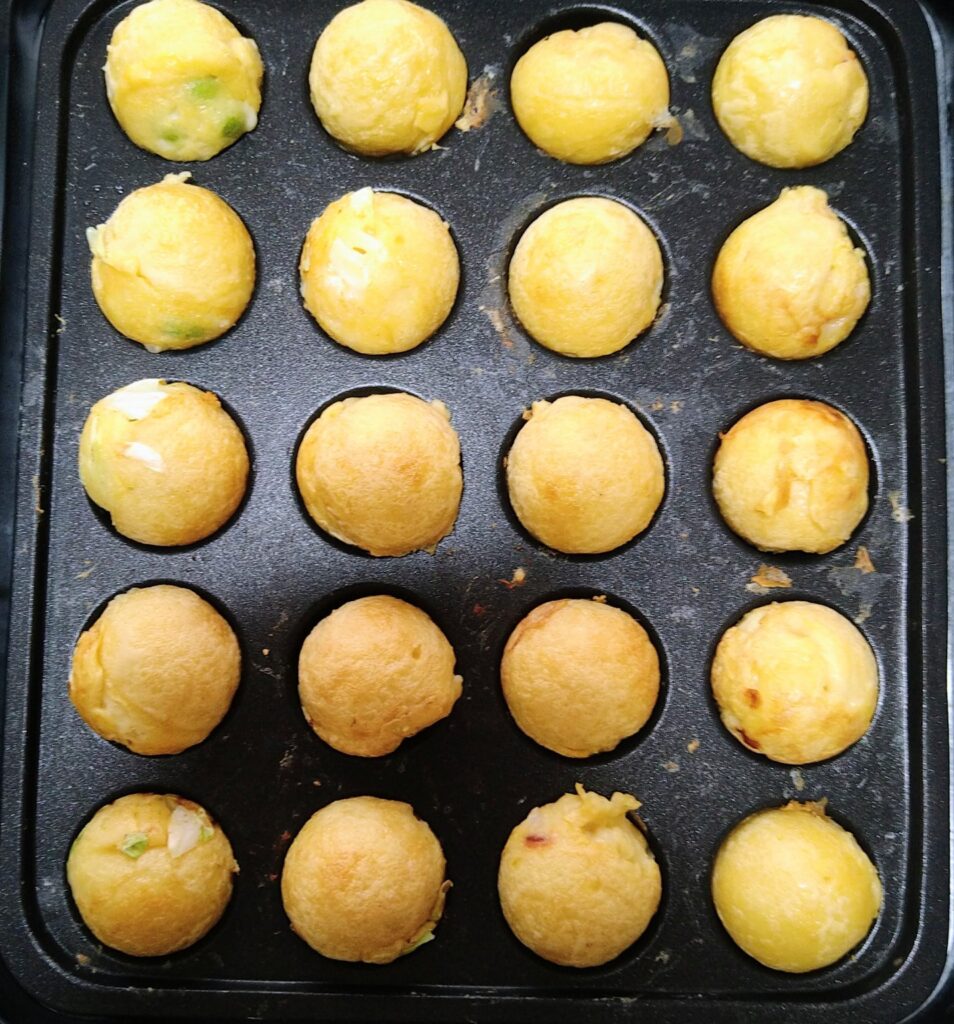
I probably could have added a little more batter and filling.
Pour the batter into the molds generously — enough to overflow and connect across the whole plate. Add your fillings into each hole. Use a bamboo skewer to score around the edges and fold the batter inward to form a round shape. Less batter results in a half-sphere rather than a full ball. More oil makes the outside crispier.
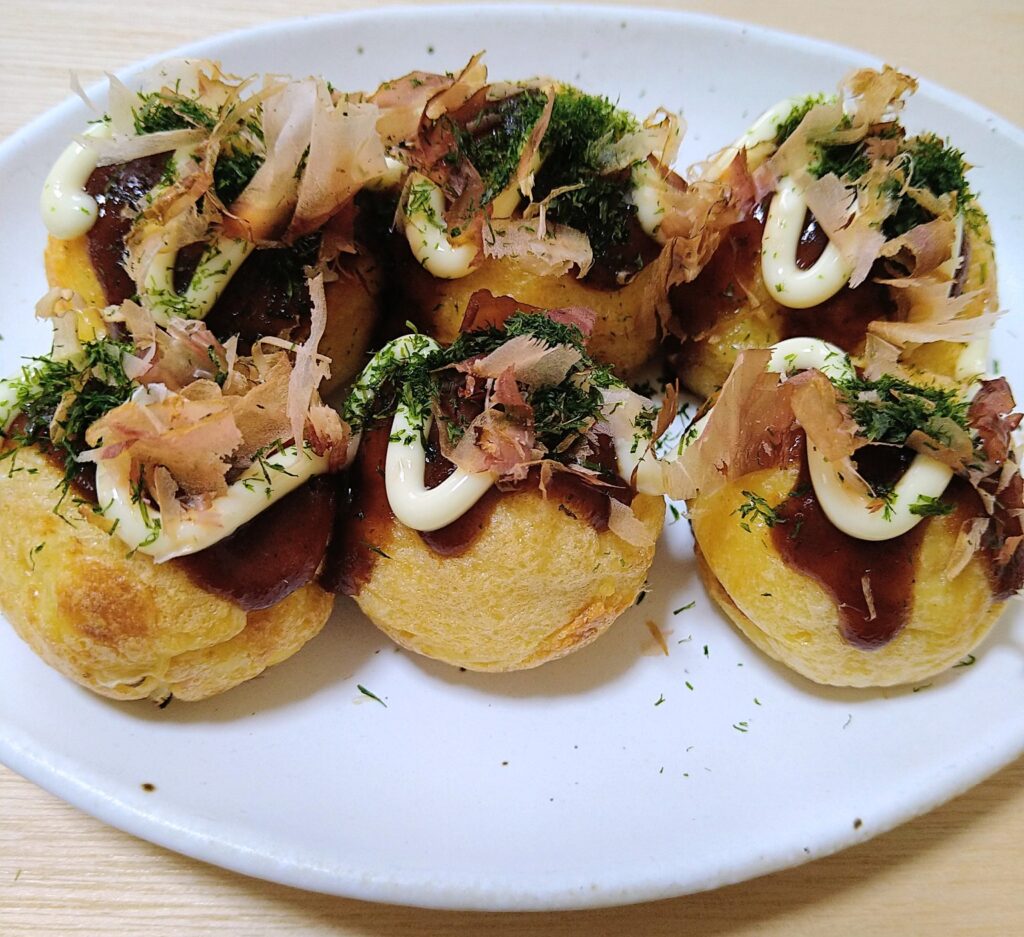
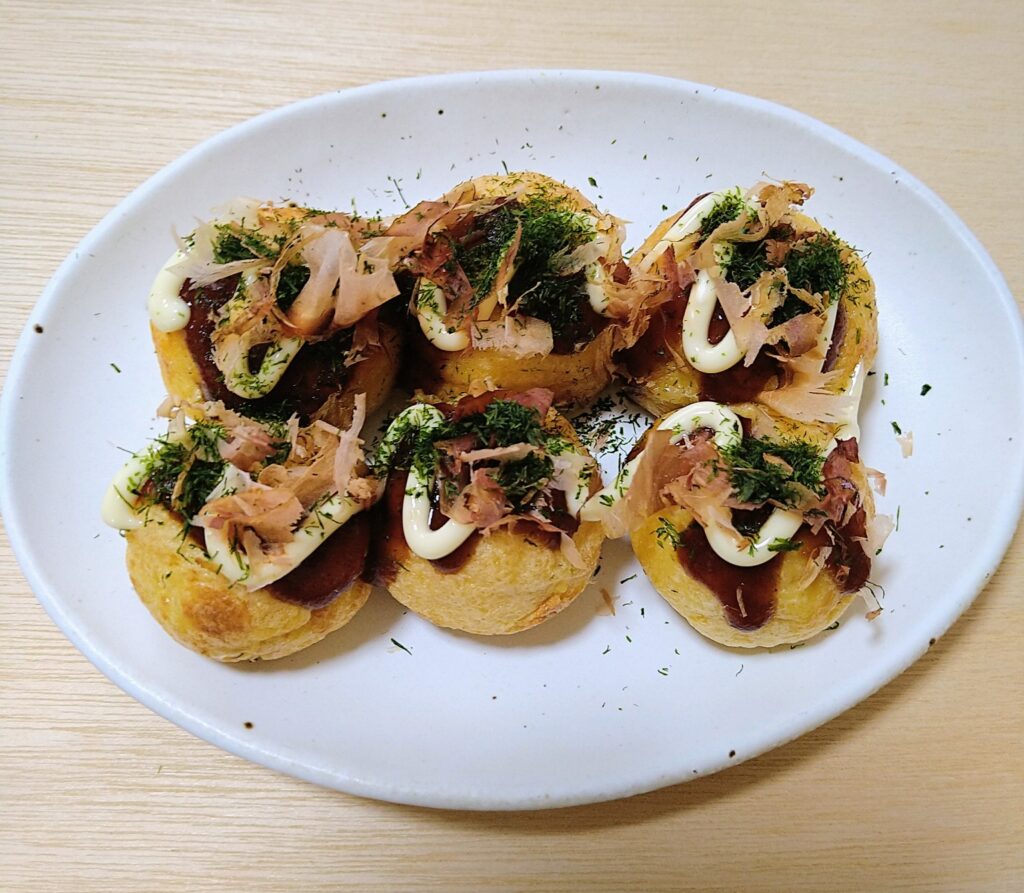
Cook until golden brown, then top with takoyaki sauce, mayonnaise, bonito flakes, and dried seaweed.
Even so, they turned out nicely round.
What You Need
To make takoyaki at home, you’ll need a takoyaki pan. There are two main options:
A stovetop pan like the Ikenaga Tekko cast iron takoyaki plate works on gas, electric, and IH cooktops. The cast iron retains heat well, helping achieve a crispy outside and a soft, fluffy inside. → Ikenaga Tekko Takoyaki Plate on Amazon
If you want the full experience of gathering around the table together, the Iwatani cassette gas takoyaki maker is a good option. It sits on the table and uses a portable gas canister — perfect for a takoyaki party. → Iwatani Takoyaki Maker on Amazon
You’ll also need bamboo skewers or picks for flipping, and something to oil the molds — like an oil brush or a paper towel.
Closing
Takoyaki is simple enough to make at home, but fun enough to turn into an event. Whether you’re trying it for the first time or bringing a taste of Osaka to your table, it’s worth making at least once.
The sky was grey and heavy from morning, with a little rain here and there. My hair was doing its thing, so I just tied it up and headed out.
Only Thursday. Still two whole days to go.
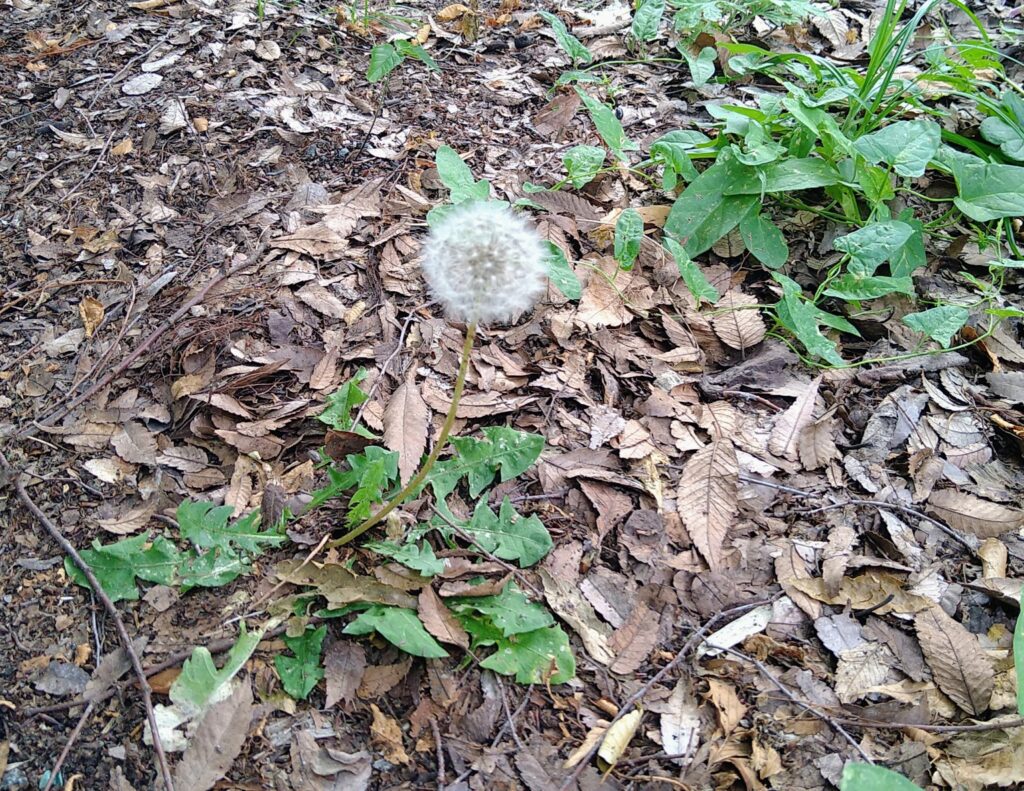
Walking along with my eyes kind of cast downward, I spotted something — small, round, and fluffy. I somehow hoped it would still be round on my way home, and made my way to work.
On the way back, it was still there. Still perfectly round. Tougher than it looks.
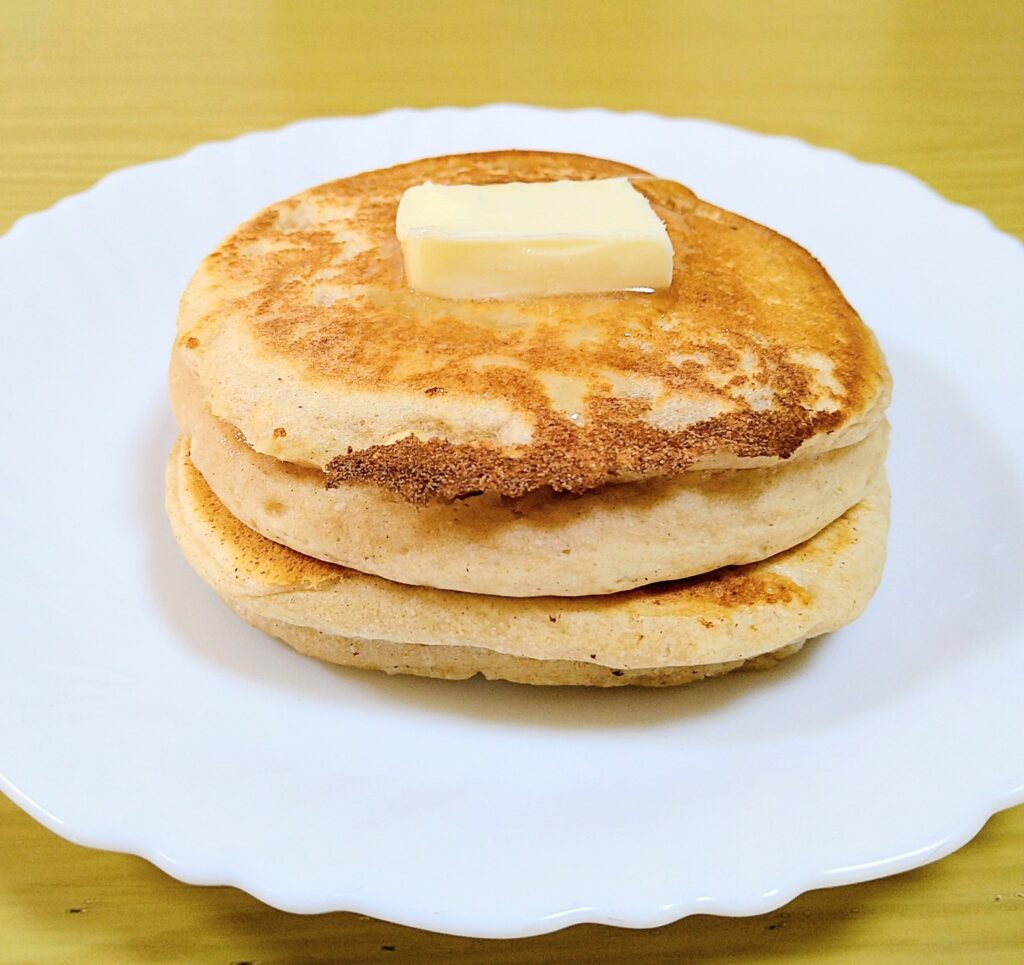
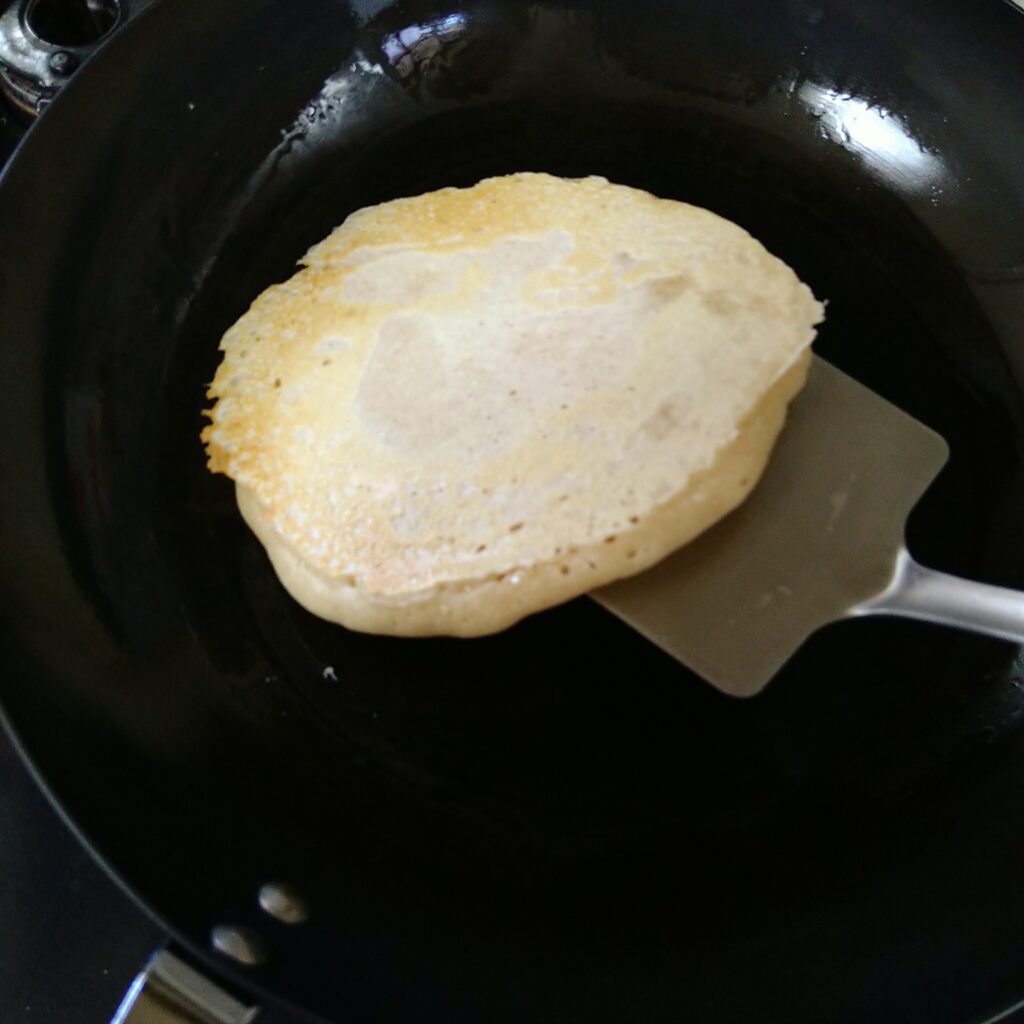
I thought pancakes would be difficult in cast iron. They weren’t.
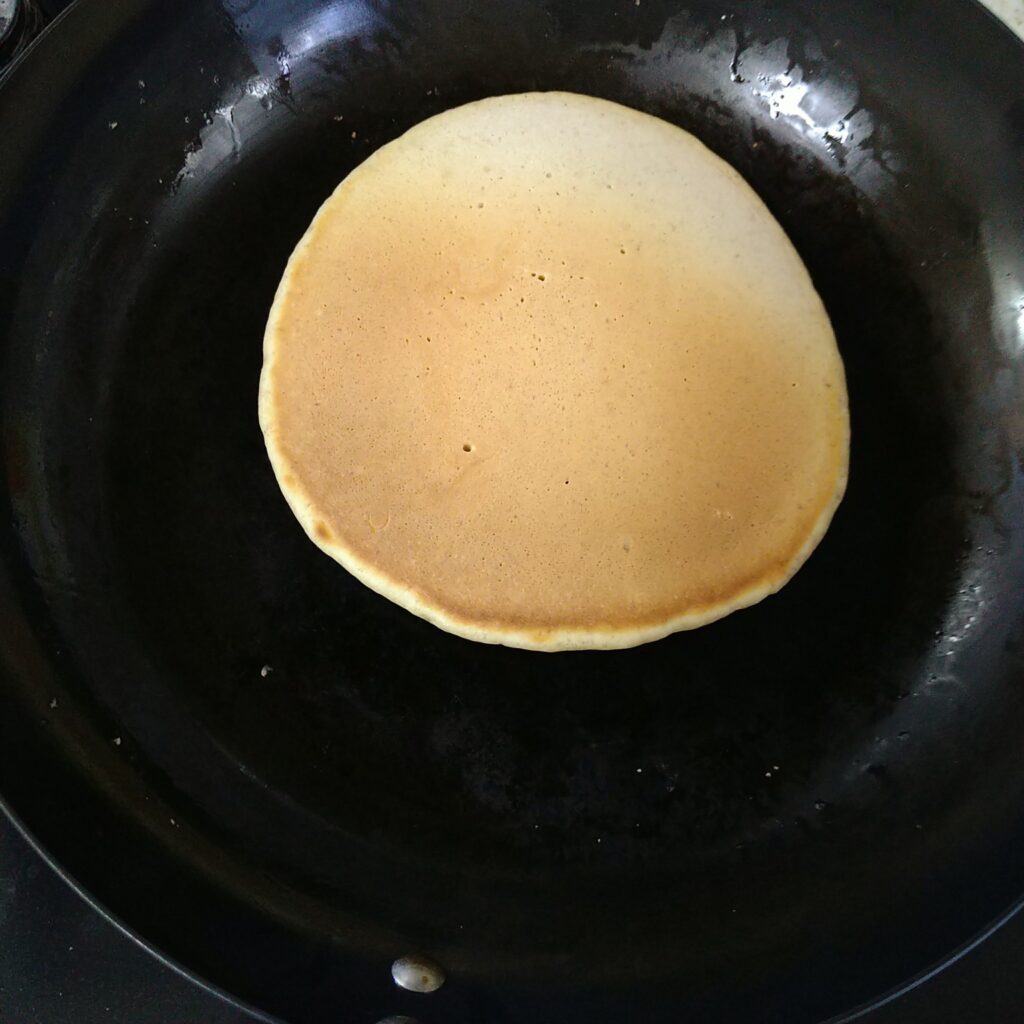
They may stick at first, or simply not be set enough to lift — either way, once the surface firms up, they release with light pressure. Even if the center is slightly stuck, any turner — wood, silicone, or stainless steel — can get under it without much force. For cast iron, pancakes are surprisingly easy to work with.
How to Make It
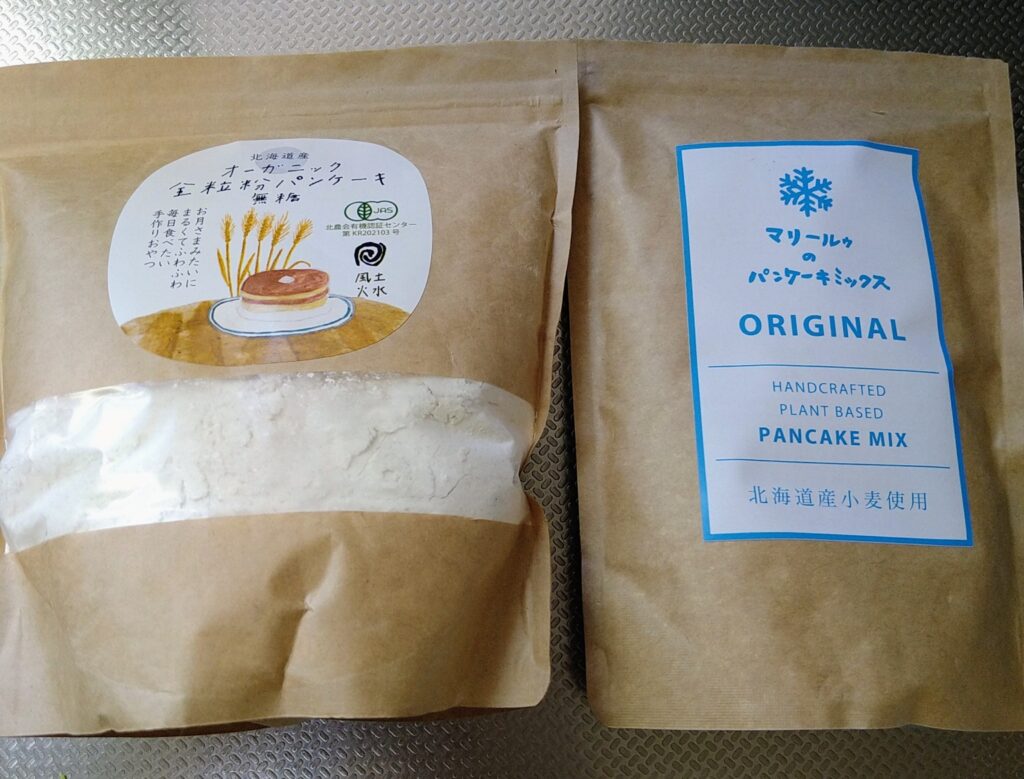
No sugar on the left. Sugar on the right.
Follow the measurements on the package — they work as is.
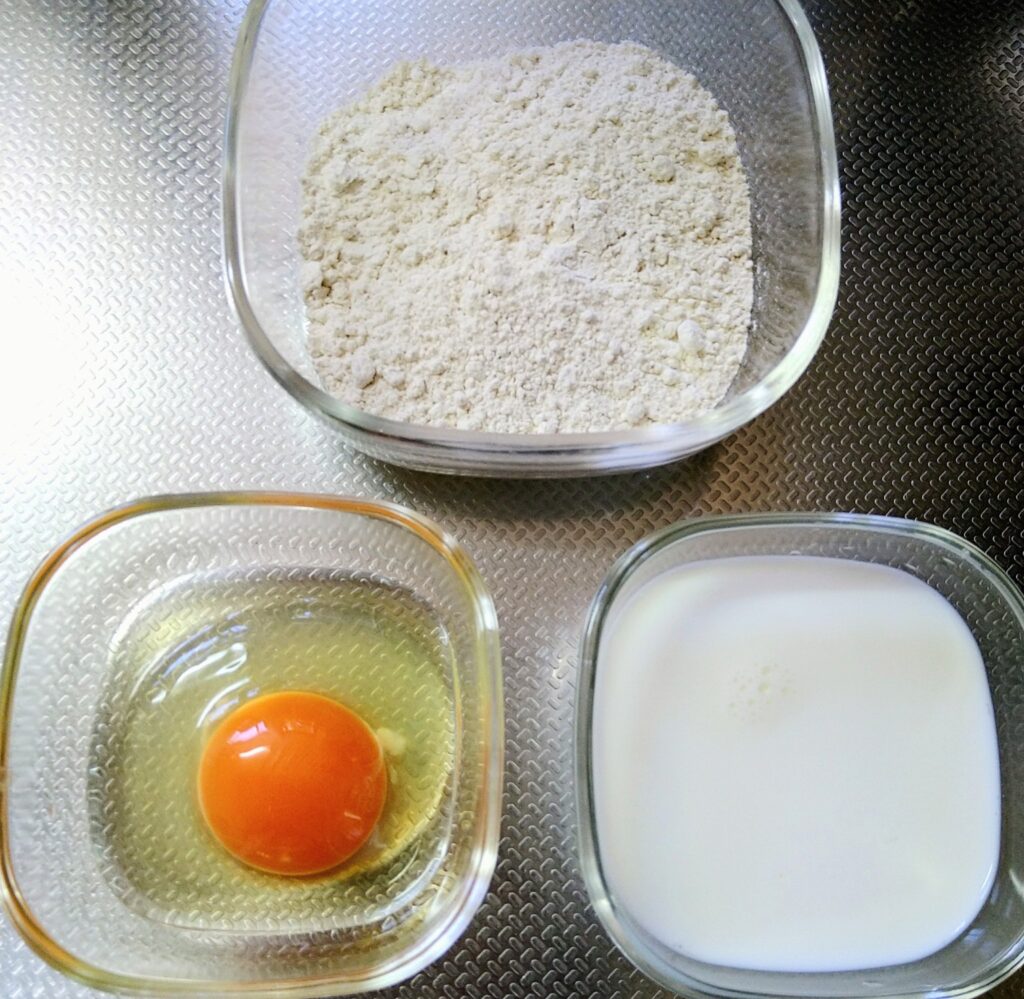
Mix the egg and milk together with a whisk first, then add the flour. When I added the flour to the milk first and mixed in the egg afterward, it didn’t combine evenly.
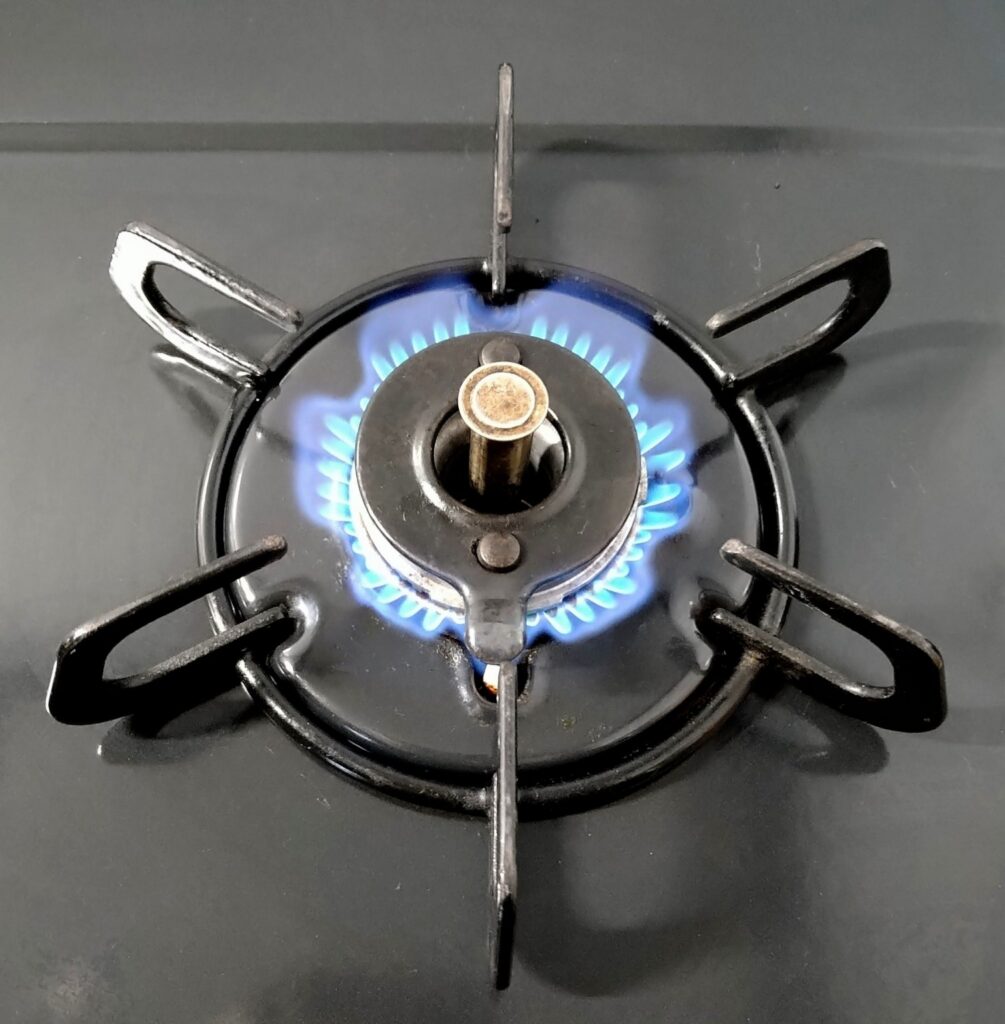
Cook on low heat. For thin pancakes, a lid is optional. For thicker ones, a lid helps prevent the center from being undercooked.
Eggs and Sugar — With or Without
I tested all four combinations: with and without eggs, with and without sugar. The difference in sticking was negligible.
Sugar makes things slightly more prone to burning.
Eggs make a difference in color. Without eggs, the pancakes come out pale. With eggs, the Maillard reaction gives them a nice golden color — if that matters to you, they’re worth adding.
How Much Milk
Adding more milk thins the batter, which spreads and makes a flatter pancake. It didn’t affect sticking, though.
Heat Control
The most important factor is heat control. Low and slow is the way to go.
I tried medium heat once to speed things up. It burned, and flipping early to avoid it left the center raw and the shape uneven.
Wait until bubbles form across the surface and the edges look dry. Then flip. Not before.
On Preheating
The batter released cleanly even before full preheating
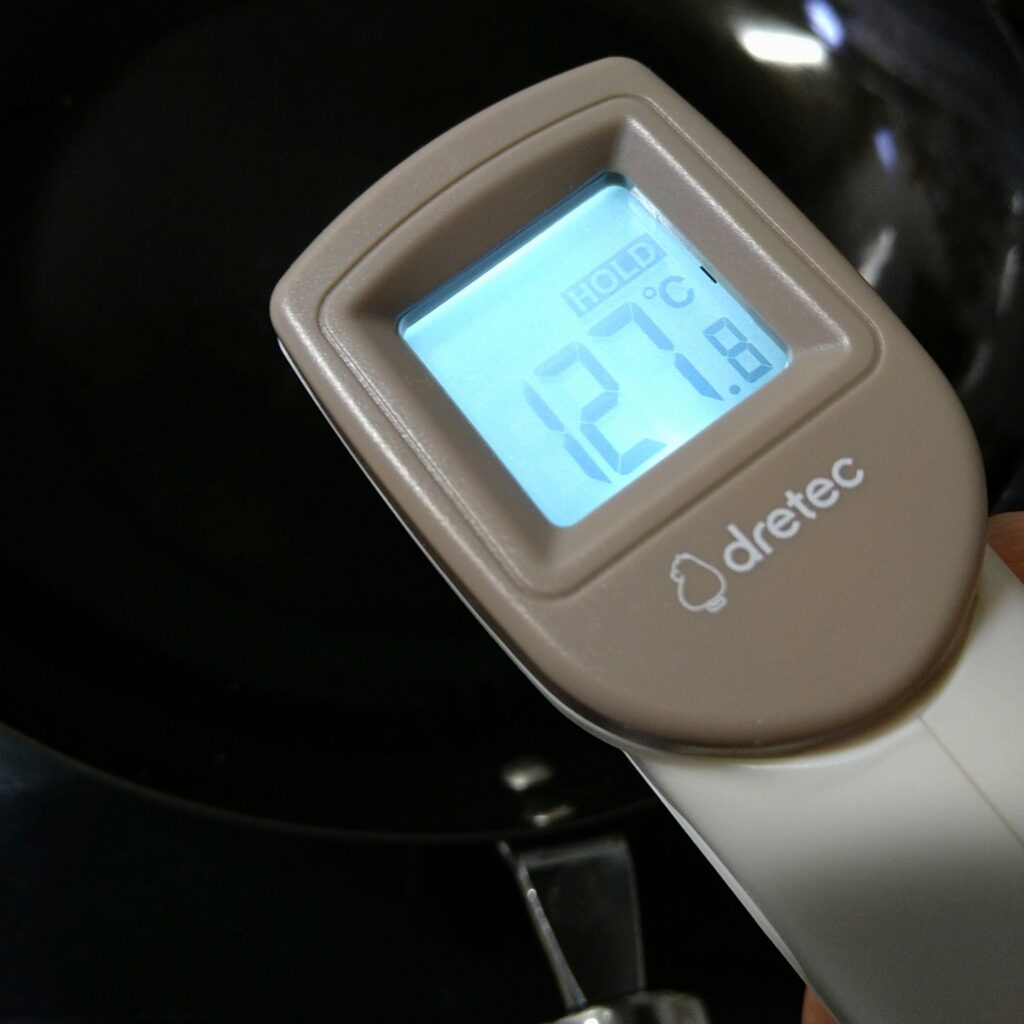
Cast iron usually needs a proper preheat, but pancakes were more forgiving. Unlike meat or eggs, starch gelatinizes under heat, and as the surface firms up, the adhesion weakens. The batter also sets as a single mass, so it lifts off cleanly even under pressure.
When the pan is properly preheated, briefly touching the bottom to a damp cloth just before adding the batter can help prevent burning — especially for the first pancake.
On Oil
I used half a tablespoon of oil at the start and didn’t add more. Everything cooked through without sticking. Whether that’s down to the properties of cast iron, the flour, or both — honestly, I’m not entirely sure.
One more thing: too much oil can apparently cause uneven browning. I did notice the second and third pancakes came out more evenly colored than the first.
Closing
Eggs, sugar, how much milk — none of it affected sticking. Pancakes turned out to be far more compatible with cast iron than I expected.
What you need to make pancakes in a cast iron pan is the right heat, and the patience to wait for it.
If patience isn’t your strong suit, eggs and a lid may help a little.
The first manga I ever bought was Yu Yu Hakusho — a 90s manga about a teenage delinquent turned spirit detective, fighting increasingly powerful demons.
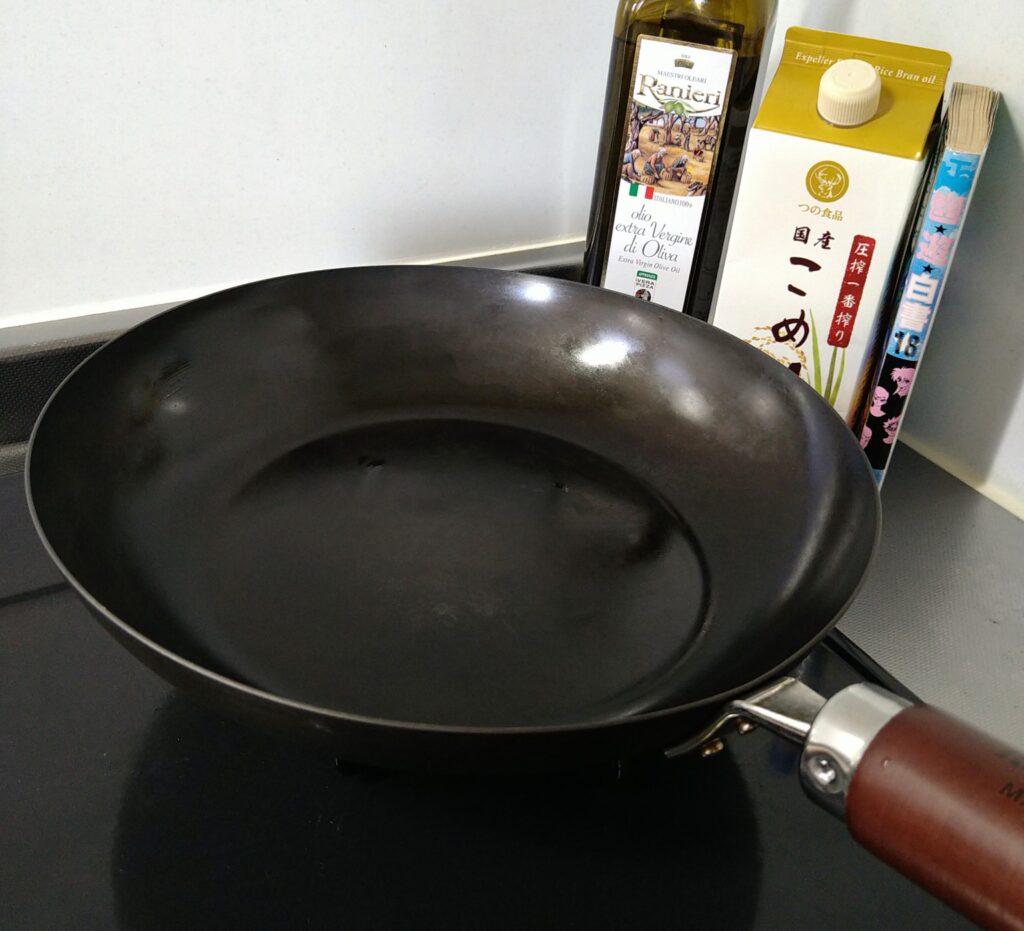
Bear with me. I will explain cast iron cooking through Yu Yu Hakusho theory. If you get it, you get it. If you don’t — you might still learn something about cast iron.
I’d gotten pretty comfortable with cast iron. Eggs, meat, fish — nothing was sticking. I thought I had it figured out. Then I tried cooking carbs, and hit a wall. That’s when I realized: there’s a power hierarchy. And not all carbs are equal.
The Enemy Rankings
Cooking on cast iron requires a barrier — a protective layer between the food and the pan. In Yu Yu Hakusho, this is called a kekkai. You also need to know what you’re up against.
A weak kekkai is enough. Small fry. I debated D or C for pancakes. They behave like protein at first — sticking, then releasing as heat gets through. But they let go even with a weak kekkai. E rank stands. Disagreement noted.
D-Rank — High-starch vegetables
A basic kekkai handles it. Still small fry.
C-Rank — Protein (meat, eggs)
The kekkai takes care of them. They may stick at first, but once heat gets in, they naturally release. If they don’t, add a small splash of water or take the pan off the heat and wait.
B-Rank — Protein (fish) / Carbs (fried rice)
The kekkai mostly works, but fish skin can stick in spots. Fried rice held at B, but only with proper moisture control. Don’t get complacent.
A-Rank — Carbs (gyoza)
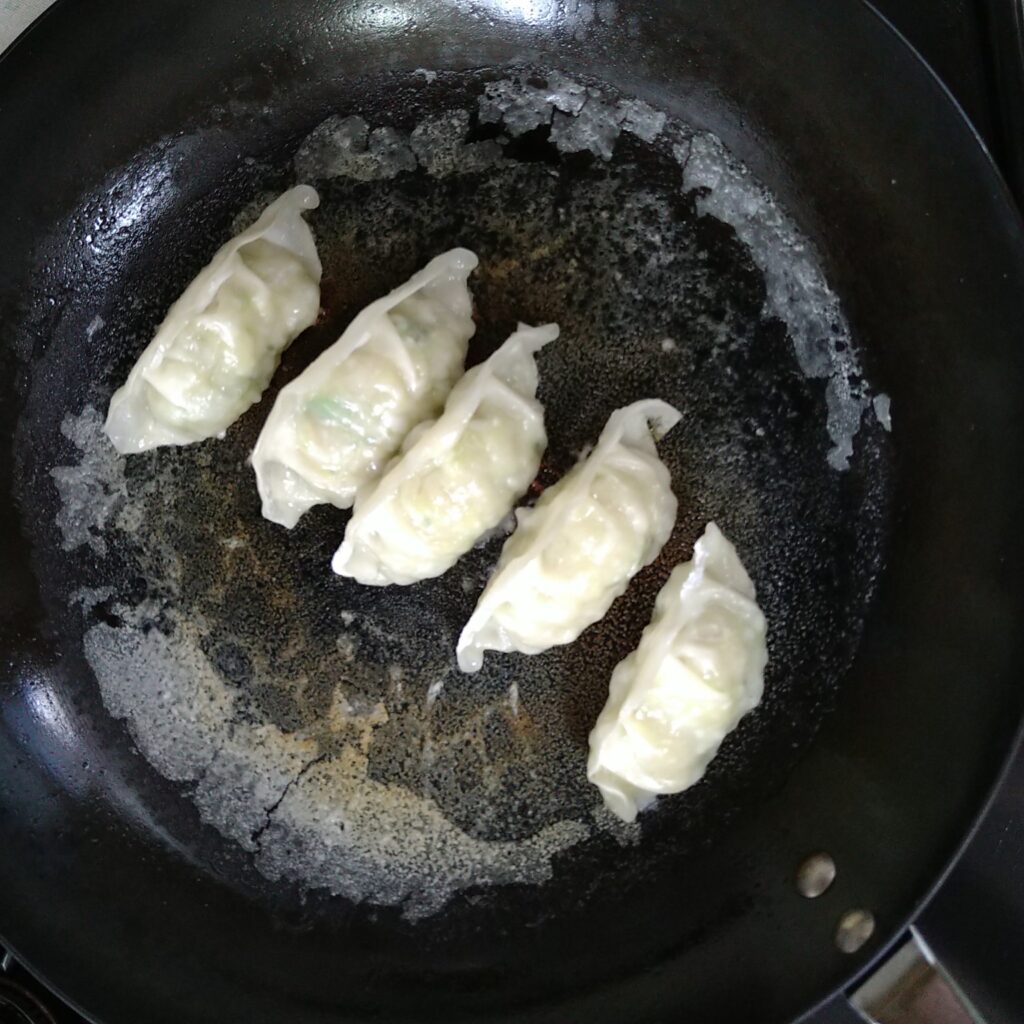
These break through the kekkai. They don’t release with time — they dig in deeper. Gyoza with soft, high-moisture wrappers are borderline S rank. The kekkai alone won’t save you. You need a Spirit Detective.
S-Rank — Carbs (???)
There’s always a higher rank. It’s out there, somewhere in the carb category. I just haven’t met it yet.
How Proteins and Carbs Behave Differently
Protein firms up as moisture evaporates, then releases. Wait long enough and it usually lets go on its own.
Carbs are different — or so I thought. After my early struggles with gyoza, I assumed all carbs were formidable enemies. But then fried rice came in at B-Rank, and pancakes at E-Rank. It turns out the real threat is more specific. Gyoza are the outlier. As they cook, the starch gelatinizes — absorbing moisture and forming a thin, glue-like layer that bonds to the pan surface. Waiting makes it worse.
How to Maintain the Kekkai — and Fight A-Rank Enemies
The foundation of cast iron cooking is the kekkai — keeping food from bonding directly to the metal. Preheating and oil are what create it. Against A-Rank enemies, you also need moisture management to maintain the kekkai, and the right tool to cut through what breaks past it — the Spirit Detective.
Preheat + Oil — The Kekkai
A properly heated pan sears the surface of food the moment it makes contact. Oil gets between the food and the metal, preventing direct contact. Together, these two create the kekkai. Without enough preheat, the surface bonds before it can sear. Too little oil, and the metal is exposed.
That said, the kekkai can be too strong. Push it too far and it damages the one casting it — in Yu Yu Hakusho terms, that’s Master Genkai herself. In my case, heating until smoke appears means olive oil fumes hit my throat. Pull back just before the smoke — when you see the faintest wisp, lower the heat. That’s the sweet spot.
Moisture Management — Maintaining the Kekkai
Excess moisture drops the pan temperature and weakens the kekkai. Keep the surface of your ingredients as dry as possible. Fried rice staying at B-Rank depends entirely on this.
The Right Tool — The Spirit Detective
If the kekkai and moisture management still aren’t enough, you need the right tool to cut through what gets past them.
Now, I thought I’d pulled off a near-perfect fusion of cast iron cooking and Yu Yu Hakusho — but once I finished writing, I noticed a fatal flaw. In the actual series, B and C-Rank demons can slip through barrier gaps, and anything D-Rank or below passes right through.
I thought about flipping it — putting vegetables at S-rank, protein at A-rank. But that felt completely wrong.
In the end, I couldn’t find a clean solution. The Yu Yu Hakusho theory of cast iron cooking remains unfinished. I’m sorry to anyone who read this far expecting a satisfying conclusion. But I intend to keep thinking about it.
Note: the stronger the demon energy, the more effective the kekkai.
After all the trouble I went through with gyoza, I decided to try fried rice in the same iron pan.
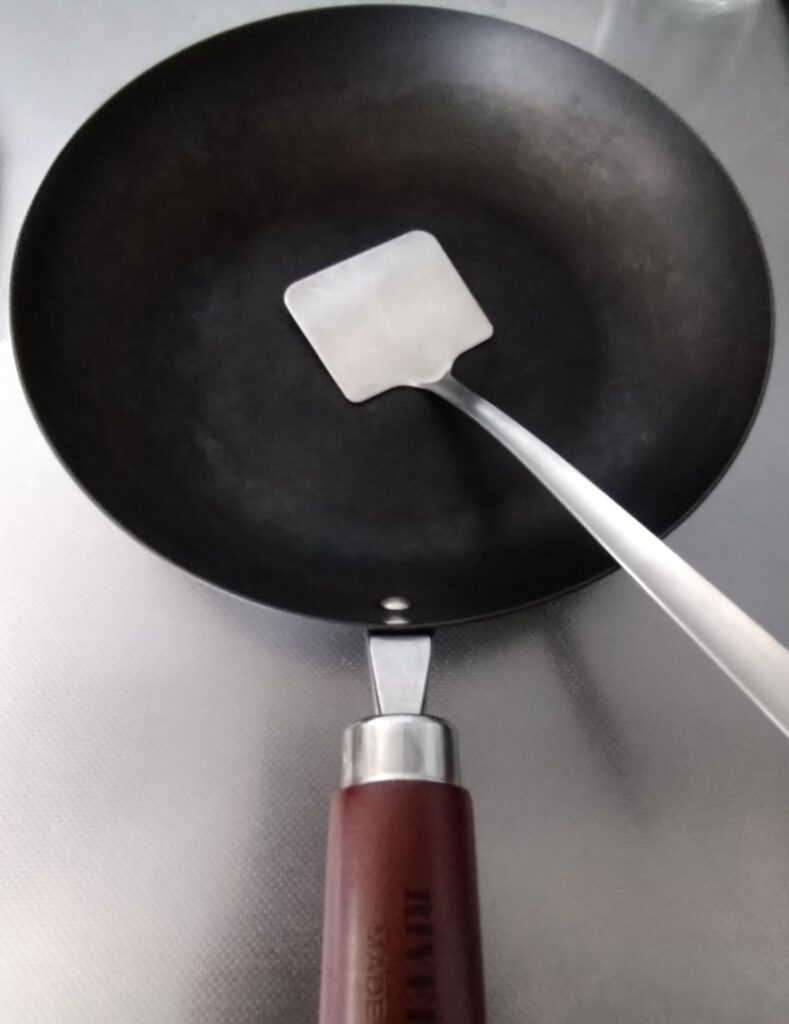
The lessons I’d learned from gyoza were simple: preheat thoroughly, coat the surface with enough oil, manage moisture carefully, and use a thin stainless steel turner when it’s time to release. I figured the same principles should apply to fried rice.
Preparing the Rice — No Water, No Exceptions
Before I started, I came across an article claiming that rinsing cooked rice removes excess starch and makes it easier to fry up fluffy and separated.
But I had the gyoza incident fresh in my memory. I’d rinsed the wrappers under water, and they stuck completely — a disaster. That experience made one thing clear: getting the rice wet was not an option.
Instead, I left the freshly cooked rice to sit for about 30 minutes, letting the surface dry out slightly before using it.
How I Cooked It
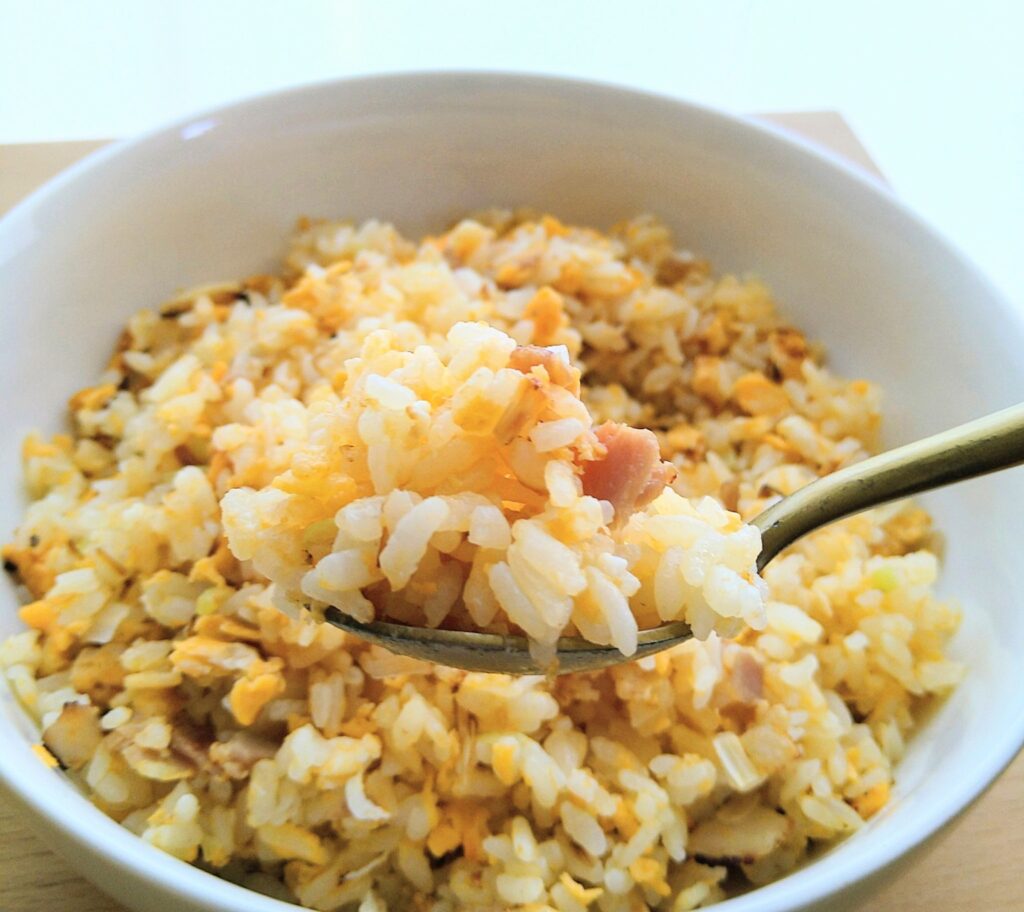
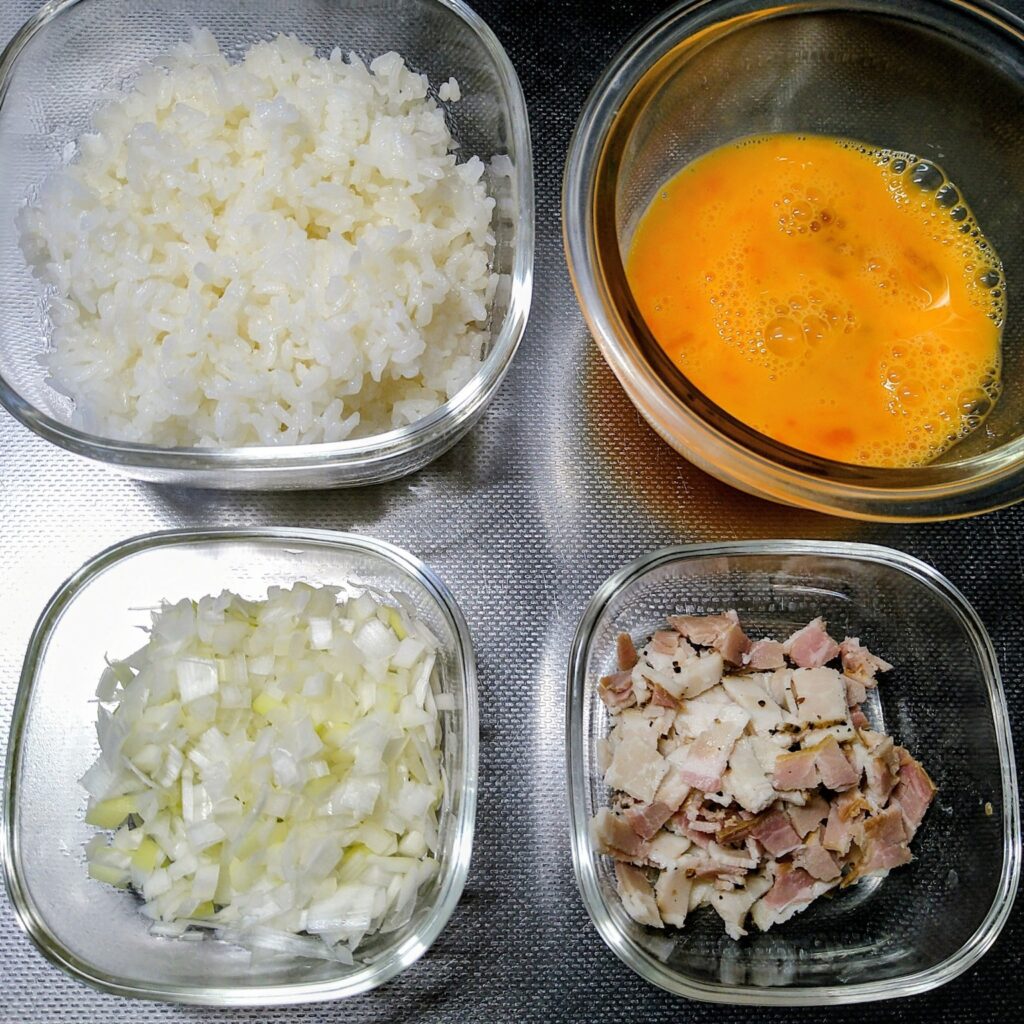
The ingredients were straightforward: green onion, bacon, two eggs, and rice.
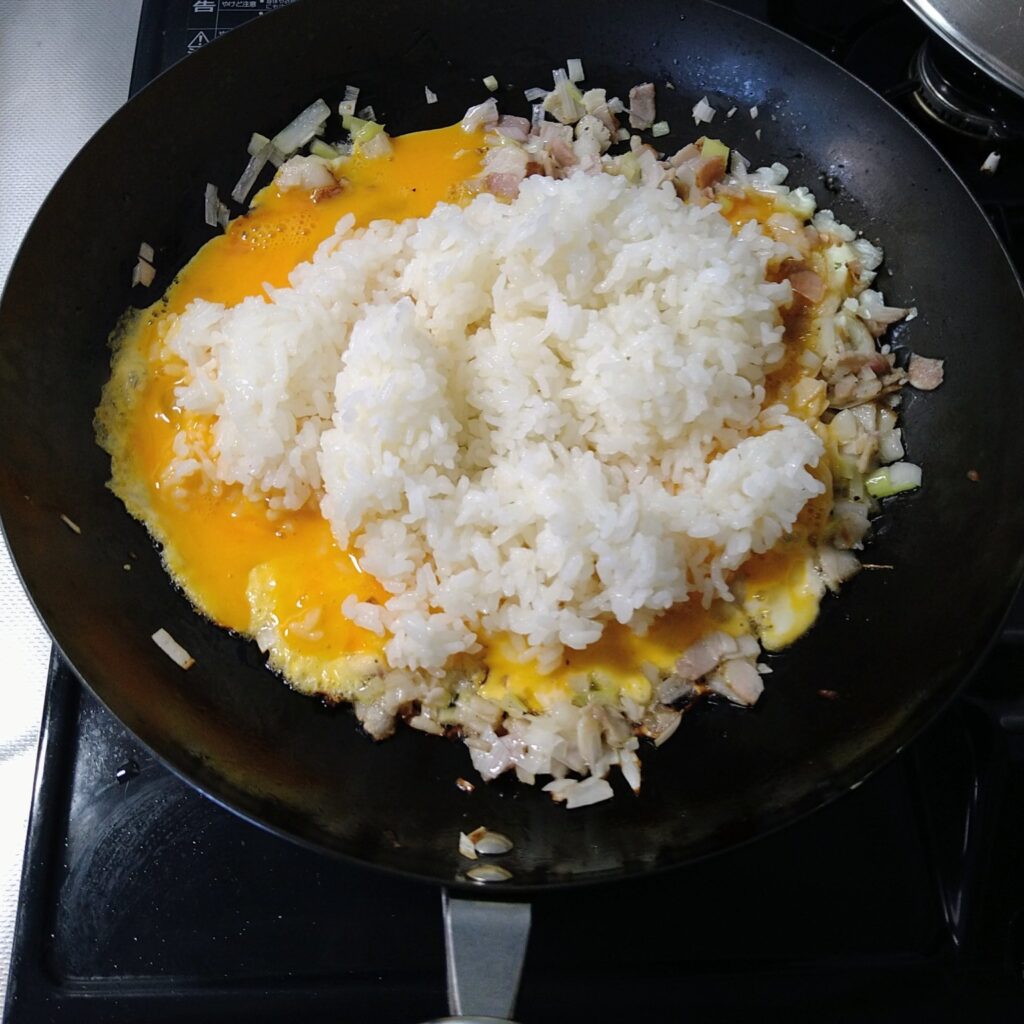
I preheated the pan thoroughly, then added about 3/4 tablespoon of oil. I stir-fried the green onion and bacon, then pushed them to the side. I added another 1/4 tablespoon of oil, poured in the beaten eggs, and placed the rice on top, breaking it apart as I went.
It stuck a little at first. But this time, I didn’t panic.
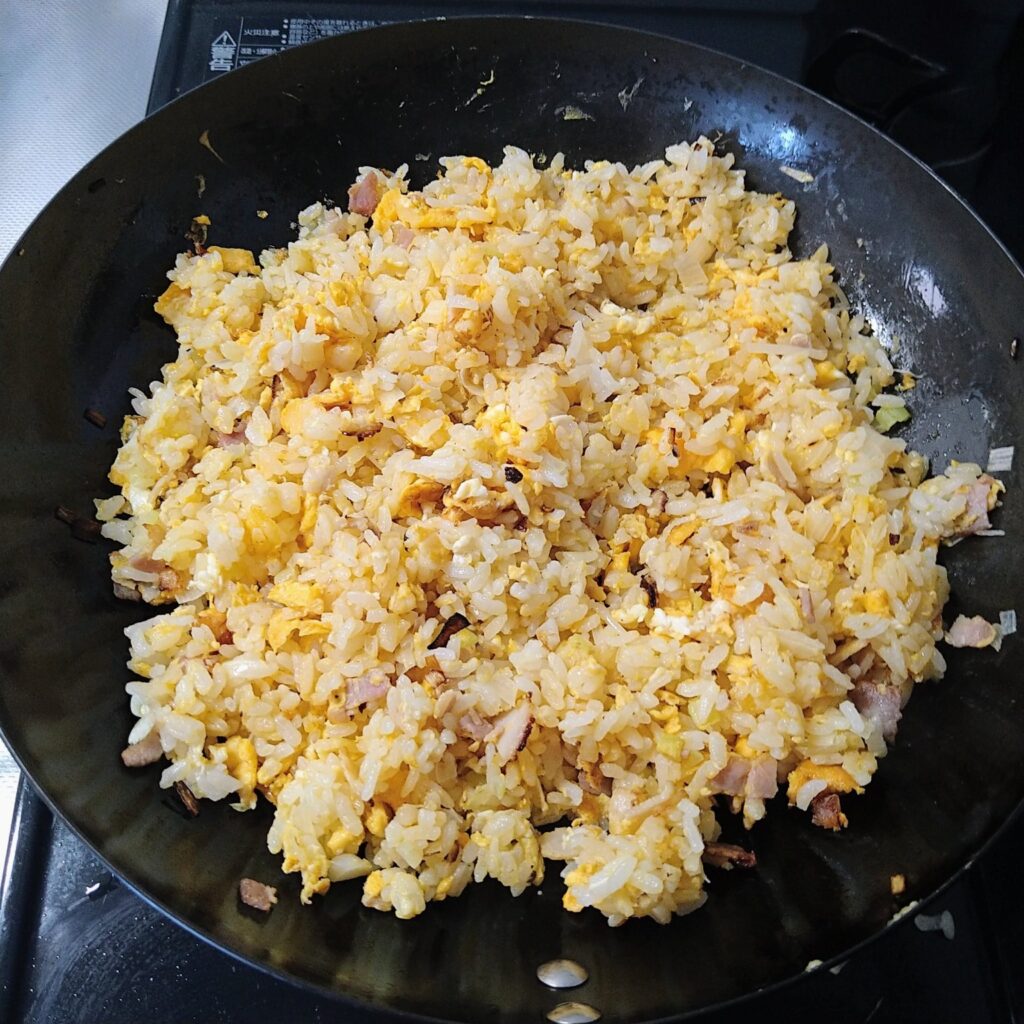
Unlike gyoza, the rice was coated in egg. I knew that protein contracts when heated and releases from the surface over time. I kept calm, sliding the stainless steel turner along the bottom to loosen things up — and gradually, the rice stopped sticking. By the end, I had fluffy, separated fried rice.
Why It Was Easier Than Gyoza
Gyoza wrappers are made of starch. The more moisture they get, the more firmly they bond to the pan. Even a small lapse in moisture management was enough to make them stick so hard that even a stainless steel turner couldn’t get under them.
Fried rice was different. Rice is starchy too, but the egg coating weakened the bond enough that even when it stuck, the turner could slide underneath without much force.
In the end, the lesson from gyoza — that starch-based foods come down to moisture management and the right tool — applied just as well here. The egg just made everything a little more forgiving.
One thing to fix next time: the green onion burned slightly. I’ll move the cooked ingredients to a plate before adding the egg and rice.
Final Thought
I’d bought extra ingredients expecting things to go wrong. They didn’t — it came out better than I expected on the first try, and the backup supplies went untouched.
They say a cast iron pan gets better with use. It seems I’m getting better too.