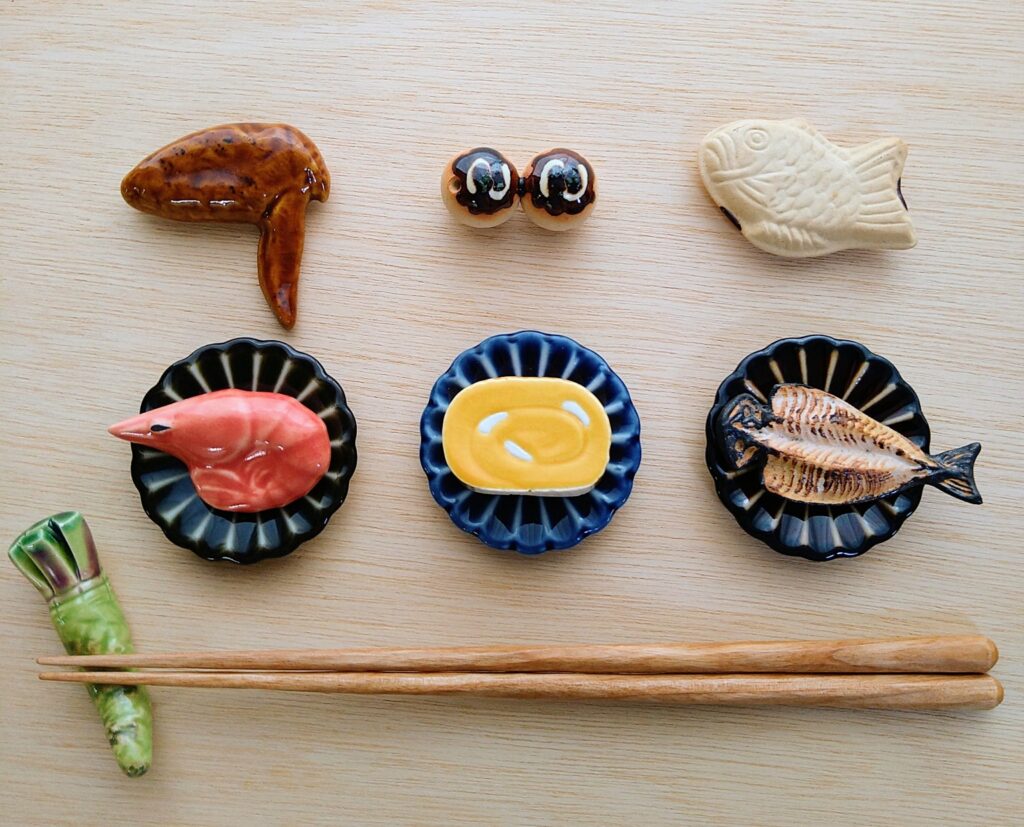
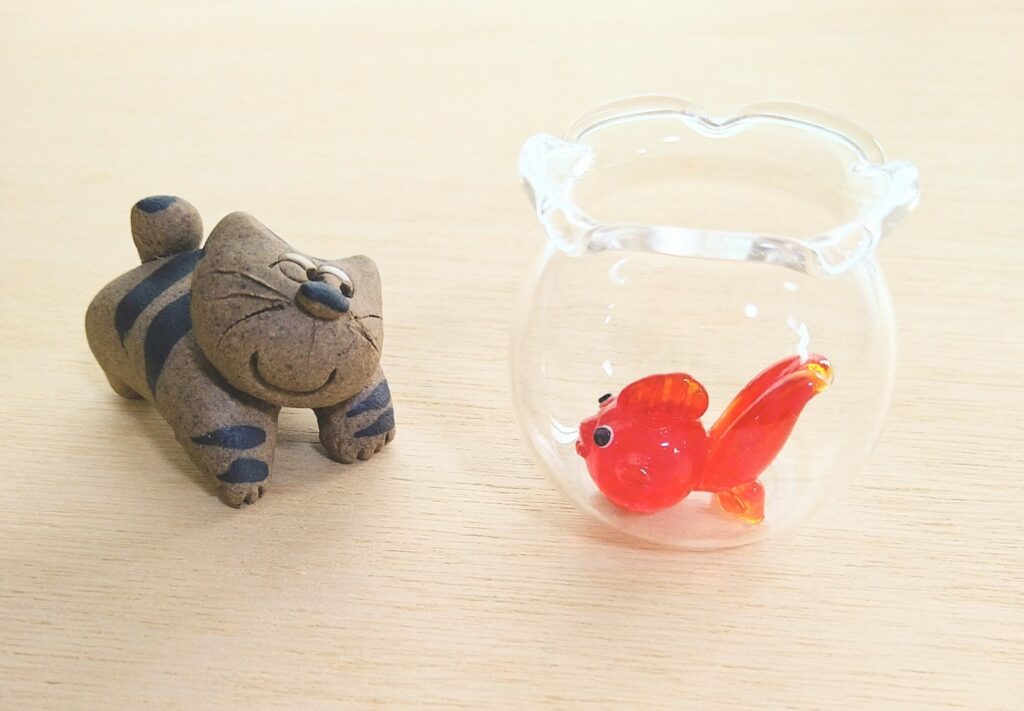
I finally got a chopstick-rest rest.
Of course, each piece is cute on its own.
But when you put a chopstick rest on its rest, the cuteness doubles.
Note: A “chopstick-rest rest” is a plate-shaped chopstick rest.
(That’s just what I call it.)
I finally got a chopstick-rest rest.
Of course, each piece is cute on its own.
But when you put a chopstick rest on its rest, the cuteness doubles.
Note: A “chopstick-rest rest” is a plate-shaped chopstick rest.
(That’s just what I call it.)
She compliments anyone, right away.
Yesterday, it was a nurse.
“You’re pretty.”
Then she smiled.
“I’m not pretty, but I was smart.”
Today, she noticed a caregiver walking by and called out,
“Your legs are long.”
“Bet you were fast.”
When the caregiver had gone, she turned to me.
“My legs were short.”
“I was slow. I hated sports day.”
“But I was smart.”
“You don’t have to be the best at everything, do you?”
She smiled as she said it.
Close one eye to other people’s flaws. Keep both eyes open for their strengths. And don’t step back to observe people—that’s no good either.
That’s what my 96-year-old teacher told me.
It’s true that we tend to judge others harshly while letting ourselves off the hook.
Does it come from insecurity, self-defense, or an instinct for self-preservation?
When we’re dissatisfied with ourselves or our circumstances, it’s easy to become critical of others.
But some people judge others harshly no matter how successful they are. Status, intelligence, and wealth don’t seem to make much difference.
Is it a way of thinking we’ve carried since childhood? Or is finding fault in others simply part of our survival instinct?
I still don’t know.
Even if I did, the urge to judge others might not go away.
Yet my teacher smiles gently and says,
“I just love people. Looking at their flaws with one eye is enough.”
There must be something in those words that I still can’t see.
For today, I’ll simply try to follow her example.
One eye for flaws.
Both eyes for their strengths.
“When someone says something unkind, think of them as a person to be pitied, and let it go. If you say the same thing back, it dirties your own heart. Keep your heart clean, and it shows in your face.”
That’s what my teacher told me.
It’s easy to say, but not so easy to do.
Unkind words.
Unkind behavior.
Letting it go is harder than it sounds.
Honestly, I wondered if she was simply born that way—someone naturally gentle.
When I told her it was difficult, she smiled and said,
“It’s hard at first, but if you keep trying, it starts to come naturally.”
That was a relief to hear.
My teacher is 96, yet there’s not a single worry line between her brows.
Her skin has a quiet glow. Her face is gentle, and quietly lovely.
She is living proof of what she teaches.
If it really comes down to how you carry your heart, maybe there’s still hope for me.
One day, I’d like to grow old with a face like hers.
Sometimes, I talk with a 96-year-old woman who used to be an elementary school teacher.
She has dementia and often tells me the same stories—almost always about her days in the classroom.
The other day, she said,
“I never scolded a child for poor grades. I praised them for the effort they put in.”
“Nurturing a child’s heart—that’s a teacher’s job.”
So I asked her, “How do you nurture someone’s heart?”
Without even pausing to think, she smiled and said,
“You don’t know that?”
“If someone is struggling, you help them.”
It was such a simple answer.
Even after I got home, her words stayed with me.
Can the heart grow through our actions?
Thinking about that, I found myself reflecting on the way she carries herself every day.
At mealtimes, if the woman sitting next to her dozes off, she gently says, “Wake up and eat your meal.”
When the woman starts eating again, she smiles and says, “Good for you. Well done.”
Then a caregiver reminds her, “Don’t worry about everyone else. Please eat your own meal first.”
Something clicked.
She has never stopped reaching out to the person in front of her.
Come to think of it, she often compliments me too.
“You have beautiful eyes.” “Your skin is lovely.” That sort of thing.
Decades have passed since she left the classroom. Her students grew up and moved on. But she just keeps doing it—naturally, without thinking.
Praise people.
Help people who need it.
Maybe it doesn’t have to be anything grand.
Just offer a small helping hand to the person in front of you.
Or say a few kind words when you notice something good about them.
Maybe that’s all it is.
At 96 years old, even with dementia, she is still the teacher she has always been.
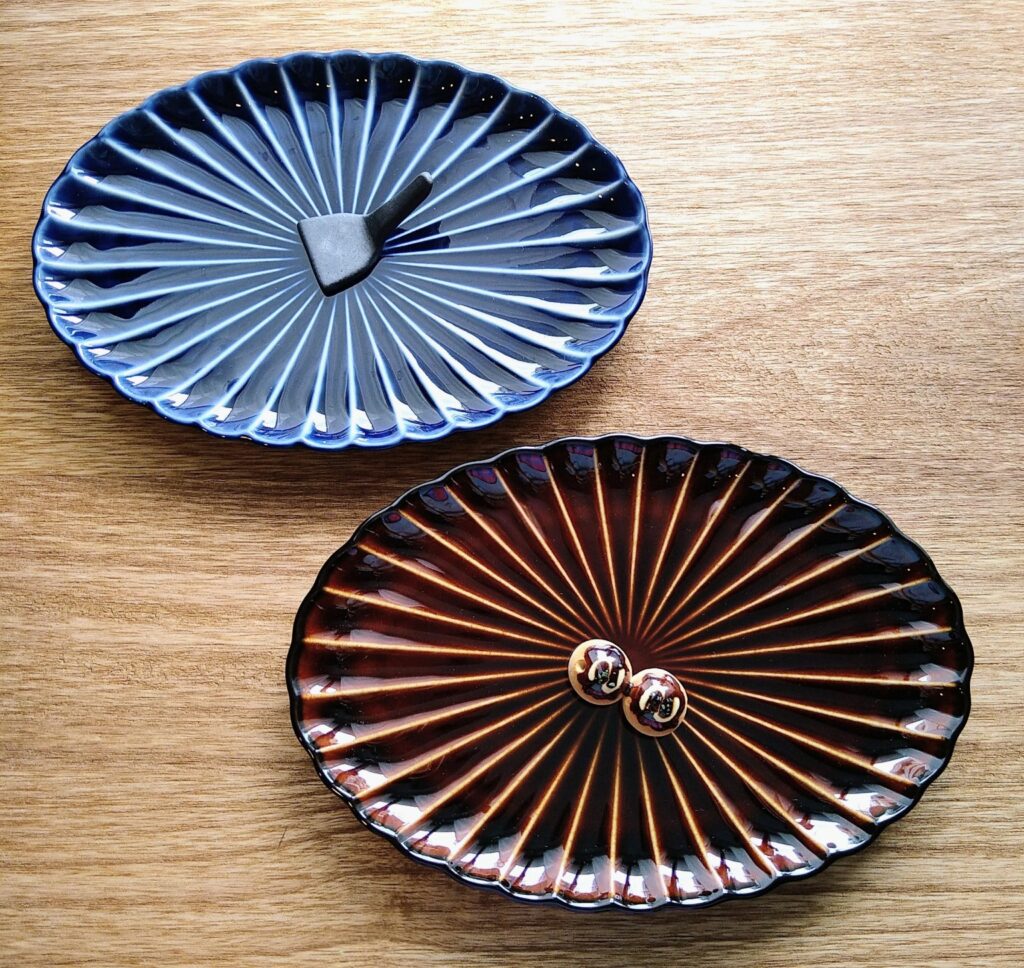
I bought two Giyaman plates — one deep indigo, one lacquer brown.
When I picked them up, they were lighter than I expected.
But visually, they felt heavy somehow. Dignified. Serious.
I felt like I shouldn’t pair them with unserious chopstick rests.
So I tried placing an okonomiyaki-spatula-shaped chopstick rest beside them. As expected, it couldn’t survive the atmosphere of the plate. A takoyaki-shaped one almost worked. I think it’s because the glossy brown surface and the color of takoyaki sauce somehow matched.
The blue one is unforgiving. The brown one is more forgiving — it accepts a certain amount of nonsense.

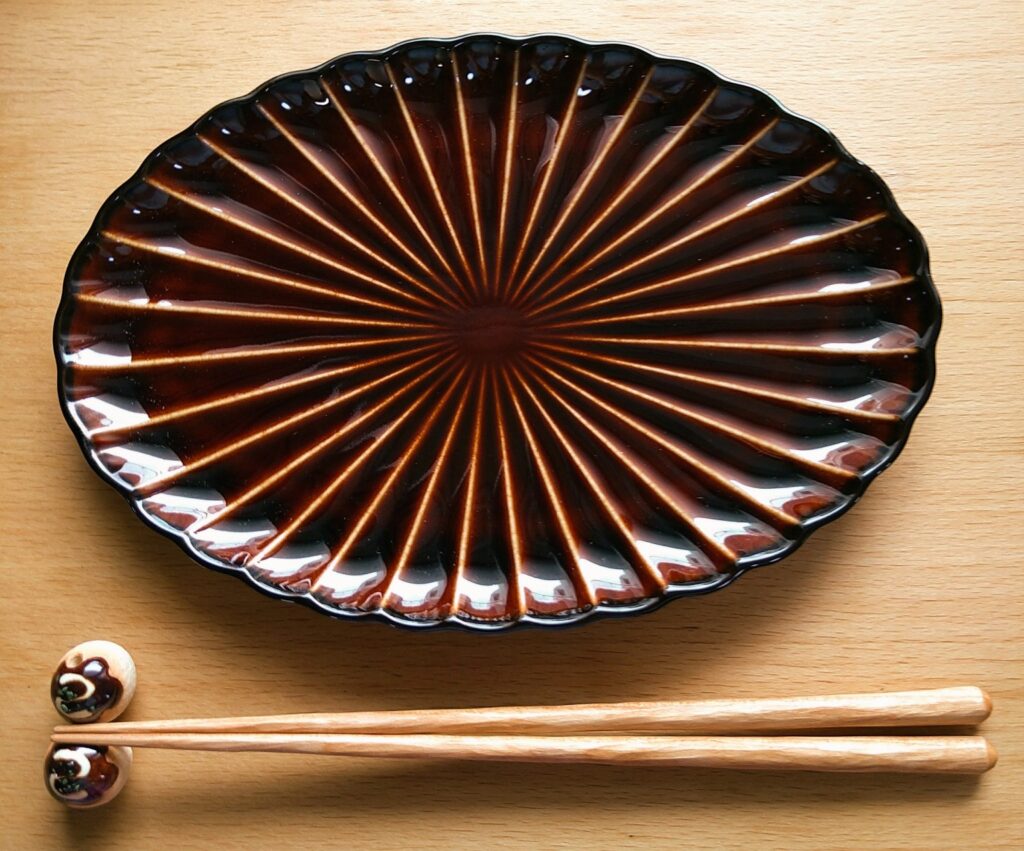
That said, why do these plates make food look so good?
Standing before these serious plates, I find myself thinking seriously too.
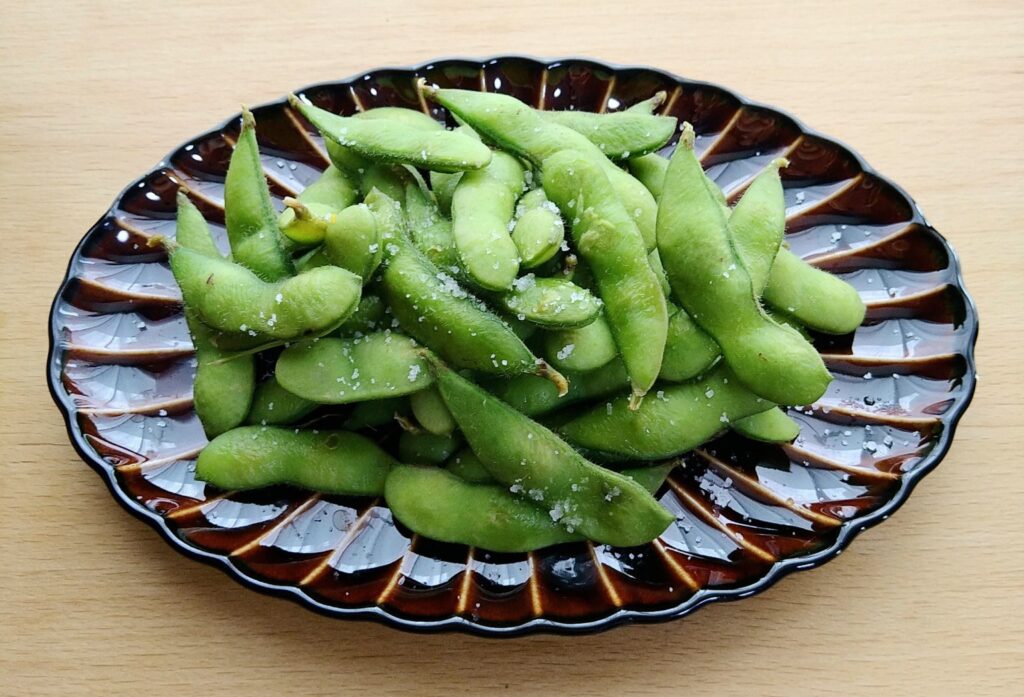
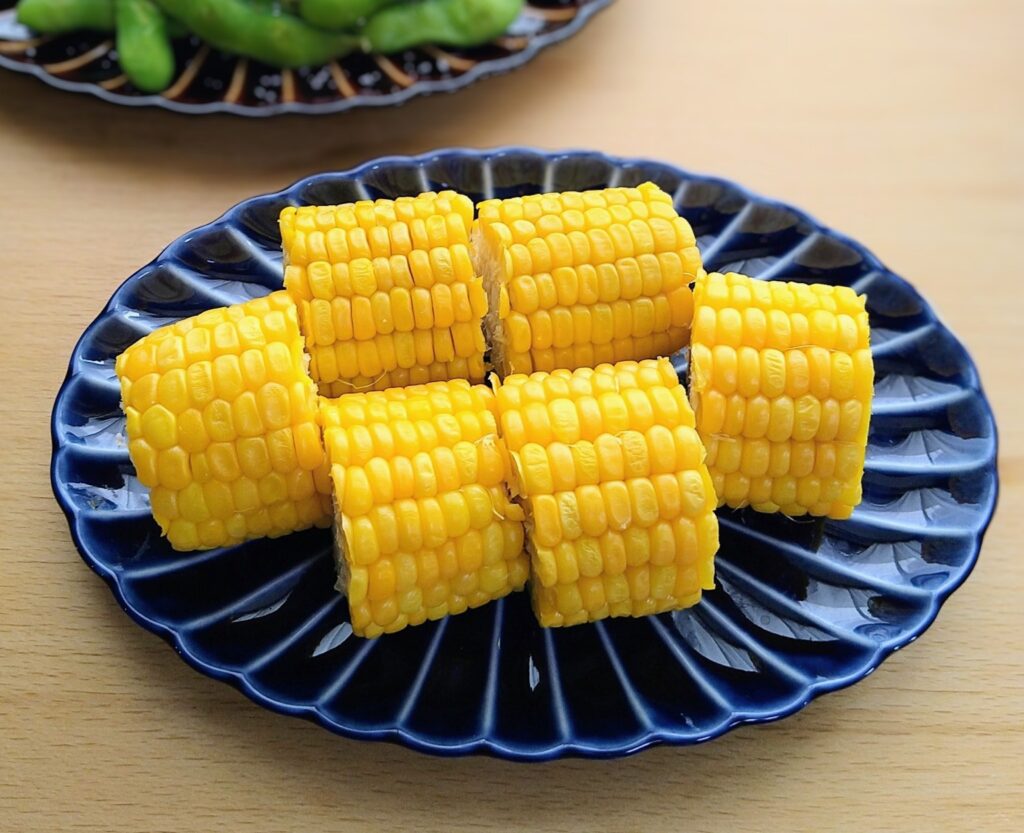
Edamame
“Giyaman” is an old Japanese word for glassware, believed to derive from the Portuguese word diamante (diamond).
After the Meiji era (1868–1912), it gradually fell out of use and was replaced by the word “glass.”
Kaneko Kohyo’s Giyaman-tou is made of porcelain, but it has the translucency of glass and the deep luster of lacquerware. When you see it in person, the old word “Giyaman” fits perfectly.
The plate has ridges radiating outward from the center, naturally drawing the eye inward. It’s a design that puts the food front and center.
The series comes in four colors: Nasu-kon (eggplant blue), Urushi Brown, Sumi Black, and Rikyu Green — each named after traditional Japanese colors and materials.
I have two: Nasu-kon and Urushi Brown.
Both colors make ordinary meals look more appetizing. That much is consistent.
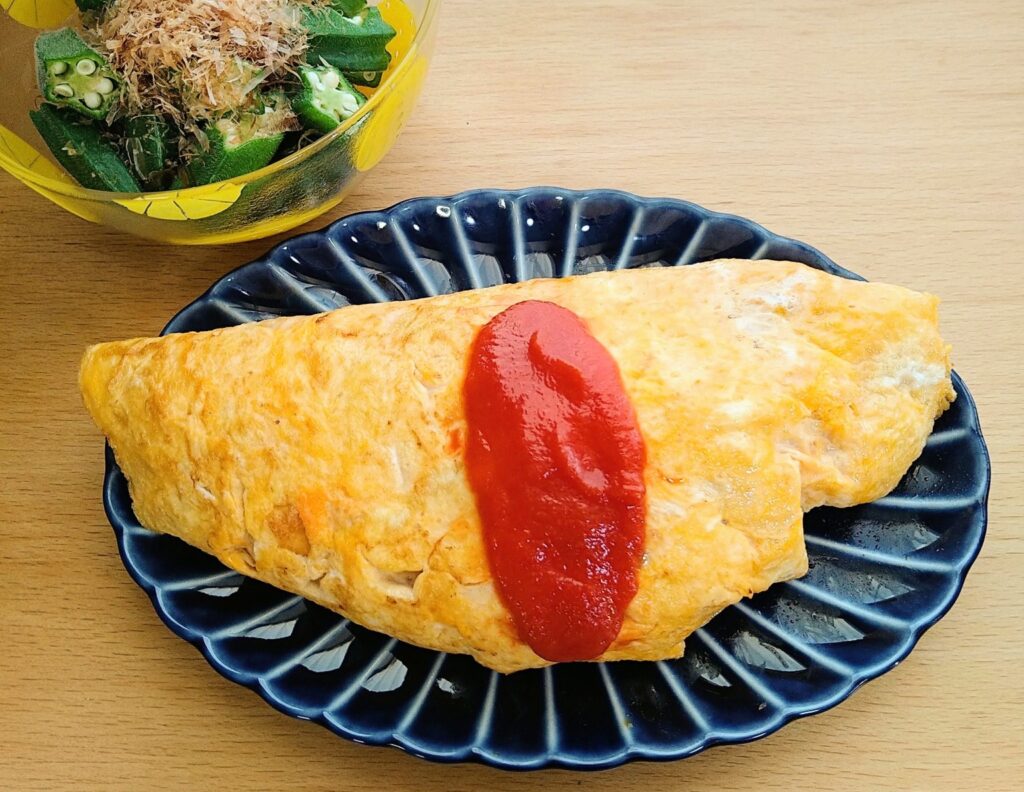
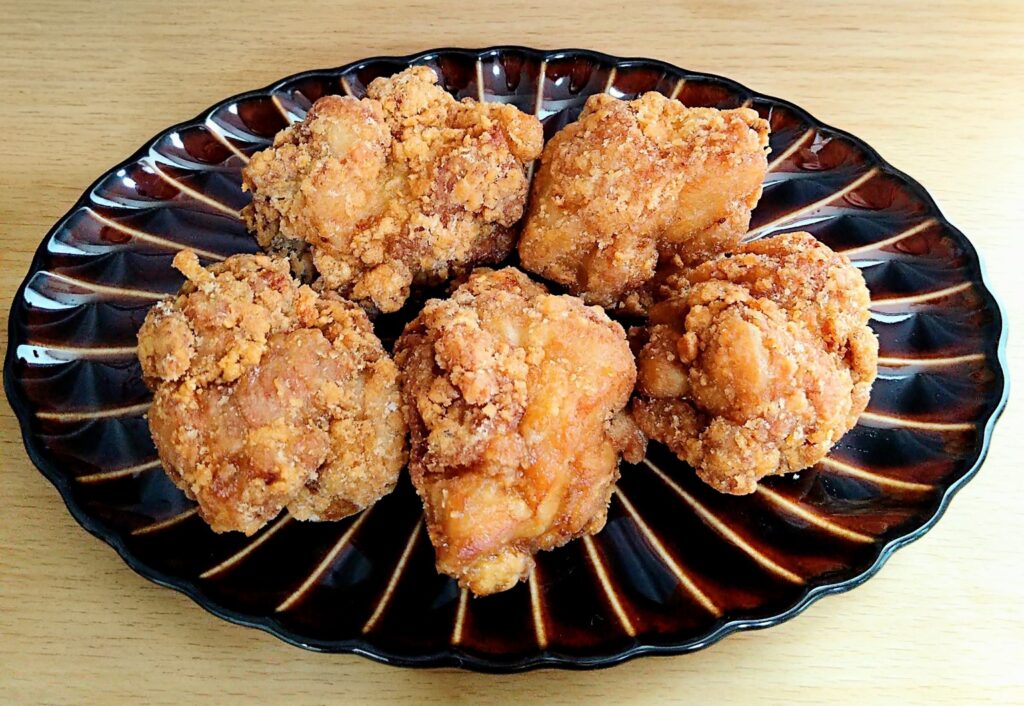
Nasu-kon makes food look fresher and more vibrant. Urushi Brown makes it look richer and more flavorful.
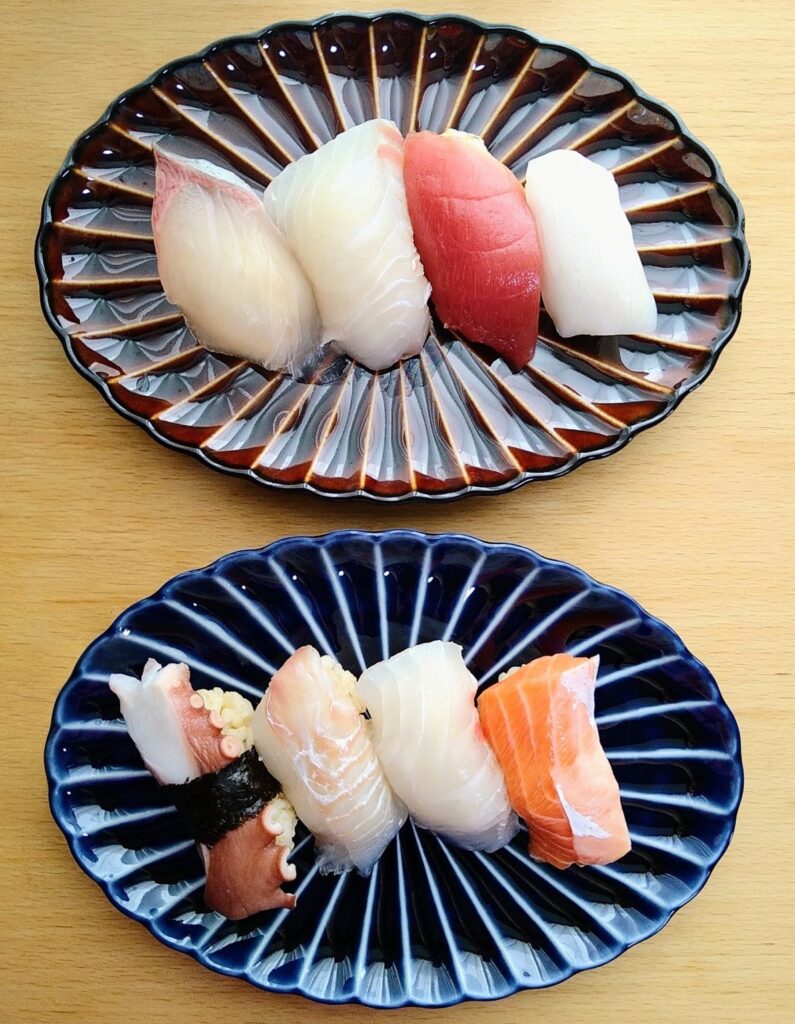
Supermarket Sushi on Giyaman
Hamburg Steak on Giyaman
It’s also practical. The glaze doesn’t stain easily, and it’s safe in the microwave for reheating. It’s light enough for everyday use.
This series took years of trial and error to complete.
The glaze used was so notoriously difficult to work with that potters used to say it would ruin a kiln. The result was Giyaman-tou.
Since its release in 2008, the series has found admirers around the world.
After using it, I can see why.
On my way home from work, my coworker said, “I can smell rain.”
I had never really thought about it before, but apparently, rain does have a scent.
Plant oils, geosmin produced by soil microbes, and ozone.
By the way, it was perfectly sunny that day, and it didn’t drizzle until two days later.
I wonder how many days in advance the smell of rain works.
Every little ornament is starting to look like a chopstick rest.
Maybe I’m tired.
If it still looks that way tomorrow, I might put my chopsticks on one.
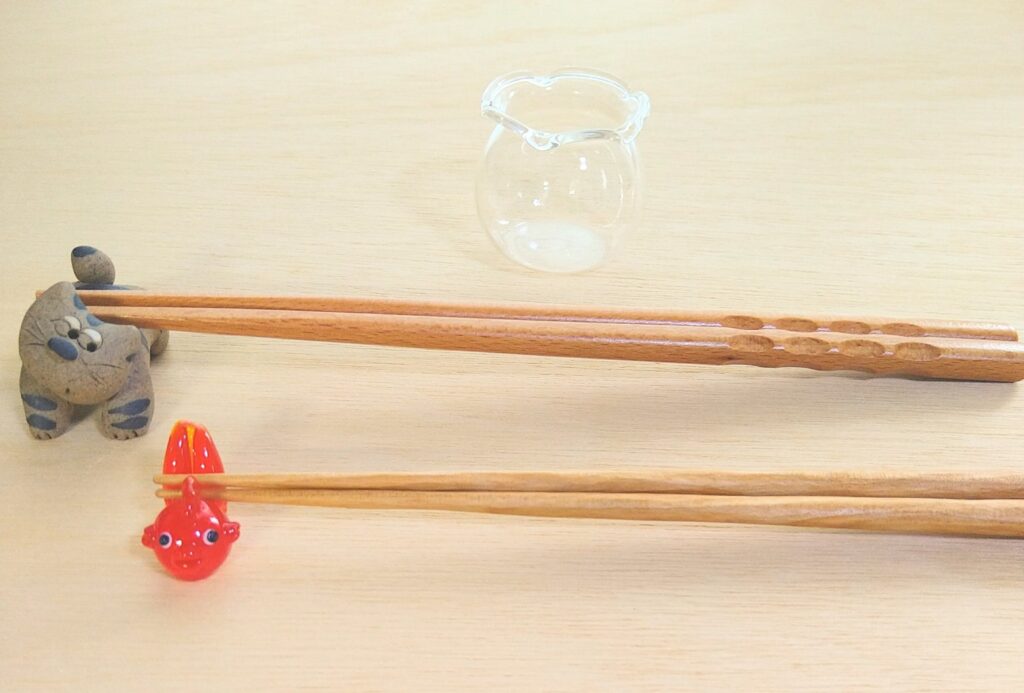
Turns out they were chopstick rests.
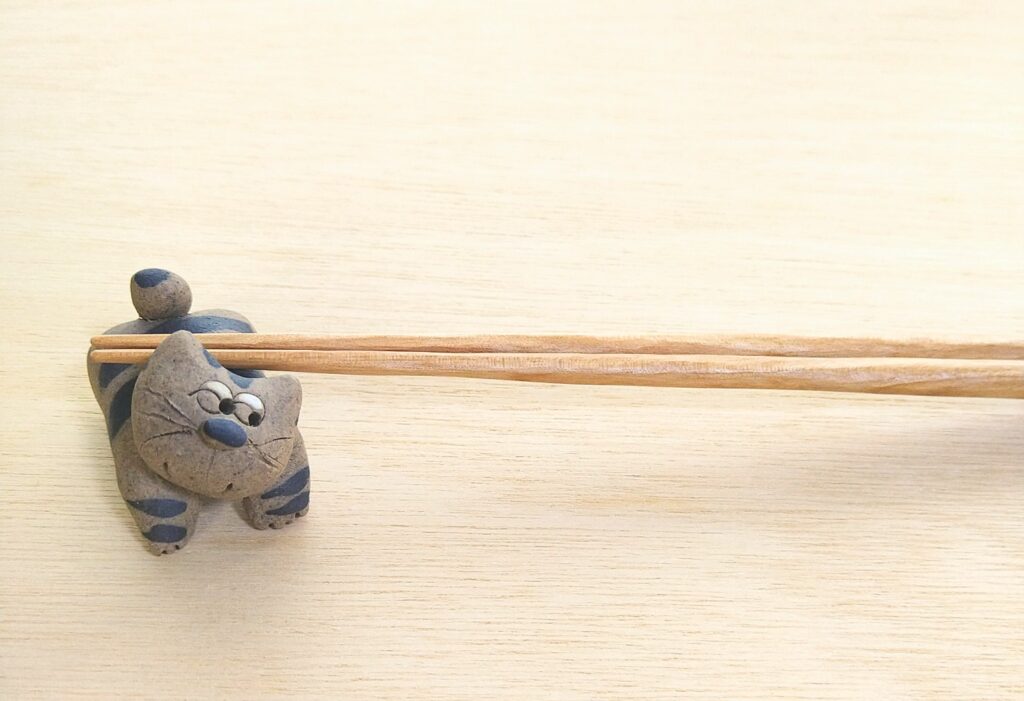
Especially the cat.
I was worried the potato galette would stick to the iron pan.
It didn’t. It fell apart instead.

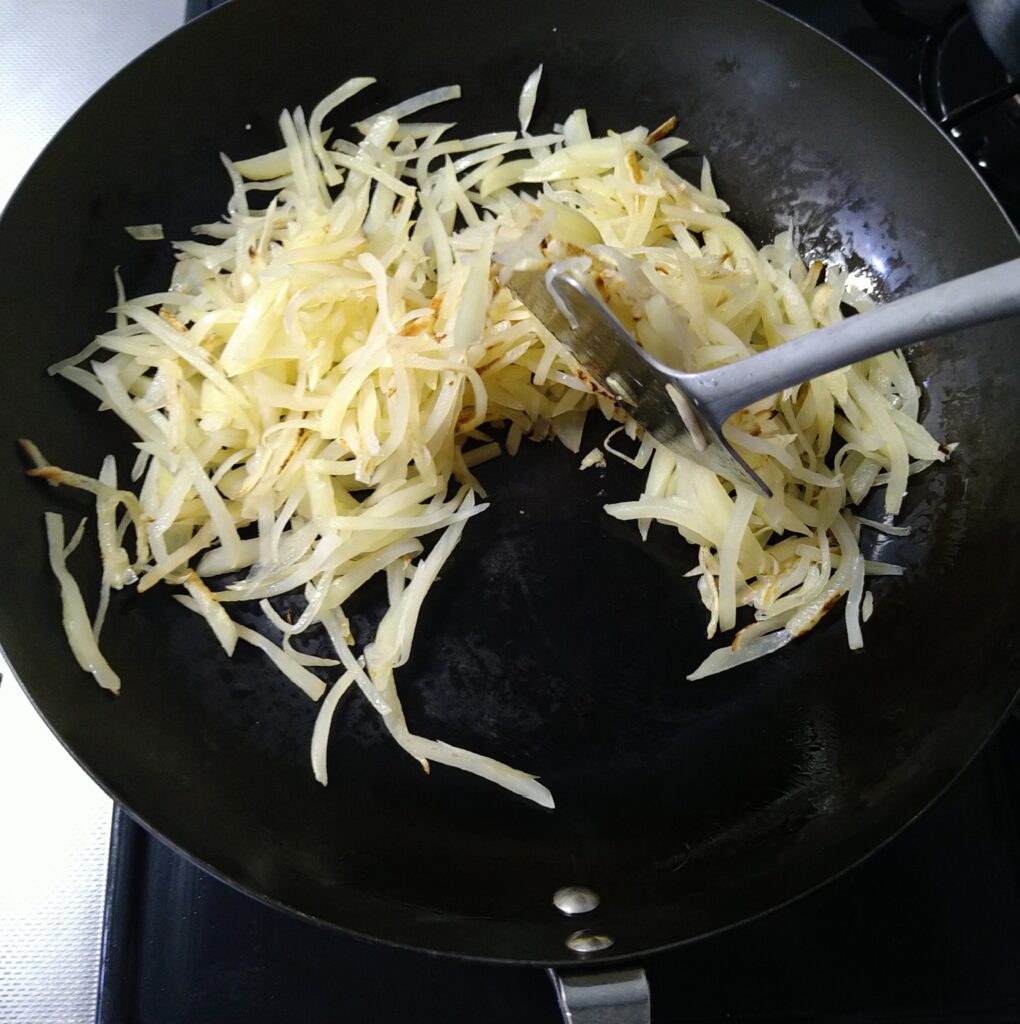
I cut the potatoes into thin strips, salted them, and squeezed out the moisture. No soaking in water — I didn’t want the starch to wash away. I’d read that the starch alone would hold everything together without adding potato starch.
I preheated the pan as usual, added oil, and spread the potatoes out into a round shape. Covered it and let it steam. When the potatoes looked translucent, I slid a spatula underneath.

Almost no resistance.
The potatoes hadn’t stuck to the pan.
They also hadn’t stuck to each other.
Everything was falling apart.
For the second attempt, I microwaved the potatoes first. My theory was that gelatinizing the starch would help them bind together. The potatoes felt stickier than before. Maybe this would work.
Same result.
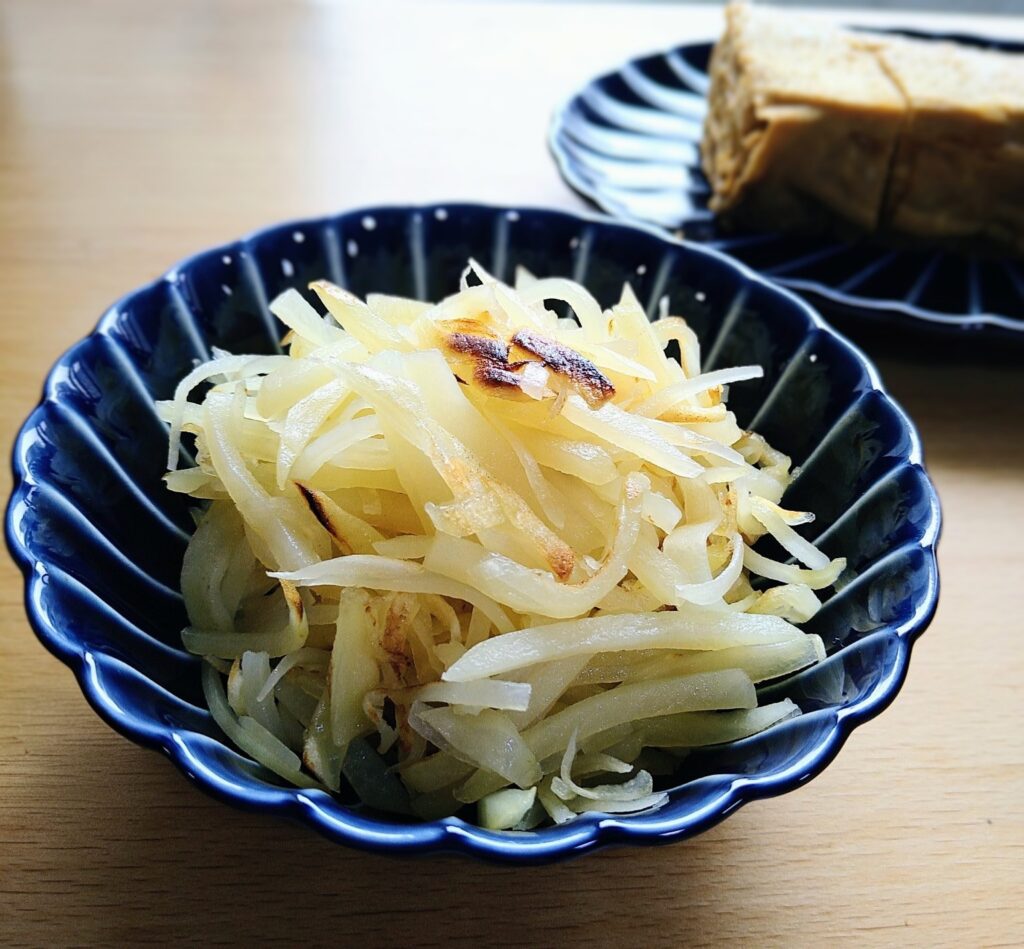
Falling apart. It looked like a bean sprout stir-fry.

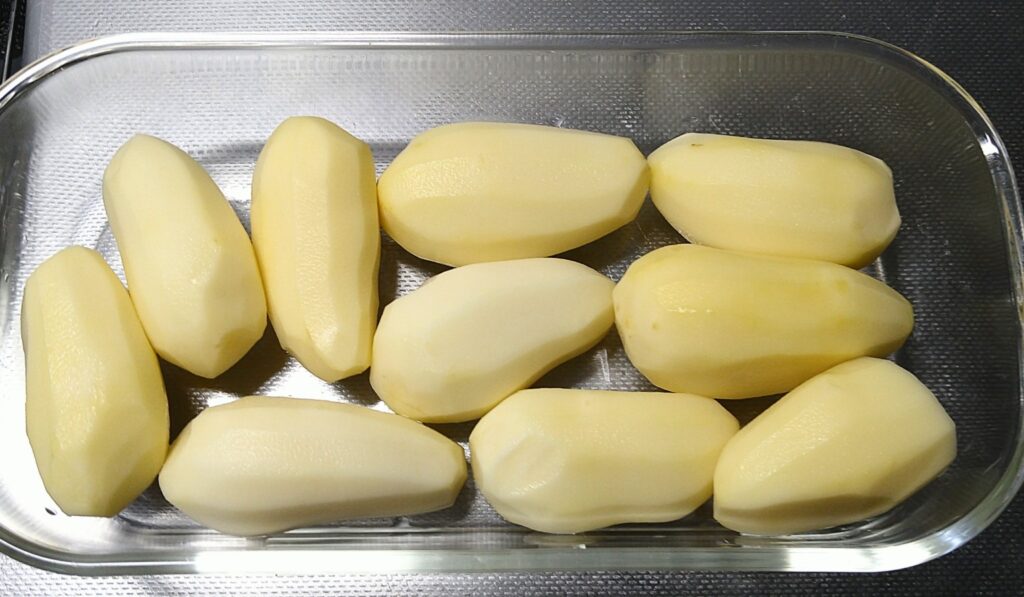
The problem may have been the potato variety.
I used waxy potatoes, which are lower in starch and don’t bind as well. They may simply not be the best choice for galette.
I also wonder whether adding some grated potato would have acted as a natural glue.
Another possibility is that I simply didn’t press the potatoes together firmly enough while cooking.
I ran out of potatoes before I could test any of these theories.
I plated the collapsed potatoes on two dishes — a plain white plate and a Giyaman plate.
On the white plate, they still looked like failed potatoes.
On the Giyaman plate, they somehow came back to life.
Same food. Different plate.

I tried to make a potato galette in an iron pan.
It didn’t stick to the pan.
The potatoes didn’t stick to each other either.
Without meaning to, I ended up proving that Giyaman makes food look better.
Next time, I’d like to make a proper round galette.
One that doesn’t need the plate to save it.
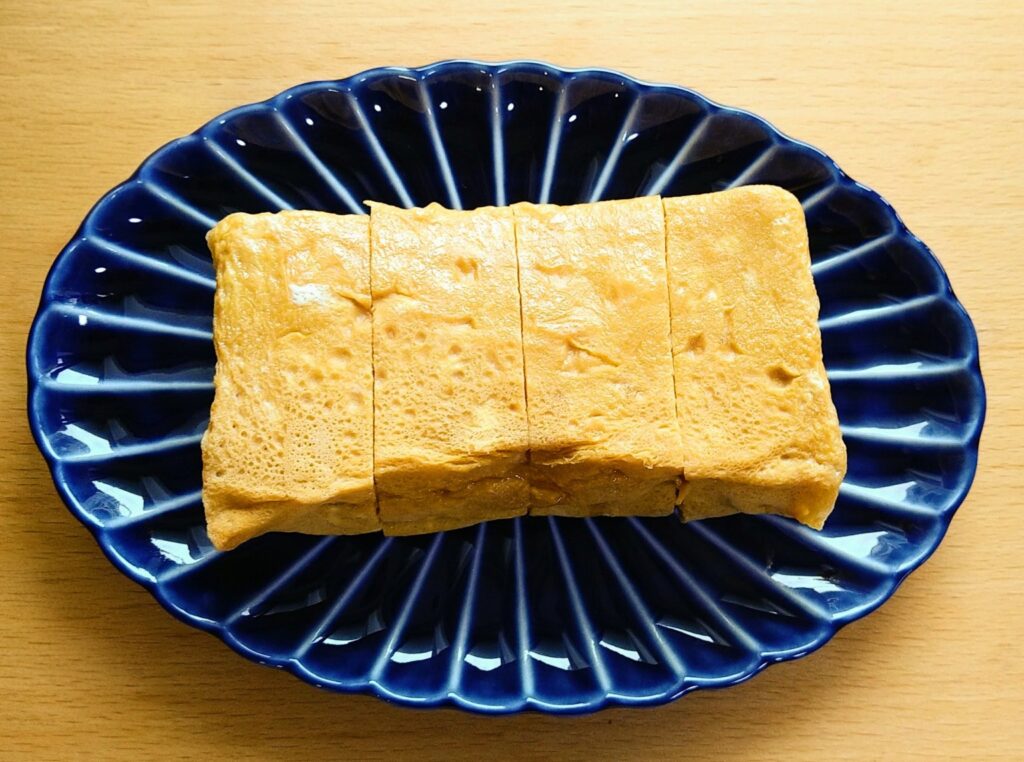
The tamagoyaki and Giyaman behind the potato stir-fry.