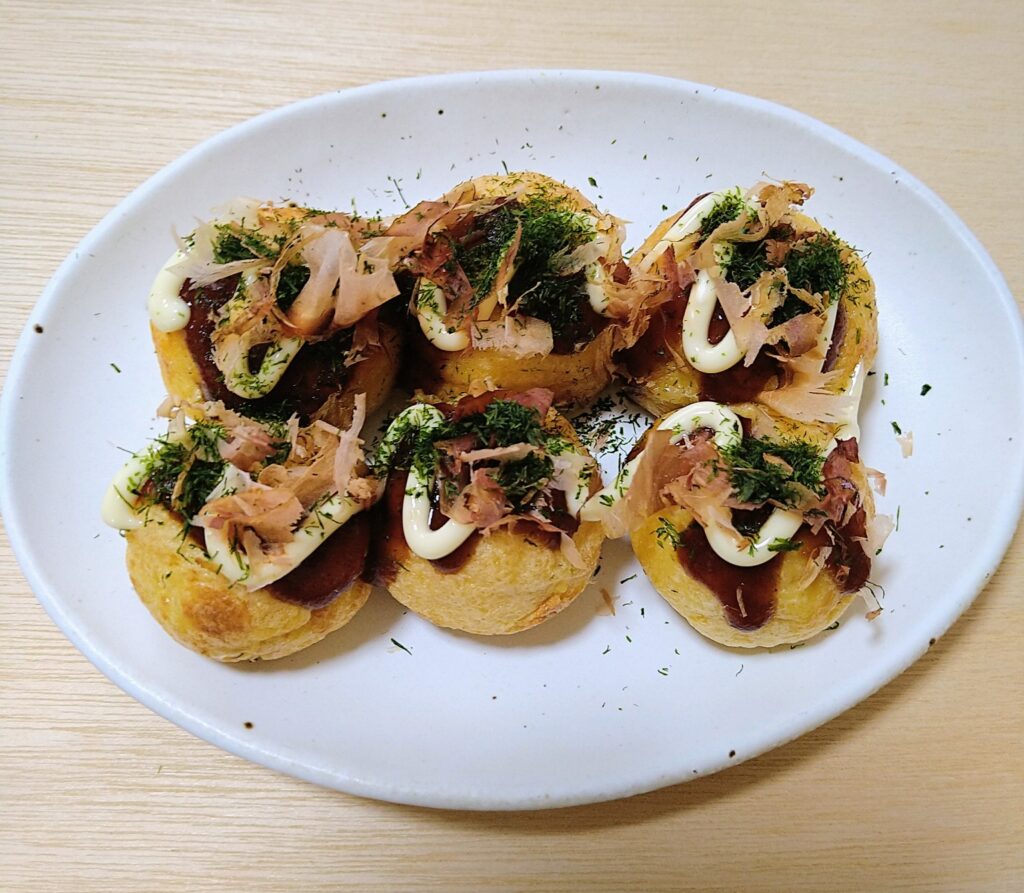
Takoyaki (たこ焼き) are round, savory balls made from a wheat-based batter filled with diced octopus, cooked in a special pan with round molds. They are typically topped with takoyaki sauce, mayonnaise, bonito flakes, and dried seaweed.
Originally from Osaka, takoyaki are one of Japan’s most iconic street foods.
A Brief History
The history of takoyaki cannot be told without two predecessor dishes. Rajioyaki was a popular Osaka street food since the Meiji era — a round, grilled dumpling filled with beef tendon and konjac. Akashiyaki, on the other hand, has existed since the Edo period.
It uses octopus as a filling and is served dipped in dashi broth, with a soft, fluffy texture.
In 1935, Tomekichi Endo, the founder of Aizuya in Osaka, heard that octopus was used in Akashiyaki. He swapped the filling in his rajioyaki for octopus — and takoyaki was born.
After World War II, the introduction of Worcestershire sauce led to the now-familiar style of serving takoyaki with sauce and toppings, and its popularity exploded.
Today, it is said that almost every household in Osaka owns a takoyaki maker.
Eating Out vs Making at Home
Eating Out
At a street stall or restaurant, takoyaki is a quick and satisfying snack you can enjoy on the go.
The portions tend to be generous, and the texture is what makes it special — crispy on the outside, soft and gooey on the inside.
Each shop has its own take on the batter, sauce, and toppings, which makes trying different places part of the fun.
Making at Home
At home, the fun is different.
Everyone gathers around the table, takes turns filling the molds, and watches the takoyaki take shape together.
You can also get creative with fillings — mochi, cheese, sausage, edamame, even chocolate. It turns into a bit of a guessing game — you never quite know what you’re going to get.
Making Takoyaki at Home
The Batter
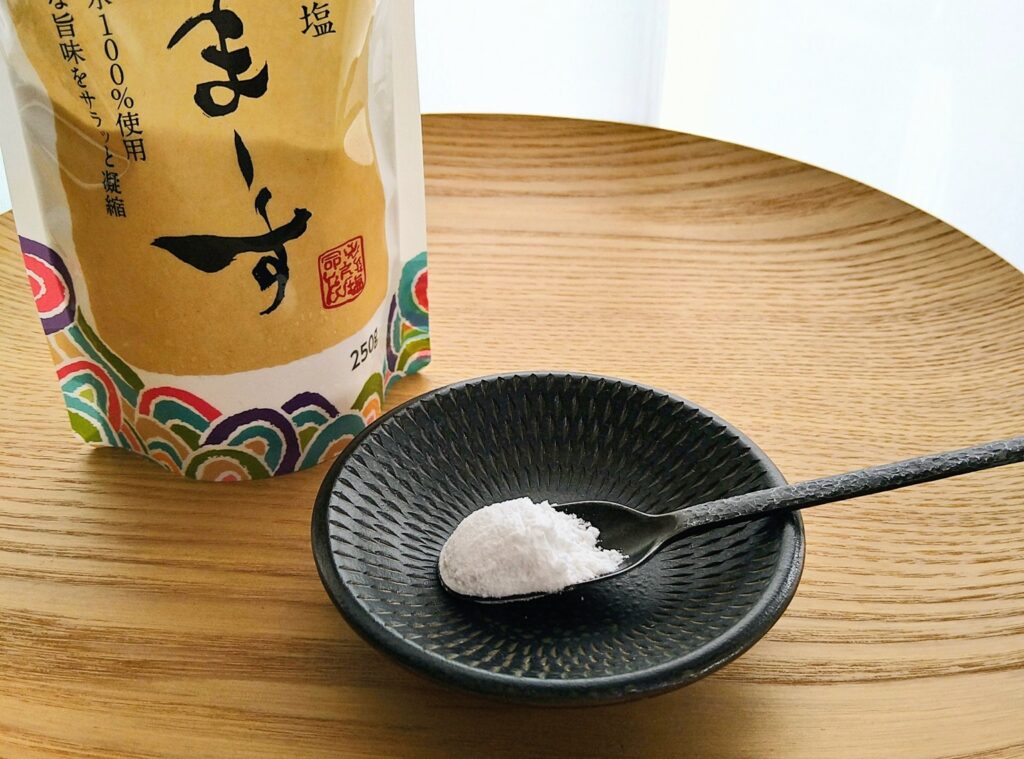
You can use a ready-made takoyaki flour mix, which already has seasoning — simple and convenient.
To make it from scratch, combine flour, eggs, dashi (or water), and a pinch of salt and soy sauce (or Japanese dashi stock powder). Adding grated or powdered nagaimo (Japanese mountain yam) gives the batter a soft, fluffy, mochi-like texture.
Mix well to avoid lumps — a whisk helps.
If you have time, resting the batter in the fridge makes it even smoother.
As a rough guide: 100g of flour to 300–400ml of liquid. More water makes the batter softer and more fluid, but harder to flip — starting with 300ml is easier for beginners.
Basic Recipe
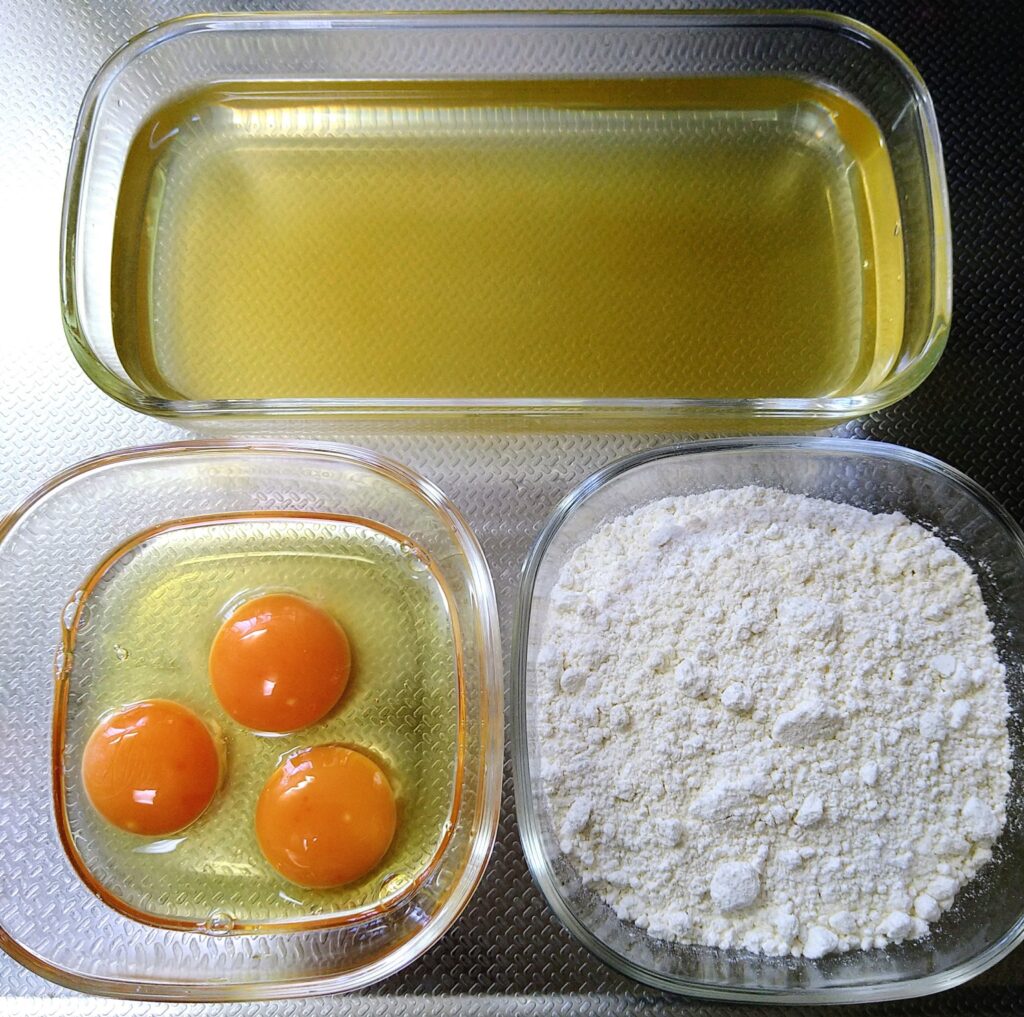
- Flour: 200g
- Eggs: 3
- dashi (or water): 600–800ml
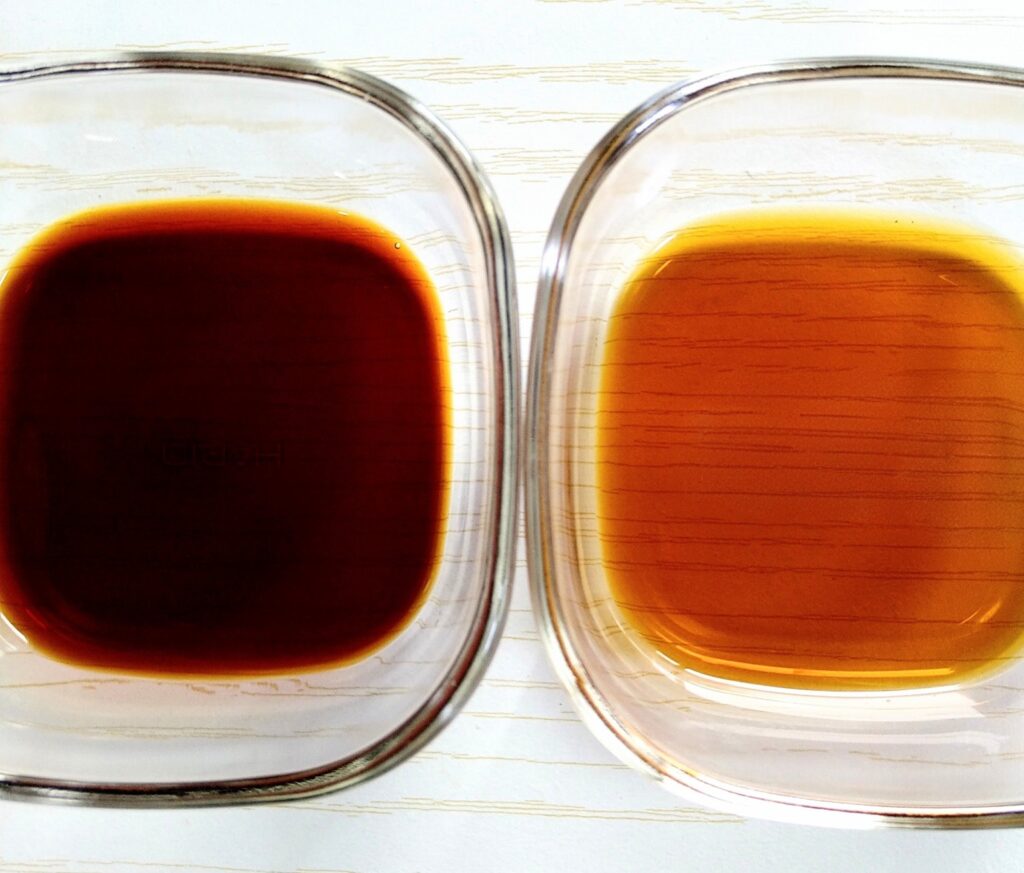
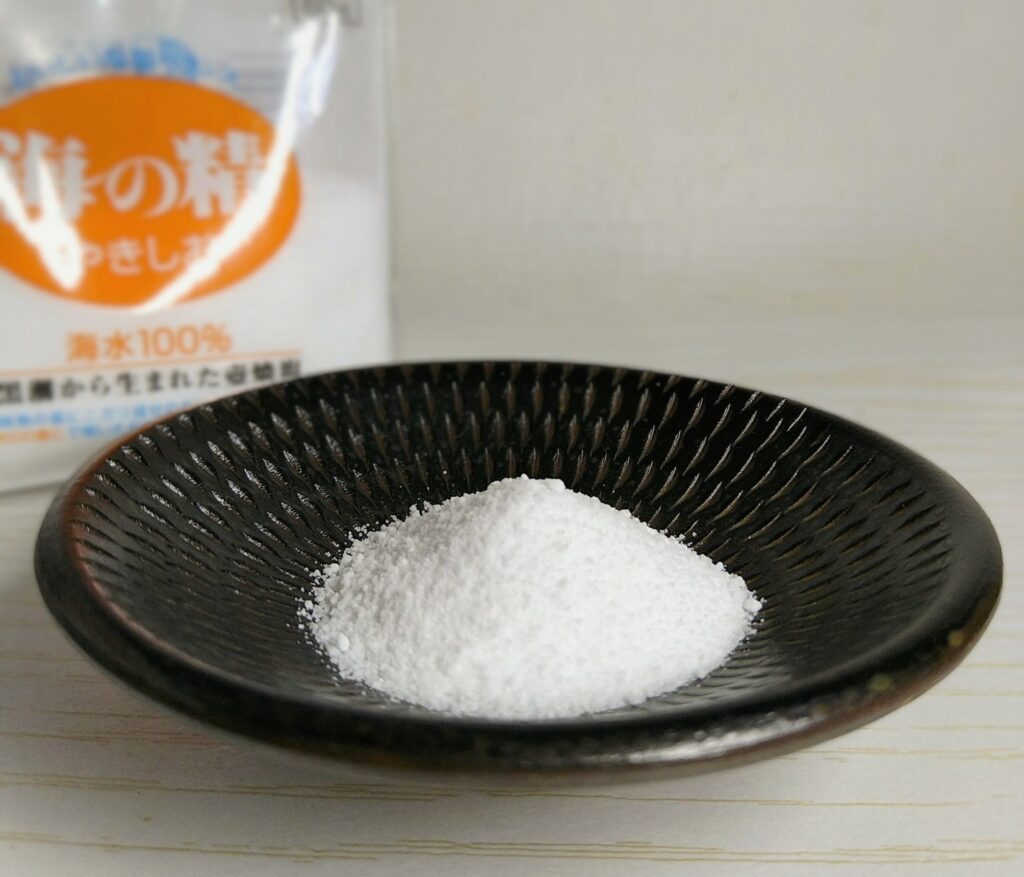
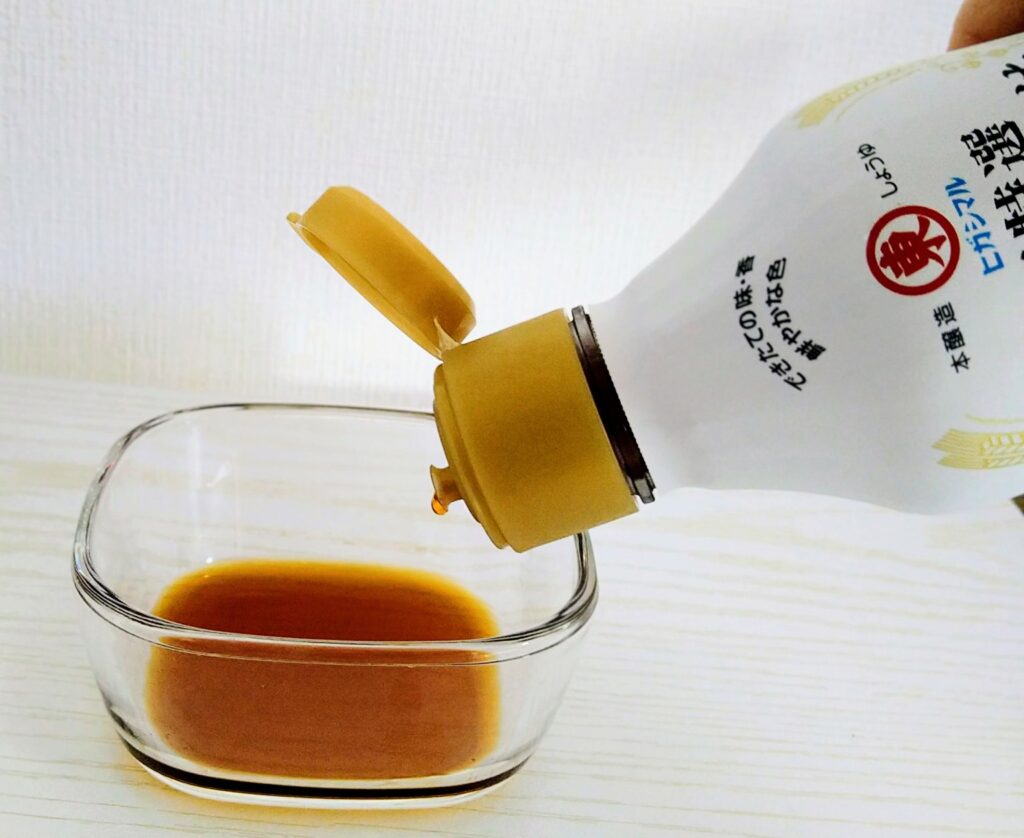
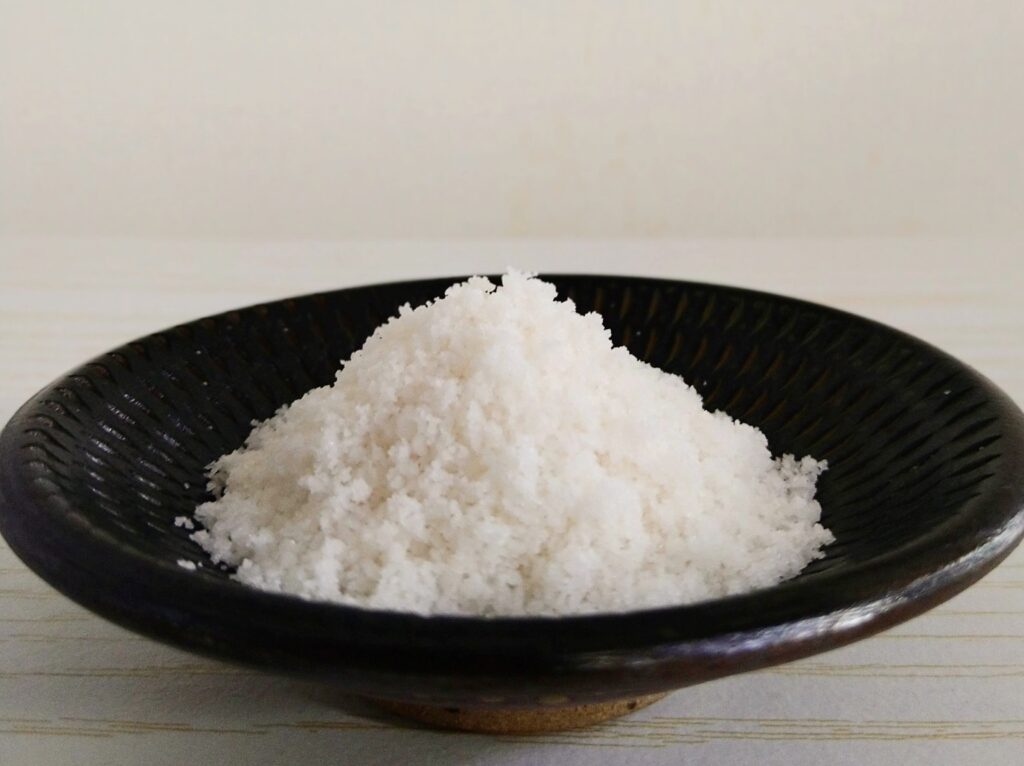
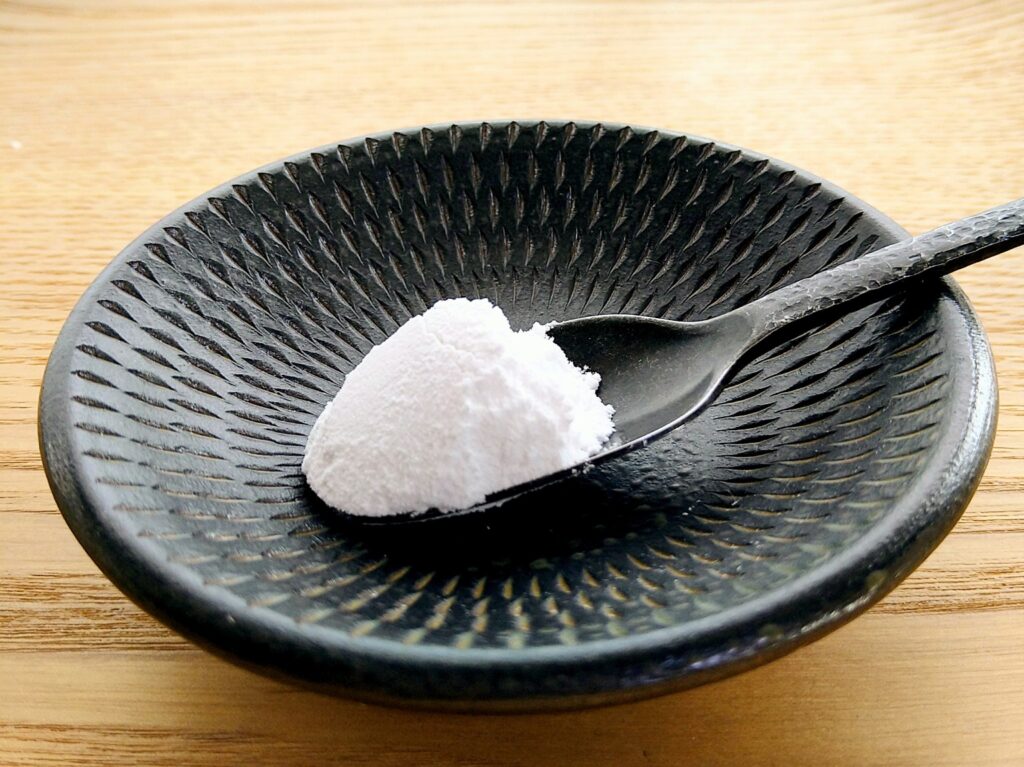
- Salt: a pinch and soy sauce: 1/2 tbsp (or dashi powder: 1 tbsp)
Note: Some dashi powders contain salt. Adjust the seasoning to taste. Since sauce is added later, keep it light.
Fillings
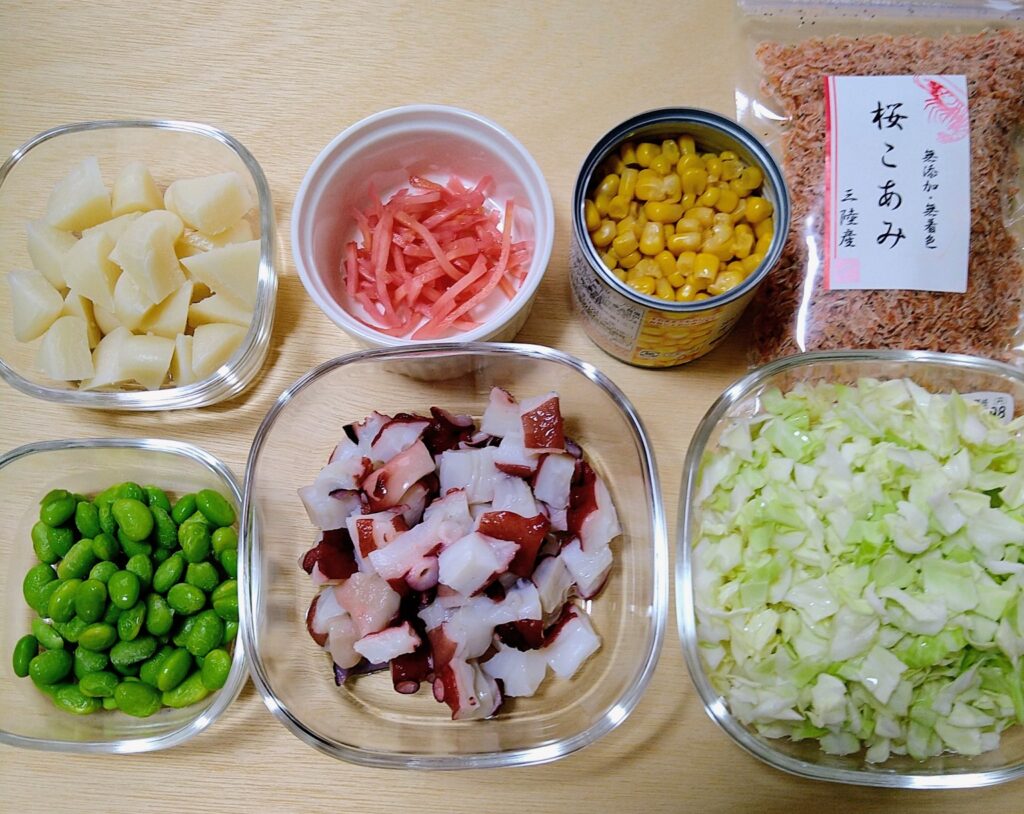
Mochi, pickled ginger, corn, dried shrimp, edamame, octopus, and cabbage.
Octopus is the classic filling, but you can use almost anything — mochi, cheese, sausage, edamame, corn, shrimp, and more.
Tenkasu (tempura scraps), pickled ginger, and green onion are optional but traditional.
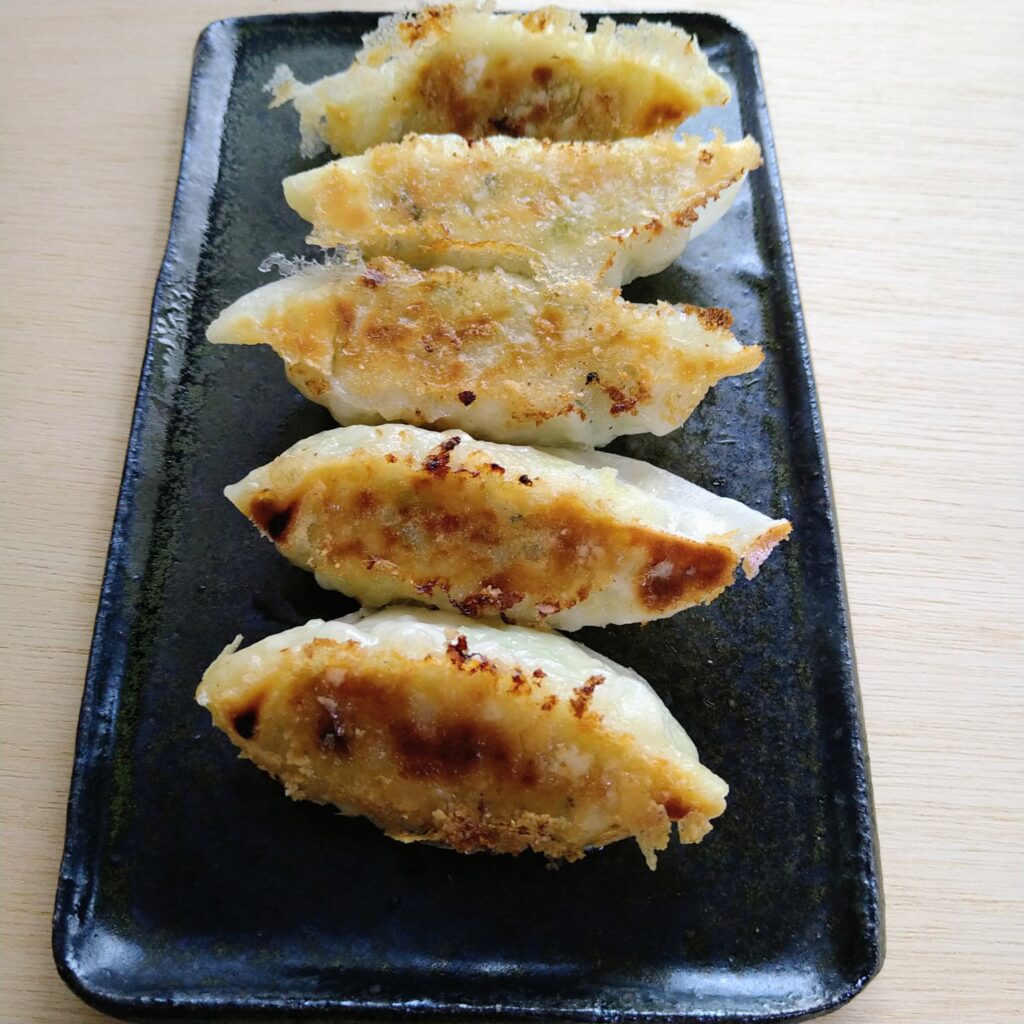
Cooking
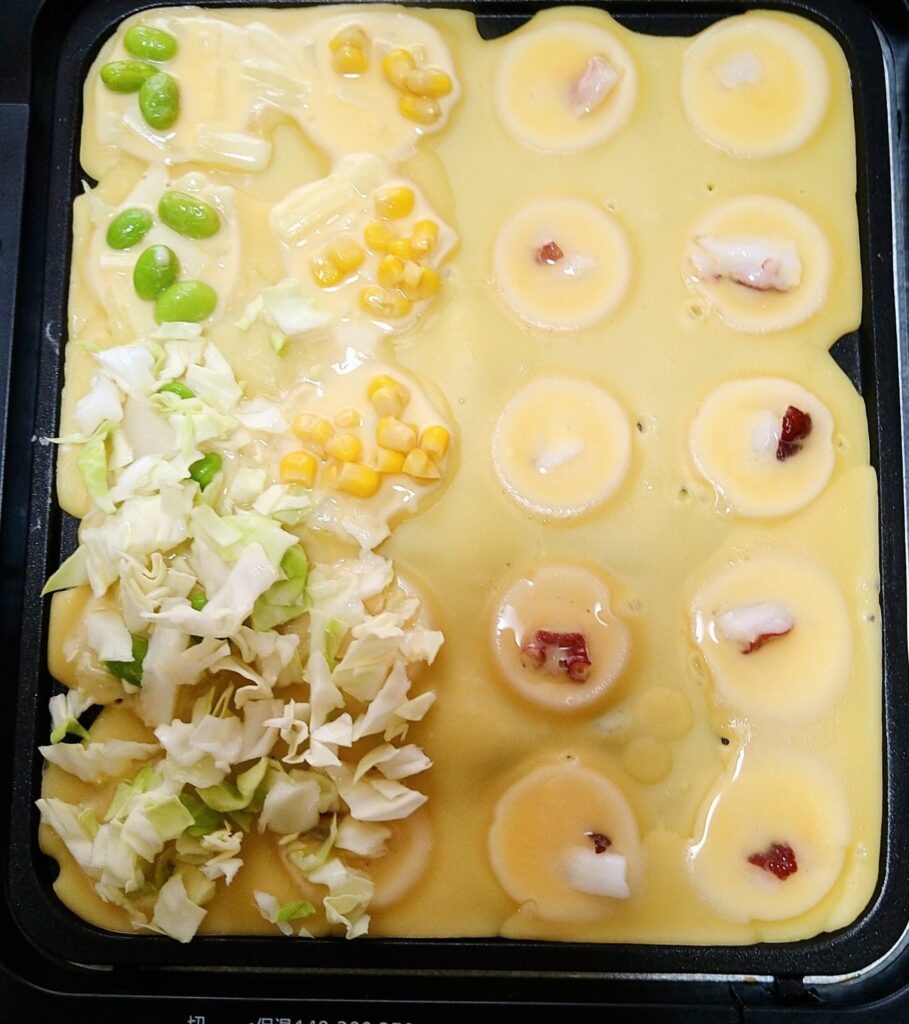
I probably could have added a little more batter and filling.
Pour the batter into the molds generously — enough to overflow and connect across the whole plate. Add your fillings into each hole. Use a bamboo skewer to score around the edges and fold the batter inward to form a round shape. Less batter results in a half-sphere rather than a full ball.
More oil makes the outside crispier.
Cook until golden brown, then top with takoyaki sauce, mayonnaise, bonito flakes, and dried seaweed.
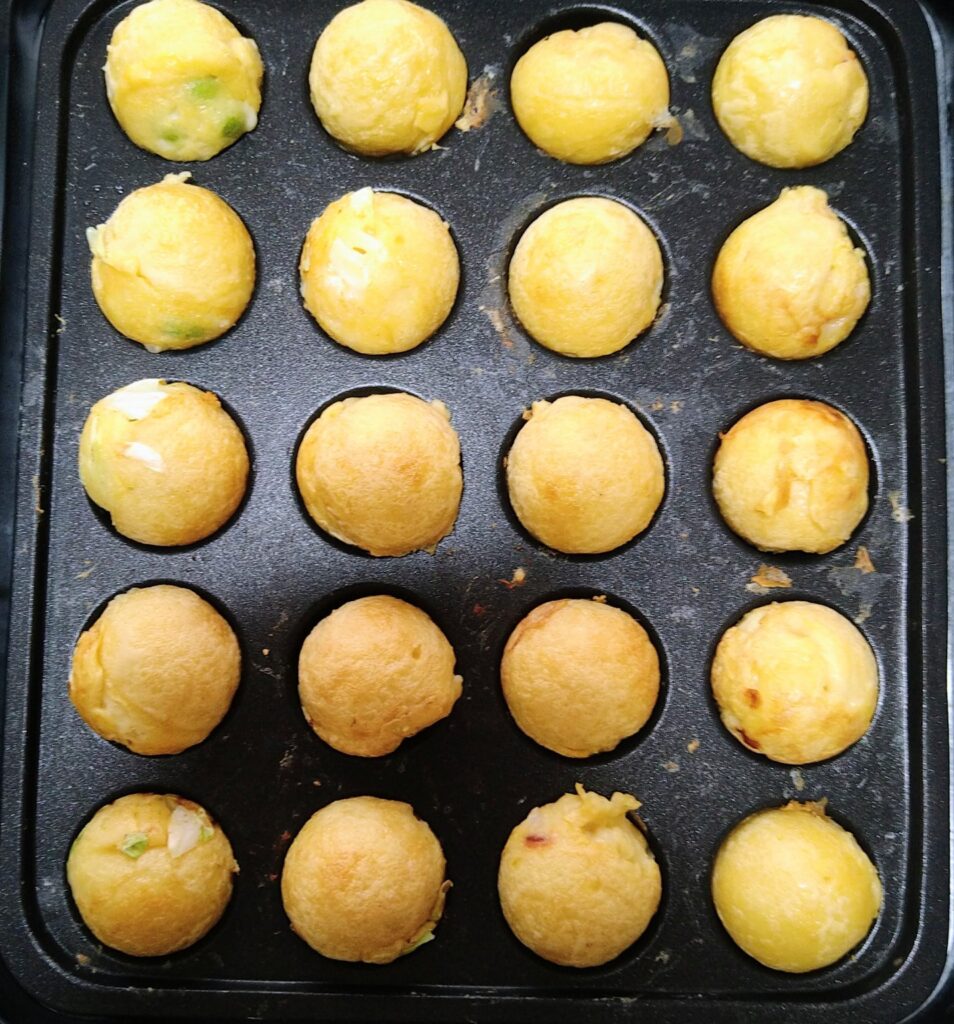
Even so, they turned out nicely round.
What You Need
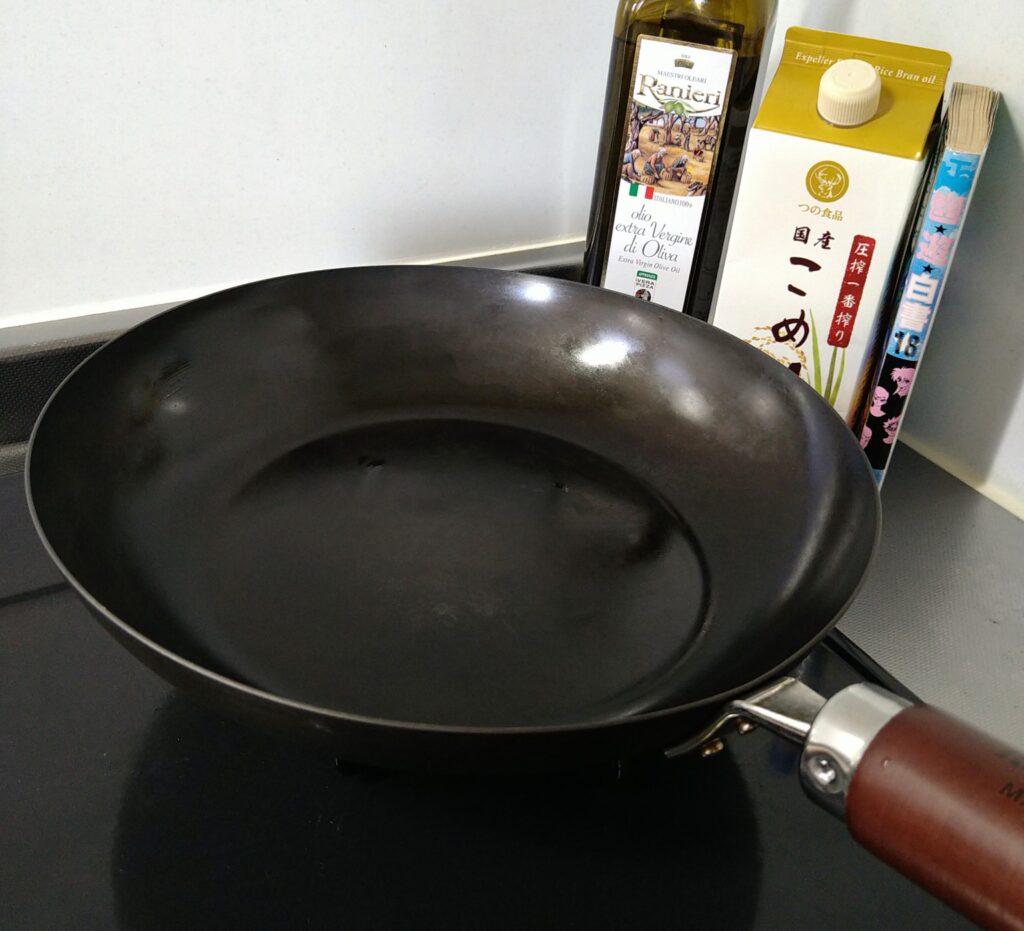
To make takoyaki at home, you’ll need a takoyaki pan.
There are two main options:
A stovetop pan like the Ikenaga Tekko cast iron takoyaki plate works on gas, electric, and IH cooktops.
The cast iron retains heat well, helping achieve a crispy outside and a soft, fluffy inside.
→ Ikenaga Tekko Takoyaki Plate on Amazon
If you want the full experience of gathering around the table together, the Iwatani cassette gas takoyaki maker is a good option.
It sits on the table and uses a portable gas canister — perfect for a takoyaki party.
→ Iwatani Takoyaki Maker on Amazon
You’ll also need bamboo skewers or picks for flipping, and something to oil the molds — like an oil brush or a paper towel.
Closing
Takoyaki is simple enough to make at home, but fun enough to turn into an event.
Whether you’re trying it for the first time or bringing a taste of Osaka to your table, it’s worth making at least once.